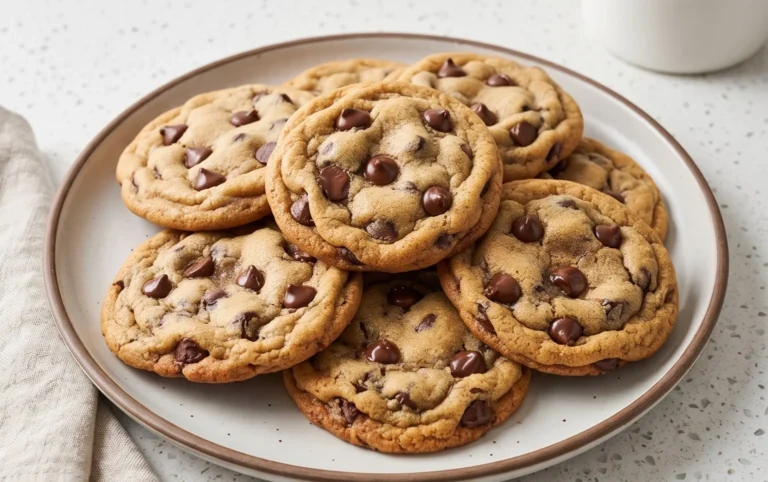
Perfect Chocolate Chip Cookies Recipe- Easy & Delicious
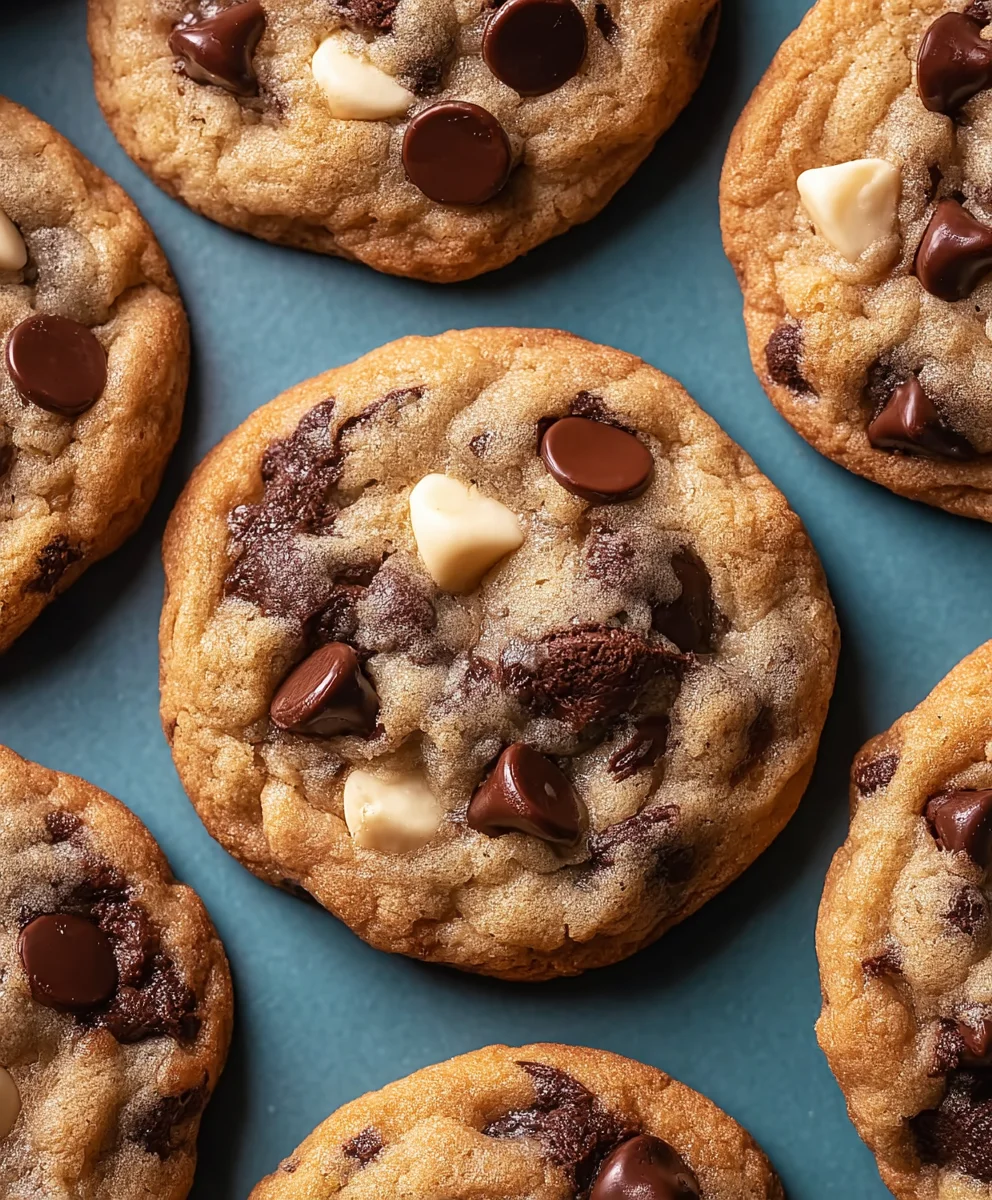
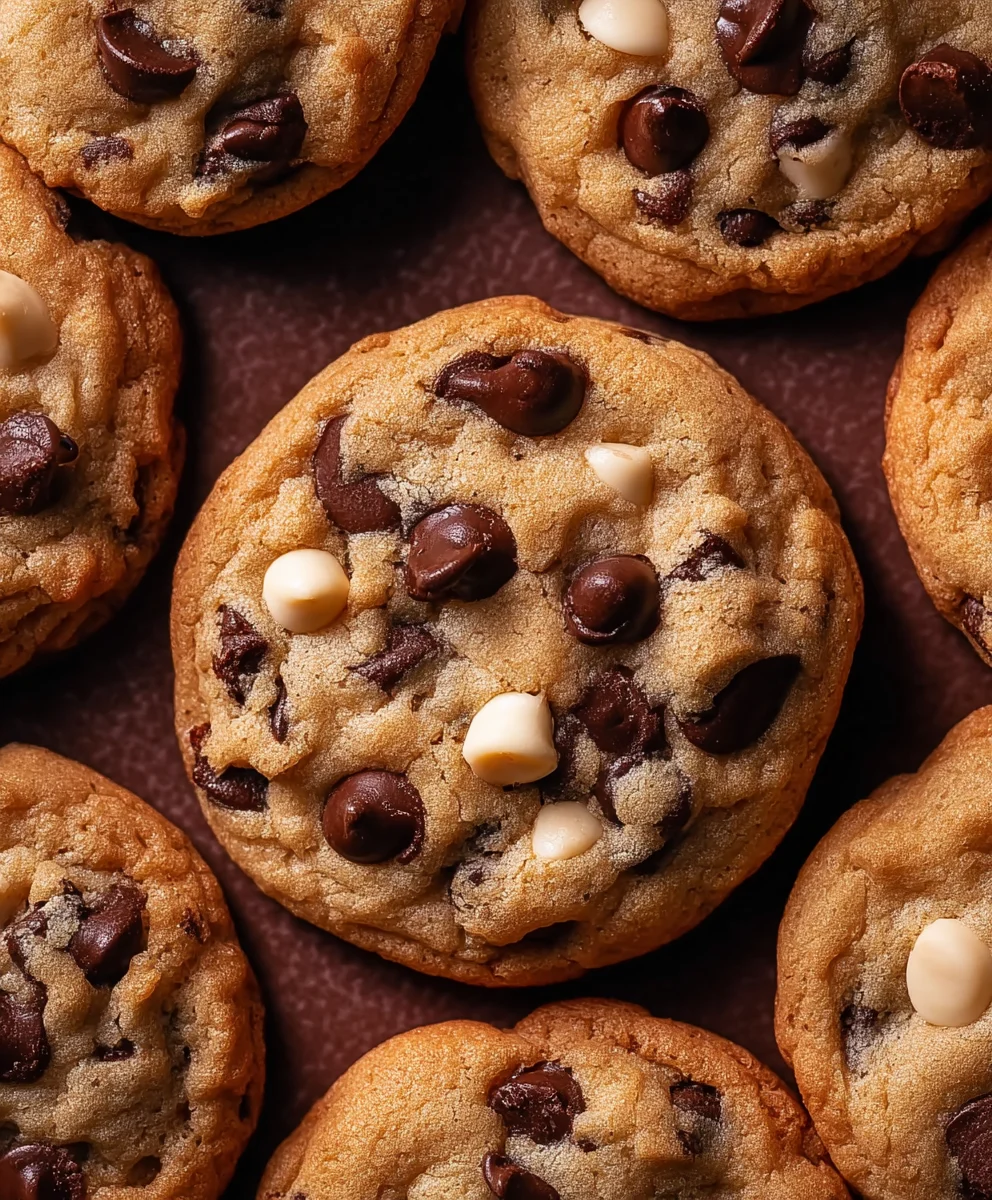
Chocolate Chip Cookies are more than just a simple dessert; they’re a warm hug, a nostalgic trip back to childhood, and the ultimate comfort food for so many of us. What is it about these humble treats that captures our hearts and taste buds so completely? Perhaps it’s the perfect balance of sweet, buttery dough studded with melty pockets of chocolate. Or maybe it’s the comforting aroma that fills the kitchen as they bake, promising pure indulgence. These aren’t just any Chocolate Chip Cookies; this recipe is designed to deliver that irresistible chewy center with slightly crisp edges, a texture that’s both satisfying and utterly addictive. We’ve refined this classic to bring you the best version of this beloved bake, ensuring every bite is a moment of pure bliss. Get ready to discover your new go-to for perfect Chocolate Chip Cookies, the kind that disappear almost as fast as you can make them!
Ingredients:
- ½ cup unsalted European style brown butter, Danish Creamery recommended
- ½ cup plus 2 tablespoons packed light brown sugar
- 2 tablespoons granulated sugar
- 1 large egg, at room temperature
- ½ teaspoon pure vanilla extract
- 1⅓ cups all-purpose flour, spooned and leveled
- ½ teaspoon baking soda
- ¼ teaspoon salt
- ⅓ cup white chocolate chips
- ⅓ cup semisweet chocolate chips
- ⅓ cup milk chocolate chips
- Sea salt flakes for topping (optional)
Preparing the Dough
Step 1: Cream the Sugars and Brown Butter
First, let’s get our butter ready. If you haven’t already browned your butter, this is a crucial step for depth of flavor. To brown butter, melt unsalted butter in a light-colored saucepan over medium heat. Swirl the pan occasionally. The butter will foam, then subside, and tiny brown flecks will begin extract to appear at the bottom of the pan. You’ll notice a nutty aroma. Be careful not to burn it – we’re looking for a golden brown color and a fragrant scent. Once browned, immediately pour it into a heatproof bowl to stop the cooking process and let it cool slightly. You want it warm, not piping hot, so it doesn’t scramble the egg.
In a large mixing bowl, combine the slightly cooled brown butter with the packed light brown sugar and granulated sugar. Using an electric mixer (a stand mixer with the paddle attachment or a handheld mixer), beat these ingredients together on medium speed until the mixture is light and fluffy, which should take about 2-3 minutes. This creaming process incorporates air, which is essential for a tender cookie texture.
Step 2: Incorporate Egg and Vanilla
Now, it’s time to add the binder and flavor enhancer. Ensure your egg is at room temperature. This helps it emulsify better with the butter and sugar mixture, creating a smoother, more cohesive dough. If your egg is cold, you can quickly warm it by placing it in a bowl of warm water for about 5-10 minutes. Add the room temperature egg to the creamed butter and sugar mixture. Beat on medium speed until just combined. Next, stir in the pure vanilla extract. Mix until everything is well incorporated and the batter looks smooth and glossy. Be careful not to overmix at this stage.
Step 3: Combine Dry Ingredients
In a separate medium bowl, whisk together the all-purpose flour, baking soda, and salt. Whisking these dry ingredients together before adding them to the wet ingredients ensures that the baking soda and salt are evenly distributed throughout the flour, which will lead to a consistent rise and flavor in your cookies. Make sure your flour is spooned into your measuring cup and leveled off with a straight edge, not scooped directly from the bag, as this can lead to too much flour, resulting in dry, tough cookies. This is a common mistake, so be mindful of it for the best texture.
Step 4: Combine Wet and Dry Ingredients and Add Chocolate
Gradually add the dry ingredients to the wet ingredients. Start by adding about a third of the flour mixture to the butter and sugar mixture. Mix on low speed until just combined. Then, add another third and mix again. Finally, add the remaining flour mixture and mix until just incorporated. It’s important not to overmix the dough once the flour is added, as this can develop the gluten too much, leading to tough cookies. You want to see just a few streaks of flour remaining, then you can finish incorporating by hand with a spatula if needed.
Now for the best part: the chocolate! Gently fold in the white chocolate chips, semisweet chocolate chips, and milk chocolate chips. Use a spatula or a wooden spoon for this. Distribute them evenly throughout the dough. Having a mix of different types of chocolate chips provides a complex and delightful flavor profile, with creamy white chocolate, classic semisweet, and rich milk chocolate all melting together.
Baking the Cookies
Step 5: Chill and Bake
For the most flavorful and well-textured cookies, chilling the dough is a highly recommended step. Cover the bowl tightly with plastic wrap and refrigerate for at least 30 minutes, or up to 24 hours. Chilling allows the flour to hydrate properly, the fats to solidify, and the flavors to meld. This helps prevent the cookies from spreading too much during baking and deepens their caramel notes. When you’re ready to bake, preheat your oven to 375°F (190°C). Line baking sheets with parchment paper to prevent sticking and ensure even baking. Drop rounded tablespoons of dough onto the prepared baking sheets, leaving about 2 inches of space between each cookie to allow for spreading. If you’re using sea salt flakes, sprinkle a few over the tops of the dough balls before baking.
Bake for 9-12 minutes, or until the edges are golden brown and the centers still look slightly soft. The cookies will continue to set up as they cool on the baking sheet. For a chewier cookie, err on the side of less baking time; for a crisper cookie, bake a minute or two longer. Once baked, let the cookies cool on the baking sheets for 5 minutes before transferring them to a wire rack to cool completely. This resting period is crucial for the cookies to firm up properly.
Conclusion:
We hope you’ve enjoyed diving into the delightful world of making these classic Chocolate Chip Cookies! This recipe offers a wonderful balance of chewy centers and slightly crisp edges, all bursting with rich chocolate flavor. They’re perfect for any occasion, from a simple afternoon treat to a centerpiece for a holiday gathering. Don’t be afraid to experiment and make these cookies your own!
For serving, these Chocolate Chip Cookies are absolutely divine warm from the oven with a glass of cold milk. They also pair beautifully with a scoop of vanilla ice cream for an indulgent dessert. You can store cooled cookies in an airtight container at room temperature for up to three days, though they rarely last that long!
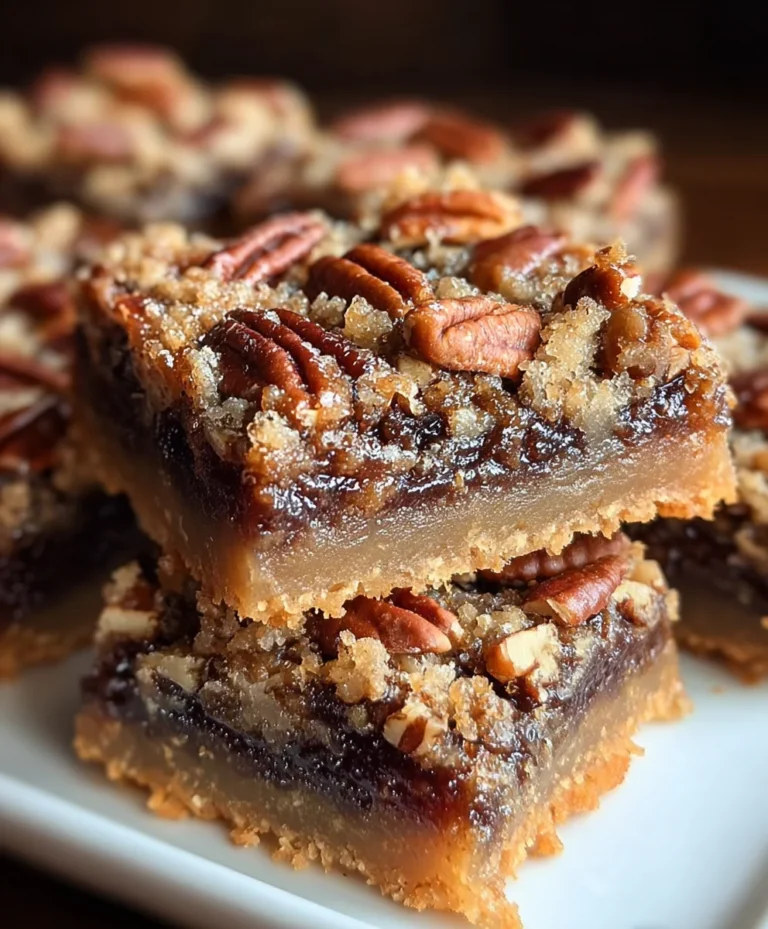
We encourage you to try out some fun variations. Consider adding a sprinkle of sea salt on top before baking for a sweet and salty contrast, or mix in chopped nuts like walnuts or pecans for added texture and flavor. You could also experiment with different types of chocolate chips, like dark chocolate, milk chocolate, or even white chocolate, for a unique twist.
FAQs:
Why are my Chocolate Chip Cookies flat?
Flat Chocolate Chip Cookies can often be attributed to overmixing the dough, using too much softened butter instead of cold butter, or not chilling the dough adequately. Chilling the dough allows the fats to firm up, preventing the cookies from spreading too much in the oven.
Can I make the dough ahead of time?
Absolutely! The dough for these Chocolate Chip Cookies can be made up to 2-3 days in advance and stored, tightly wrapped, in the refrigerator. Chilling the dough for an extended period can actually deepen the flavor, making for even tastier cookies. Just scoop and bake as usual when you’re ready!
How can I get chewier Chocolate Chip Cookies?
To achieve chewier Chocolate Chip Cookies, use more brown sugar than granulated sugar in the recipe, and be careful not to overbake them. Pull them out of the oven when the edges are set but the centers still look slightly underdone. They will continue to bake and set on the hot baking sheet.
Perfect Chocolate Chip Cookies
Easy and delicious chocolate chip cookies with a perfect balance of textures and flavors.
Ingredients
-
½ cup unsalted European style brown butter, Danish Creamery recommended
-
½ cup plus 2 tablespoons packed light brown sugar
-
2 tablespoons granulated sugar
-
1 large egg, at room temperature
-
½ teaspoon pure vanilla extract
-
1⅓ cups all-purpose flour, spooned and leveled
-
½ teaspoon baking soda
-
¼ teaspoon salt
-
⅓ cup white chocolate chips
-
⅓ cup semisweet chocolate chips
-
⅓ cup milk chocolate chips
-
Sea salt flakes for topping (optional)
Instructions
-
Step 1
Brown the butter by melting unsalted butter in a saucepan until golden brown and fragrant. Pour into a heatproof bowl to cool slightly. In a large mixing bowl, beat the cooled brown butter with packed light brown sugar and granulated sugar until light and fluffy (2-3 minutes). -
Step 2
Add the room temperature egg to the creamed butter and sugar mixture and beat on medium speed until just combined. Stir in the vanilla extract until smooth and glossy. -
Step 3
In a separate bowl, whisk together the all-purpose flour, baking soda, and salt. Ensure flour is spooned and leveled. -
Step 4
Gradually add the dry ingredients to the wet ingredients, mixing on low speed until just combined. Do not overmix. Gently fold in the white chocolate chips, semisweet chocolate chips, and milk chocolate chips. -
Step 5
Cover the dough and refrigerate for at least 30 minutes. Preheat oven to 375°F (190°C). Line baking sheets with parchment paper. Drop rounded tablespoons of dough onto the sheets, about 2 inches apart. Sprinkle with sea salt flakes if desired. -
Step 6
Bake for 9-12 minutes, or until edges are golden brown and centers are slightly soft. Let cool on baking sheets for 5 minutes before transferring to a wire rack to cool completely.
Important Information
Nutrition Facts (Per Serving)
It is important to consider this information as approximate and not to use it as definitive health advice.
Allergy Information
Please check ingredients for potential allergens and consult a health professional if in doubt.