Buster Bar Ice Cream Dessert- Easy Homemade Treat
Buster Bar Ice Cream Dessert has always held a special place in my heart, and I bet it does in yours too! Remember those glorious summer days, the sticky fingers, and the sheer joy of unwrapping that iconic treat? This homemade version aims to capture that exact magic, but with an extra layer of love and a few delightful twists. It’s more than just an ice cream dessert; it’s a nostalgia bomb in every bite, a symphony of textures and flavors that evokes pure happiness. The irresistible combination of creamy, smooth ice cream, a rich chocolatey coating, and that signature crunch is what makes the origin extractal so beloved, and this recipe elevates it to new heights. Get ready to recreate those cherished memories and indulge in a truly unforgettable Buster Bar Ice Cream Dessert experience right in your own kitchen!
Why You’ll Adore This Buster Bar Ice Cream Dessert
The Perfect Balance of Creamy, Crunchy, and Chocolatey
Buster Bar Ice Cream Dessert
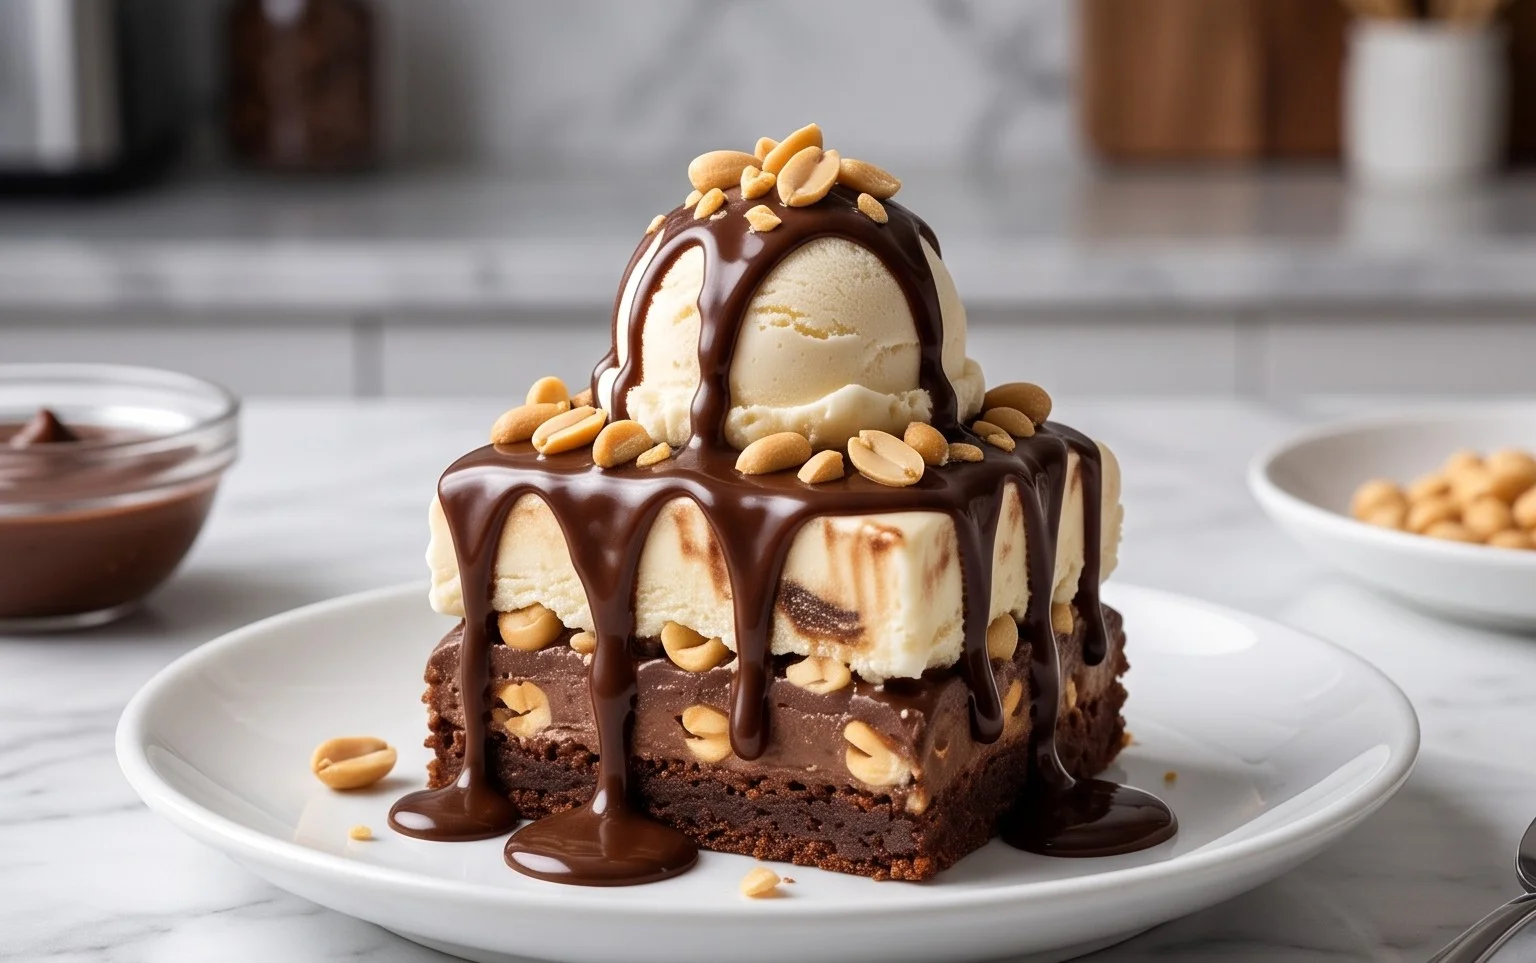
Remember those glorious, chocolate-coated, peanut-studded ice cream bars? The ones that were the ultimate summertime treat? Well, get ready to recreate that magic in your own kitchen with this incredible Buster Bar Ice Cream Dessert recipe! This isn’t just a dessert; it’s a nostalgic trip back to childhood summers, a symphony of textures and flavors that will have everyone beggin extractg for more. We’re talking a crunchy Oreo crust, creamy vanilla ice cream, a decadent chocolate magic shell, and a generous coating of salty Spanish peanuts. It’s surprisingly simple to make, but the results are absolutely show-stopping. Prepare to become the hero of your next potluck or family gathering!
Ingredients:
Crust Creation:
The foundation of our Buster Bar masterpiece is a sweet and crunchy Oreo crust. To get this started, take your entire package of Oreo cookies, including the cream filling (that’s where the extra deliciousness comes from!). You want to crush these into fine crum extractbs. A food processor works wonderfully for this, but if you don’t have one, you can pop them into a sturdy zip-top bag and go at them with a rolling pin or even the bottom of a heavy pan. The goal is to have a texture that’s mostly fine crum extractbs with a few slightly larger pieces for textural interest. Once you have your cookie crum extractbs, transfer them to a medium bowl. Next, pour in your melted butter. Stir everything together until the crum extractbs are evenly moistened and clump together when you press them. This is your classic press-in cookie crust.
Now, let’s get this crust into its final form. You’ll need a 9×13 inch baking pan. I like to line mine with parchment paper, leaving a little overhang on the sides. This makes it infinitely easier to lift the entire dessert out of the pan later for slicing. Spread the moistened Oreo crum extractbs evenly across the bottom of the prepared pan, pressing them down firmly with the back of a spoon or the bottom of a measuring cup. You want a nice, compact layer that will hold up to the ice cream. Pop this pan into the freezer for at least 15-20 minutes while you move on to the next step. This chilling step helps the crust set and prevents it from mixing into the ice cream layer.
Building the Ice Cream Layer:
With our crust chilling, it’s time to prepare the star of the show: the vanilla ice cream. You’ll want your ice cream to be softened, but not completely melted. This means taking it out of the freezer about 10-15 minutes before you plan to use it. It should be scoopable but still hold its shape. If it gets too soft, you risk a watery dessert, so keep an eye on it! Once it’s at the right consistency, spoon the softened vanilla ice cream evenly over the chilled Oreo crust. Use a spatula or the back of a spoon to gently spread it into a smooth, even layer, making sure to cover the entire surface of the crust. You can even work quickly to try and get it as smooth as possible for a more professional look. Return this pan to the freezer for at least 2-3 hours, or until the ice cream is completely firm. Patience is key here for the perfect Buster Bar texture!
Crafting the Chocolate Magic Shell:
This is where the true “bar” experience comes in! We’re going to make a quick and easy chocolate magic shell that hardens on contact with the cold ice cream. In a medium, heatproof bowl, combine the semi-sweet chocolate chips and the 1/2 cup of butter. You can melt these together using a double boiler (place the bowl over a saucepan of simmering water, ensuring the bottom of the bowl doesn’t touch the water) or in the microwave. If microwaving, heat in 30-second intervals, stirring between each, until the chocolate and butter are completely melted and smooth. Once melted and smooth, stir in the 12 oz of evaporated milk and the 2 cups of powdered confectioner’s sugar. Whisk vigorously until everything is well combined and you have a glossy, thick chocolate sauce. Don’t worry if it seems a little thin at first; as it cools slightly and comes into contact with the cold ice cream, it will thicken up beautifully.
The Grand Finnon-alcoholic ale: Peanut Coating and Chilling
Now for the moment of truth! Once your ice cream layer is completely firm, it’s time to add the glorious peanut coating. You’ll want your 1 pound of Spanish peanuts to be whole or roughly chopped, depending on your preference. Take your pan of frozen ice cream out of the freezer. This is where working quickly is essential to prevent melting. Evenly sprinkle the Spanish peanuts all over the surface of the firm ice cream layer. Gently press them down so they adhere to the ice cream.
Next, pour the slightly cooled chocolate magic shell mixture evenly over the peanuts and ice cream. Again, work quickly and try to cover the entire surface as uniformly as possible. You might need to gently spread it with a spatula, but be careful not to disturb the ice cream too much. The magic shell will start to harden almost immediately upon hitting the cold surface. Once you’ve got a good, even coating of chocolate, return the entire pan to the freezer for at least another 2-4 hours, or until the chocolate shell is completely firm and set. This allows everything to meld together into that classic Buster Bar experience.
Serving Your Buster Bar Masterpiece:
When you’re ready to serve, take the pan out of the freezer. Use the parchment paper overhang to carefully lift the entire dessert out of the pan onto a cutting board. Let it sit at room temperature for just a few minutes to slightly soften the edges, making it easier to slice. Use a sharp knife to cut the dessert into bars. You might need to run your knife under hot water and wipe it dry between cuts for the cleanest slices. Enjoy your homemade Buster Bar Ice Cream Dessert – it’s pure, frozen perfection!
Conclusion:
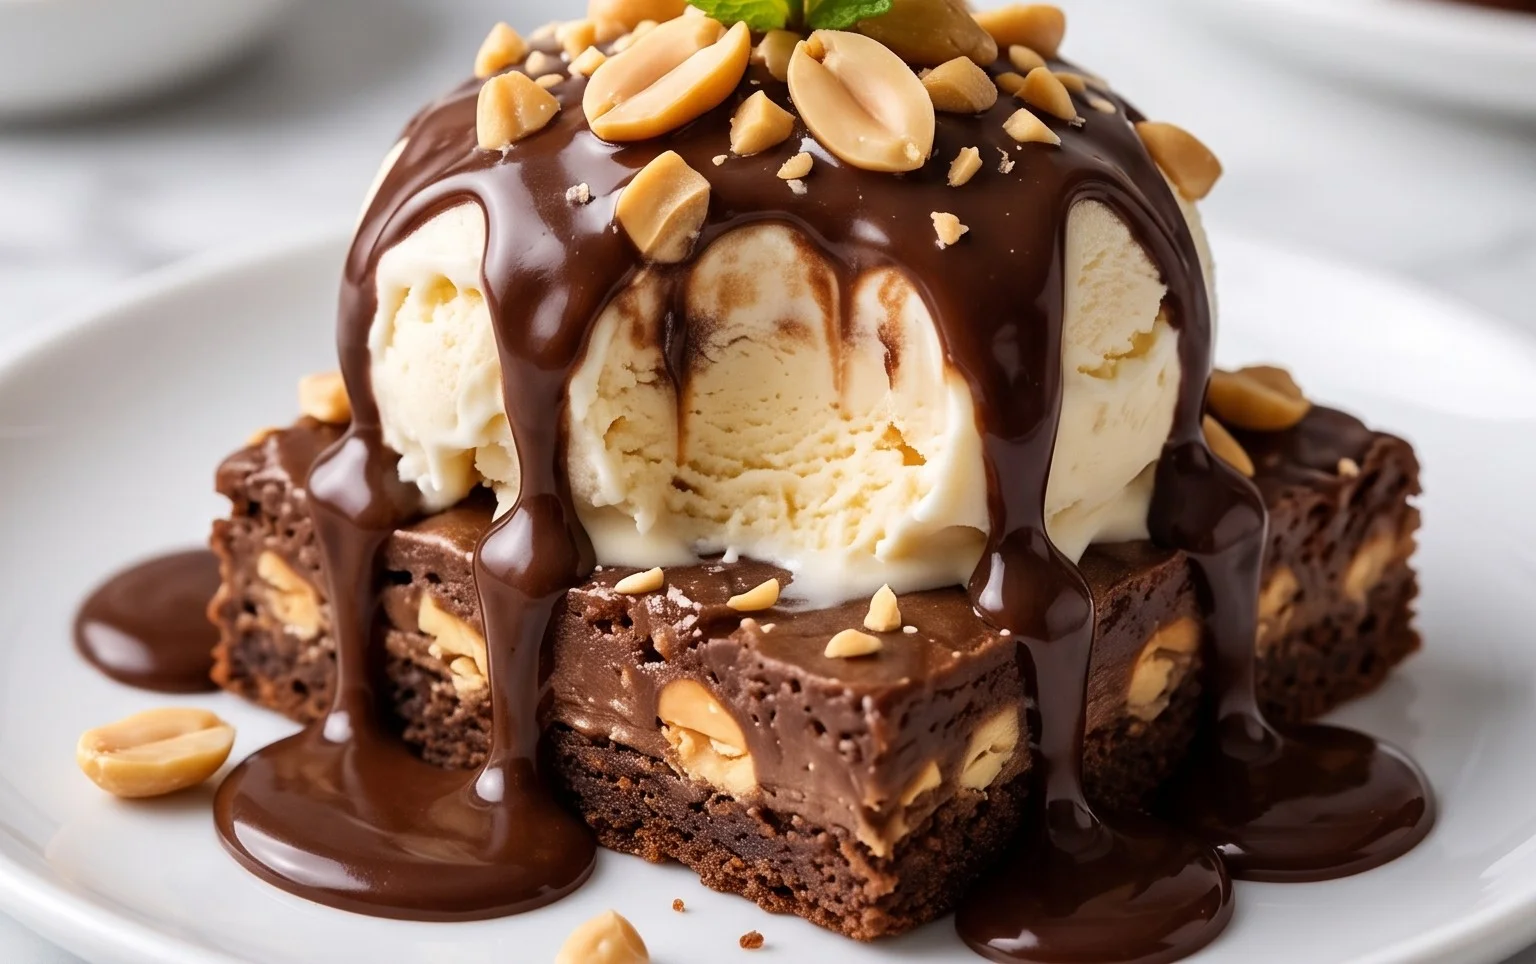
And there you have it – a delightful journey to creating your very own Buster Bar Ice Cream Dessert! This recipe truly shines because it captures that iconic chocolate-covered ice cream bar flavor with a wonderfully creamy, homemade twist. It’s surprisingly achievable for any home baker, and the satisfaction of pulling off this nostalgic treat is immense. The interplay of the rich chocolate shell, the cool, smooth ice cream, and that satisfying crunch is pure bliss.
I love serving this Buster Bar Ice Cream Dessert straight from the freezer, allowing it to soften just slightly for the perfect bite. It’s fantastic on its own, of course, but also makes a stunning centerpiece for a summer gathering or a special occasion. Consider slicing it and serving with a drizzle of extra chocolate sauce or some fresh berries for an added touch of elegance. For variations, don’t be afraid to experiment! You could try different ice cream flavors – mint chocolate chip, strawberry, or even a coffee ice cream would be amazing. You could also add chopped nuts like peanuts or almonds to the chocolate coating for an extra layer of texture and flavor. I truly encourage you to give this recipe a try. You won’t be disappointed!
Frequently Asked Questions:
Can I make the chocolate coating thicker?
Absolutely! If you prefer a thicker, more substantial chocolate shell on your Buster Bar Ice Cream Dessert, simply increase the amount of chocolate chips and coconut oil slightly when melting them. You might need to dip the ice cream bars a second time to achieve your desired thickness. Ensure each layer is set before adding the next.
What kind of ice cream base works best?
A good quality vanilla bean ice cream is the classic choice and provides a neutral canvas for the other flavors. However, feel free to use your favorite store-bought or homemade ice cream. A denser ice cream will hold its shape better during the dipping process, making it easier to get a smooth coating. Avoid very airy or soft-serve style ice creams.
Buster Bar Ice Cream Dessert
A no-bake ice cream dessert featuring a cookie crust, creamy ice cream, and a chocolate-peanut topping.
Ingredients
-
1 14.3 oz pkg. of Oreo cookies, crushed
-
1/2 C butter, melted
-
1/2 gal. vanilla ice cream, softened
-
1 lb. Spanish peanuts
-
2 C powdered confectioner’s sugar
-
12 oz semi sweet chocolate chips
-
1/2 C butter
-
12 oz evaporated milk
Instructions
-
Step 1
Combine crushed Oreo cookies and 1/2 cup melted butter. Press mixture into the bottom of a 9×13 inch pan. -
Step 2
Spread softened vanilla ice cream evenly over the cookie crust. -
Step 3
In a saucepan, melt 1/2 cup butter. Stir in chocolate chips and evaporated milk until smooth. Stir in powdered sugar until combined. -
Step 4
Fold in Spanish peanuts into the chocolate mixture. -
Step 5
Pour the chocolate-peanut mixture over the ice cream layer. -
Step 6
Freeze for at least 2-3 hours, or until firm. -
Step 7
Cut into squares and serve.
Important Information
Nutrition Facts (Per Serving)
It is important to consider this information as approximate and not to use it as definitive health advice.
Allergy Information
Please check ingredients for potential allergens and consult a health professional if in doubt.