Pâtes de Fruits Homemade – Easy & Delicious No Corn Syrup
Homemade Pâtes de Fruits (no corn syrup) offer a delightful burst of pure, unadulterated fruit flavor, transforming simple ingredients into chewy, jewel-toned confections. There’s an undeniable charm to these little fruit jellies; they evoke the sophisticated patisseries of France and bring a touch of artisanal magic to your own kitchen. Unlike mass-produced versions often laden with corn syrup, our homemade pâtes de fruits celebrate the natural sweetness and vibrant character of the fruit itself. Imagin extracte the vibrant tang of raspberry, the tropical kiss of mango, or the comforting sweetness of apricot, all captured in a perfectly balanced, tender bite. This recipe is for anyone who appreciates the nuanced beauty of natural flavors and seeks a more wholesome way to enjoy these exquisite treats.
Why You’ll Love These Pâtes de Fruits:
Pure Fruit Flavor Without Compromise
The absence of corn syrup is what truly elevates these homemade pâtes de fruits. It allows the true essence of the fruit to shine, creating a cleaner, more intense taste experience. You’ll be amazed at how bright and authentic the fruit flavors are.
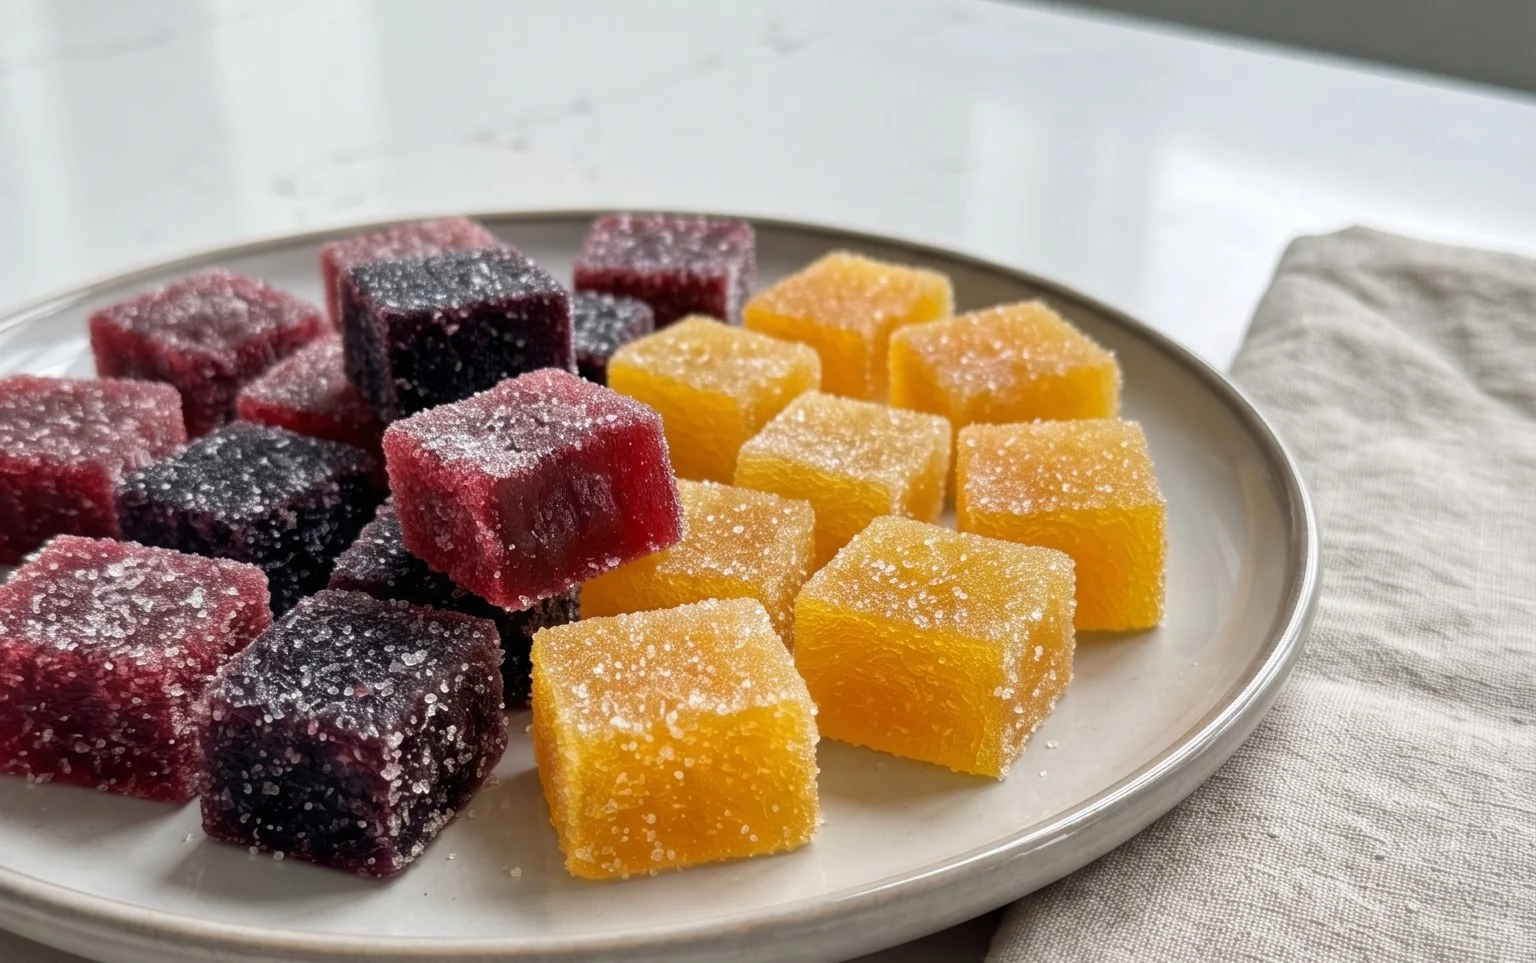
Homemade Pâtes de Fruits (No Corn Syrup)
There’s something incredibly luxurious about a perfectly made pâte de fruit. These chewy, fruit-forward confections are a sophisticated treat, often found gracing the shelves of high-end patisseries. Traditionally, they rely on corn syrup to achieve their signature texture, preventing crystallization and ensuring a smooth, pliable bite. However, for those looking to avoid corn syrup, or simply wanting to embrace a more natural approach, creating delicious pâtes de fruits at home is entirely achievable. The key lies in understanding the role of pectin and sugar, and employing a few simple techniques. This recipe focuses on delivering that delightful chew and intense fruit flavor without any corn syrup in sight. We’ve found that a vibrant blend of orange and pomegranate juice offers a beautiful balance of sweet and tart, but feel free to experiment with your favorite fruit combinations!
Ingredients:
*Note on Pectin: For this recipe, we’re referring to “classic pectin” or “pectin powder.” You’ll find various types of pectin in stores, but the standard powdered pectin is what you’ll need. Avoid “low-sugar” or “no-sugar” pectin as it’s formulated differently and won’t yield the correct results here. Always check the package instructions as pectin can sometimes require mixing with a small amount of sugar before adding to liquid, but for this recipe, we’ll incorporate it directly into the juice after a specific preparation step.
Cooking Instructions:
Preparation is Key: Before you begin extract cooking, gather all your ingredients and have them measured out. This process moves relatively quickly once you start, and you won’t want to be scrambling for ingredients. Line an 8×8 inch baking dish with parchment paper, leaving an overhang on all sides. This overhang will be crucial for lifting the solidified fruit mixture out of the dish later. Lightly grease the parchment paper with a neutral oil or a very thin layer of butter. Have a silicone spatula or a heat-resistant rubber spatula ready for stirring. Measure out your extra granulated sugar into a shallow dish or bowl for coating later.
Infusing the Pectin: In a medium saucepan, whisk together the 3 tablespoons of classic pectin with 1/4 cup of the granulated sugar (from the 1 cup total). This initial mixing of pectin with a portion of the sugar helps to disperse the pectin evenly and prevent it from clumping when it hits the liquid. In a separate bowl, combine your 2 cups of fruit juice with the 1 tablespoon of freshly squeezed lemon juice. Pour this juice mixture into the saucepan with the pectin-sugar mixture. Stir everything together thoroughly with your spatula until no dry pectin is visible. Let this mixture sit for about 10-15 minutes to allow the pectin to hydrate. You’ll notice it will start to thicken slightly.
Bringin extractg to a Boil: Place the saucepan over medium-high heat. Stir continuously with your spatula, ensuring you scrape the bottom of the pot to prevent sticking and burning. Bring the mixture to a rolling boil. A rolling boil is one that cannot be stirred out. Once the mixture reaches a rolling boil, add the remaining 3/4 cup of granulated sugar. Continue to stir constantly as the sugar dissolves. Once all the sugar is dissolved and the mixture returns to a rolling boil, maintain this boil for exactly 1 minute, stirring constantly. This precise boiling time is critical for activating the pectin properly and achieving the correct gel structure. Be sure to time this accurately.
Setting the Pâtes de Fruits: Immediately after the 1-minute boil, remove the saucepan from the heat. Carefully and quickly pour the hot fruit mixture into your prepared baking dish. Work swiftly, as the mixture will begin extract to set as it cools. You can gently tilt the dish to ensure an even layer, but avoid over-manipulating it. Allow the mixture to cool at room temperature for about 20-30 minutes. You’ll notice it will start to firm up significantly. Once it has cooled slightly but is still quite warm and pliable, you can carefully transfer the baking dish to the refrigerator to set completely. This will take at least 2-3 hours, but overnight is even better for a firm set.
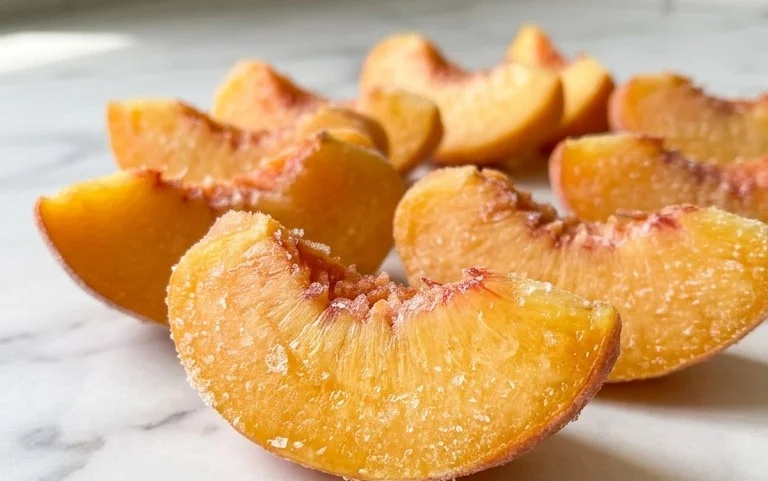
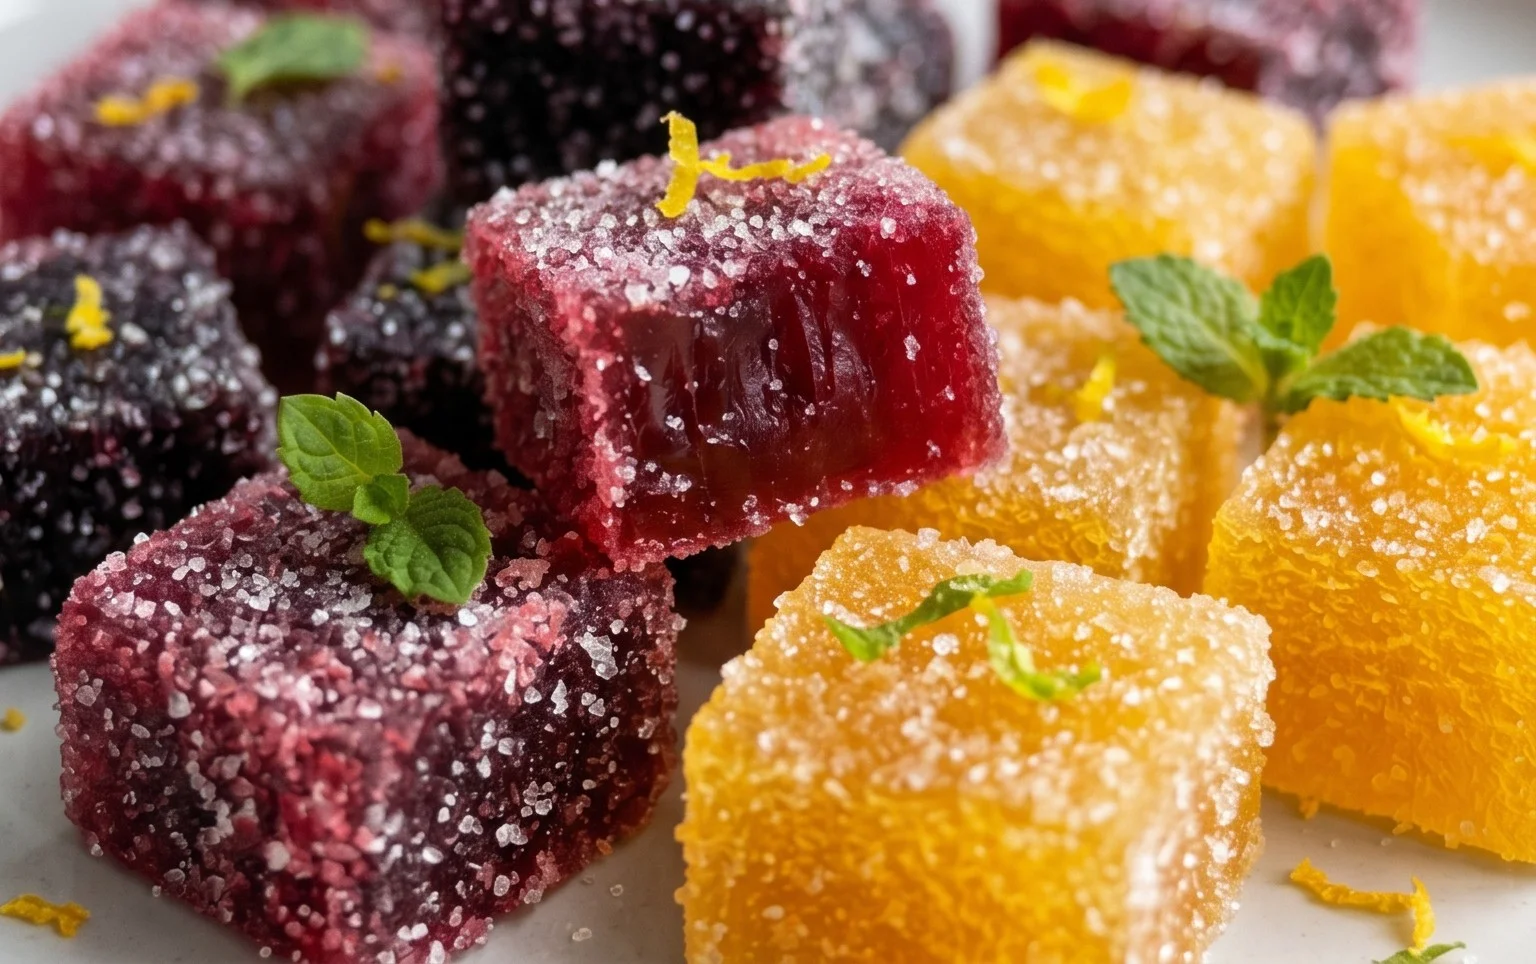
Cutting and Coating: Once your fruit mixture is completely firm and chilled, use the parchment paper overhang to carefully lift the entire slab out of the baking dish. Place it on a clean cutting board. Use a sharp knife or a pizza cutter to slice the slab into your desired shapes. Small squares (about 1 inch) are traditional, but you can also cut them into rectangles or even use small cookie cutters for fun shapes. After cutting, immediately roll each individual pâte de fruit in the reserved granulated sugar, coating all sides. This sugar coating not only adds sweetness but also helps to prevent them from sticking together and gives them their characteristic finish.
Storing Your Treats: Arrange the sugar-coated pâtes de fruits in a single layer on a clean parchment-lined baking sheet or tray. Allow them to air dry for a few hours at room temperature, or even overnight if your environment is humid. This helps to form a slightly drier exterior, which further prevents sticking. Once they have dried sufficiently, you can store them in an airtight container at room temperature. They are best enjoyed within 1-2 weeks. For longer storage, they can be refrigerated, but the texture may become slightly firmer. Enjoy these delightful homemade confections!
Conclusion:
Crafting your own homemade pâtes de fruits without corn syrup is a truly rewarding experience. This recipe offers a delightful journey into the world of artisan confections, yielding vibrant, intensely fruity, and perfectly chewy treats that are a step above anything store-bought. The absence of corn syrup allows the pure, natural flavor of the fruit to shine through, creating a more sophisticated and authentic taste. They are visually stunning, making them a perfect centerpiece for a dessert platter, a thoughtful handmade gift, or simply a delightful afternoon indulgence. Imagin extracte sharing these glistening jewels with friends or family – they’re guaranteed to impress!
Serving suggestions are as varied as the fruits you choose! Enjoy them alongside a cup of coffee or tea, as a palate cleanser between courses, or incorporated into more elaborate desserts. They also pair beautifully with cheese boards for a sweet and savory contrast. Don’t be afraid to experiment with flavor combinations; consider adding a hint of spice like gin extractger or chili, or a floral note with lavender or rosewater. The possibilities are endless, and the satisfaction of creating these beautiful homemade pâtes de fruits is immense. So, gather your favorite fruits, put on some music, and dive into this wonderfully creative culinary adventure. You’ll be so proud of what you create!
Frequently Asked Questions:
Why is my pâte de fruit not setting?
This is often due to not reaching the correct temperature. For a firm set, the mixture typically needs to reach between 105-110°C (221-230°F) on a candy thermometer. If it’s still too soft, you can gently reheat it and continue cooking, stirring constantly, until it reaches the desired temperature. Ensure you’re also using the correct pectin if your recipe calls for it, as different types have varying setting powers.
Can I use frozen fruit for homemade pâtes de fruits?
Yes, you absolutely can! Frozen fruit is a fantastic and often more economical option. Thaw it completely and drain off any excess liquid before proceeding with the recipe. You might find that the fruit’s flavor is even more concentrated after thawing. This flexibility makes creating delicious pâtes de fruits accessible year-round.
Homemade Pâtes de Fruits (no corn syrup)
Create delicious fruit jellies without corn syrup using fruit juice, sugar, pectin, and lemon juice.
Ingredients
-
2 cups fruit juice (orange and pomegranate used)
-
1 cup granulated sugar, plus more for coating
-
3 tablespoons classic pectin
-
1 tablespoon freshly squeezed lemon juice
Instructions
-
Step 1
In a medium saucepan, whisk together the fruit juice and lemon juice. -
Step 2
In a separate bowl, combine the granulated sugar and pectin. This prevents lumps. -
Step 3
Gradually whisk the sugar-pectin mixture into the fruit juice mixture until smooth. -
Step 4
Place the saucepan over medium heat and bring the mixture to a rolling boil, stirring constantly. Boil for 1 minute. -
Step 5
Pour the hot mixture into a parchment-lined 8×8 inch baking pan. Let it sit undisturbed. -
Step 6
Allow the pâtes de fruits to set at room temperature for at least 4 hours, or until firm to the touch. -
Step 7
Once set, cut the pâtes de fruits into desired shapes (squares or rectangles). Toss each piece in additional granulated sugar to coat.
Important Information
Nutrition Facts (Per Serving)
It is important to consider this information as approximate and not to use it as definitive health advice.
Allergy Information
Please check ingredients for potential allergens and consult a health professional if in doubt.