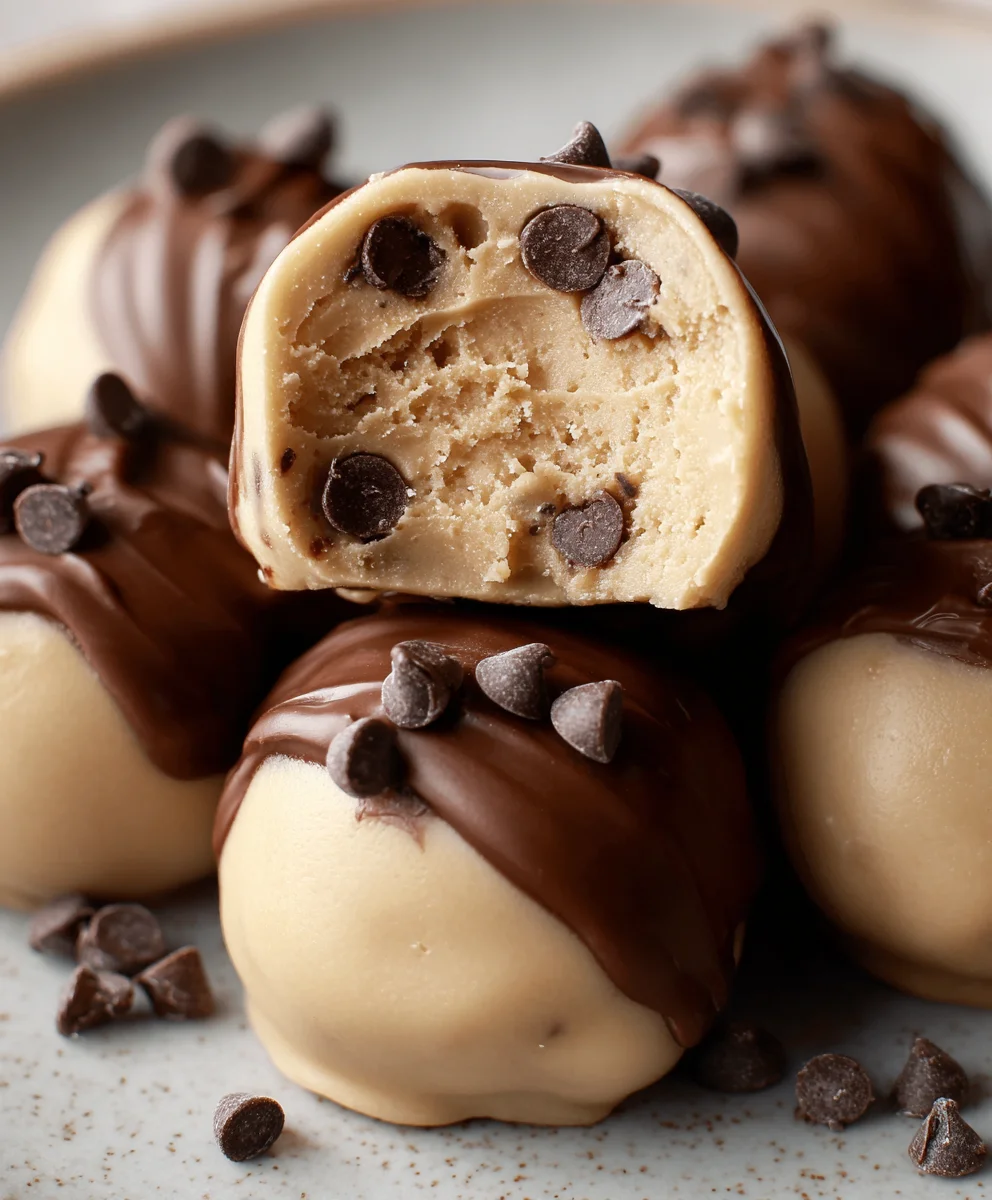
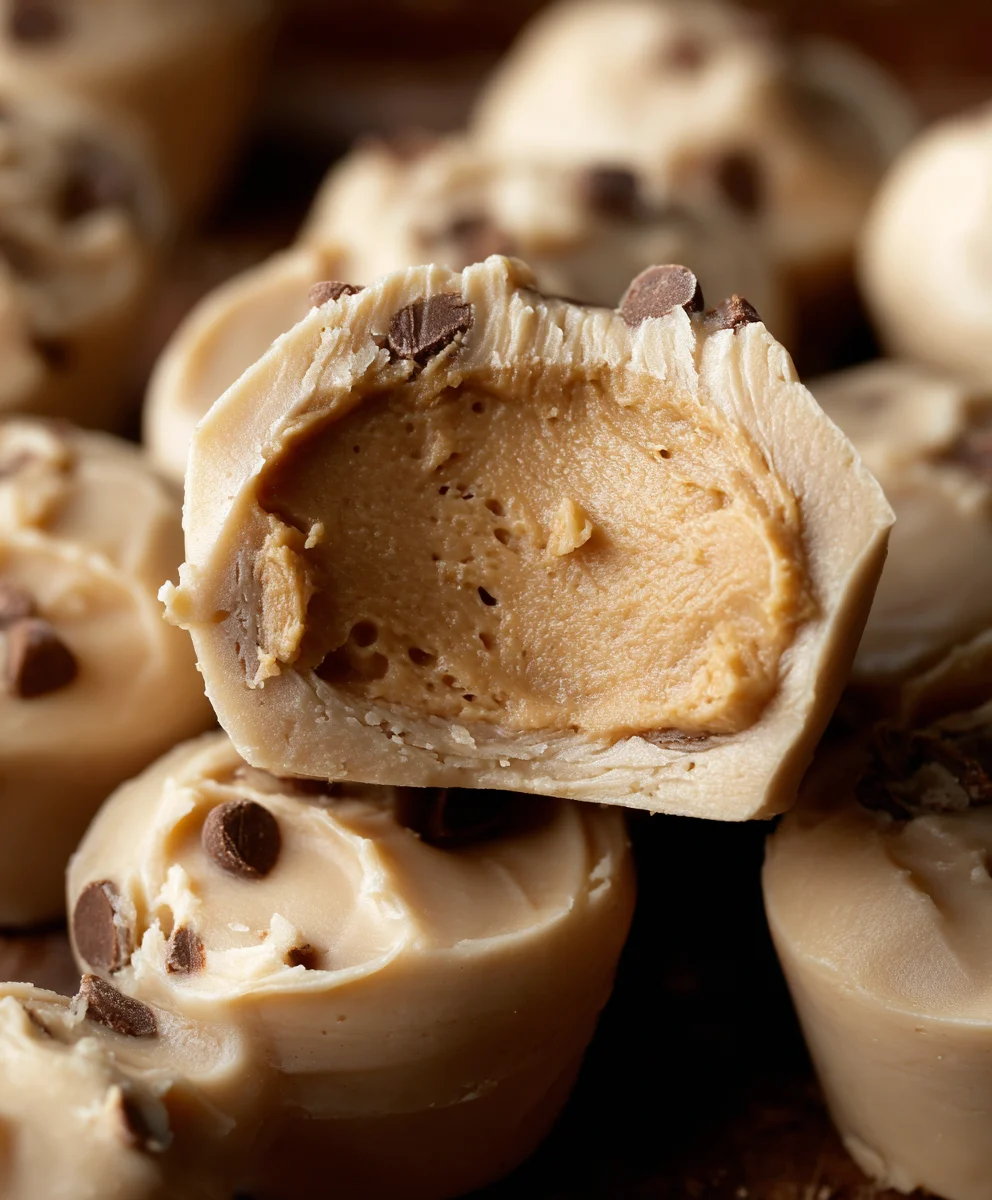
Greek Yogurt Peanut Butter Bites – Freezer Best Friend
Frozen Greek Yogurt Peanut Butter Bites: Your Freezer’s New Best Friend are about to revolutionize your snack game, and honestly, your entire dessert experience. Imagin extracte a treat that’s both unbelievably delicious and surprisingly guilt-free. That’s the magic we’re unlocking today! People absolutely adore these bites because they hit that perfect sweet spot: a creamy, tangy yogurt base swirled with rich, nutty peanut butter, all frozen into perfectly portioned morsels of joy. They’re the ultimate antidote to that mid-afternoon craving, a satisfying post-dinner indulgence, or even a refreshing breakfast boost. What truly sets these Frozen Greek Yogurt Peanut Butter Bites: Your Freezer’s New Best Friend apart is their incredible versatility and the sheer simplicity of their creation. You can customize them with your favorite toppings, from a sprinkle of sea salt to a drizzle of honey or even some crunchy granola. Plus, the fact that you can whip up a big batch and have healthy, satisfying snacks at your fingertips makes them a true freezer staple.
Ingredients:
- 1 cup creamy peanut butter (natural style is great for a less processed option)
- ½ cup pure maple syrup (adjust to your sweetness preference)
- 1 teaspoon vanilla extract
- ¼ teaspoon fine sea salt (enhances the peanut butter flavor)
- ½ cup unsweetened Greek yogurt, full-fat for creaminess (important: ensure it’s unsweetened and full-fat for the best texture and flavor)
- 2 tablespoons mini chocolate chips (or finely chopped dark chocolate)
- 1 tablespoon chia seeds
- A generous pinch of ground cinnamon
Preparing Your Peanut Butter Base
Step 1: Creaming the Peanut Butter and Sweetener
Let’s get started by creating our delicious peanut butter base. In a medium-sized mixing bowl, add your 1 cup of creamy peanut butter. If your peanut butter has separated oil, give it a good stir to recombine everything into a smooth, luscious consistency. This is your foundation, so a well-mixed peanut butter will ensure the bites are uniformly delicious. Now, pour in the ½ cup of pure maple syrup. The maple syrup not only adds sweetness but also helps to bind the ingredients together. Using a spatula or a sturdy spoon, begin extract to mix the peanut butter and maple syrup. Scrape down the sides of the bowl regularly to ensure everything is incorporated. Continue mixing until the mixture is smooth, glossy, and well combined. You’re aiming for a texture that’s no longer just peanut butter, but a sweet, pliable paste.
Step 2: Infusing Flavor with Vanilla, Salt, and Cinnamon
Once your peanut butter and maple syrup are beautifully blended, it’s time to elevate the flavor profile. Add the 1 teaspoon of vanilla extract to the bowl. Vanilla adds a wonderful depth and aroma that complements the peanut butter perfectly. Next, sprinkle in ¼ teaspoon of fine sea salt. Don’t skip the salt! It’s a flavor enhancer that really makes the peanut butter pop and balances the sweetness from the maple syrup. Finally, add that generous pinch of ground cinnamon. I find that just a touch of cinnamon adds a subtle warmth and complexity without overpowering the peanut butter. Again, use your spatula to thoroughly mix these additions into the peanut butter base. Ensure there are no streaks of vanilla or clumps of cinnamon. The aroma at this stage should be absolutely divine!
Incorporating the Creaminess and Extras
Step 3: Gently Folding in the Greek Yogurt
This is where we introduce a delightful creaminess and a bit of a healthier twist to our frozen treats. Take your ½ cup of unsweetened, full-fat Greek yogurt. It’s important to use full-fat for the best texture; lower-fat versions can sometimes lead to a icier result. Gently add the Greek yogurt to the peanut butter mixture. Now, instead of vigorously mixing, we’re going to fold it in. Use your spatula to carefully scoop the peanut butter mixture over the yogurt, and then gently incorporate it. The goal is to blend the yogurt until it’s just combined with the peanut butter, creating a slightly lighter and creamier texture. You don’t want to overmix here; a few swirls of yogurt are perfectly fine and will create lovely pockets of creaminess throughout the bites.
Step 4: Adding the Crunchy and Chewy Elements
Now for the fun additions that give these bites their texture and extra appeal! Gently stir in the 2 tablespoons of mini chocolate chips. If you’re using larger chocolate chips, give them a quick chop into smaller pieces so they distribute more evenly and are easier to bite into. These will provide delightful little bursts of chocolatey goodness. Next, add the 1 tablespoon of chia seeds. Chia seeds are fantastic for adding a subtle chegrape juicess and a boost of fiber and omega-3s. Give everything a final, gentle stir to distribute the chocolate chips and chia seeds evenly throughout the peanut butter mixture. Make sure they are well incorporated but try not to break them up too much.
Freezing and Enjoying Your Treats
Step 5: Shaping and Freezing the Bites
The final step before the magic of the freezer is shaping our delicious bites. You have a couple of options here for easy handling. You can line a baking sheet with parchment paper or wax paper. Then, using a small spoon or a mini cookie scoop, drop small, bite-sized portions of the mixture onto the prepared baking sheet. Aim for roughly tablespoon-sized portions. Another method is to lightly grease your hands and roll small amounts of the mixture into little balls. The parchment paper is crucial as it prevents the bites from sticking to the baking sheet as they freeze. Once your baking sheet is filled with these tempting morsels, carefully place it into the freezer. Allow them to freeze solid, which will typically take about 2 to 3 hours. Once frozen, you can transfer the individual bites into a freezer-safe bag or container for easy storage. They should be firm and ready to enjoy straight from the freezer!
Conclusion:
There you have it! The “Frozen Greek Yogurt Peanut Butter Bites: Your Freezer’s New Best Friend” recipe is incredibly simple to whip up and offers a delightful, guilt-free treat that will satisfy your sweet cravings. The creamy Greek yogurt combined with the rich, nutty flavor of peanut butter creates a harmonious balance that’s perfect for a quick snack, a post-workout refuel, or even a light dessert. These bites are incredibly versatile and provide a fantastic source of protein and probiotics, making them a smart addition to any diet. Don’t be afraid to experiment with the toppings!
For serving suggestions, I love enjoying these directly from the freezer as a refreshing frozen treat. They also make a wonderful addition to a breakfast bowl or a delightful component of a healthy dessert platter. Feel free to get creative with variations! You can add a sprinkle of chia seeds or flax seeds for extra fiber and omega-3s, a drizzle of honey or maple syrup for added sweetness, or even some mini chocolate chips for a touch of indulgence. The possibilities are truly endless.
I truly hope you enjoy making and devouring these “Frozen Greek Yogurt Peanut Butter Bites: Your Freezer’s New Best Friend” as much as I do. They are proof that healthy eating can be incredibly delicious and satisfying. So, stock up your freezer and get ready to enjoy a healthy, happy treat anytime you desire!
FAQs:
Q1: Can I use a different type of yogurt for these Frozen Greek Yogurt Peanut Butter Bites?
While the recipe specifically calls for Greek yogurt due to its thickness and protein content, you can experiment with other thick yogurts like Icelandic yogurt. However, regular or thinner yogurts might result in a less firm and potentially icier bite, so I highly recommend sticking with Greek yogurt for the best texture and flavor.
Q2: How long do these Frozen Greek Yogurt Peanut Butter Bites last in the freezer?
When stored properly in an airtight container or freezer bag, these “Frozen Greek Yogurt Peanut Butter Bites: Your Freezer’s New Best Friend” can last for up to 2-3 months in the freezer. They are best enjoyed within this timeframe for optimal texture and flavor.
Greek Yogurt Peanut Butter Bites – Freezer Best Friend
Easy and delicious no-bake bites made with Greek yogurt and peanut butter, perfect for a healthy freezer treat.
Ingredients
-
1 cup creamy peanut butter
-
½ cup pure maple syrup
-
1 teaspoon vanilla extract
-
¼ teaspoon fine sea salt
-
½ cup unsweetened Greek yogurt, full-fat
-
2 tablespoons mini chocolate chips
-
1 tablespoon chia seeds
-
A generous pinch of ground cinnamon
Instructions
-
Step 1
In a medium-sized mixing bowl, add the creamy peanut butter and stir to recombine any separated oil. Pour in the pure maple syrup and mix with a spatula or spoon until smooth and well combined. -
Step 2
Add the vanilla extract, fine sea salt, and ground cinnamon to the peanut butter mixture. Mix thoroughly until all ingredients are incorporated and there are no streaks or clumps. -
Step 3
Gently fold in the unsweetened, full-fat Greek yogurt using a spatula until just combined, creating a lighter and creamier texture. Avoid overmixing. -
Step 4
Gently stir in the mini chocolate chips and chia seeds until evenly distributed throughout the mixture. -
Step 5
Line a baking sheet with parchment paper or wax paper. Drop bite-sized portions of the mixture onto the prepared sheet, or lightly grease your hands and roll into balls. Freeze for 2-3 hours until solid. -
Step 6
Once frozen, transfer the bites to a freezer-safe bag or container for storage. Enjoy straight from the freezer.
Important Information
Nutrition Facts (Per Serving)
It is important to consider this information as approximate and not to use it as definitive health advice.
Allergy Information
Please check ingredients for potential allergens and consult a health professional if in doubt.