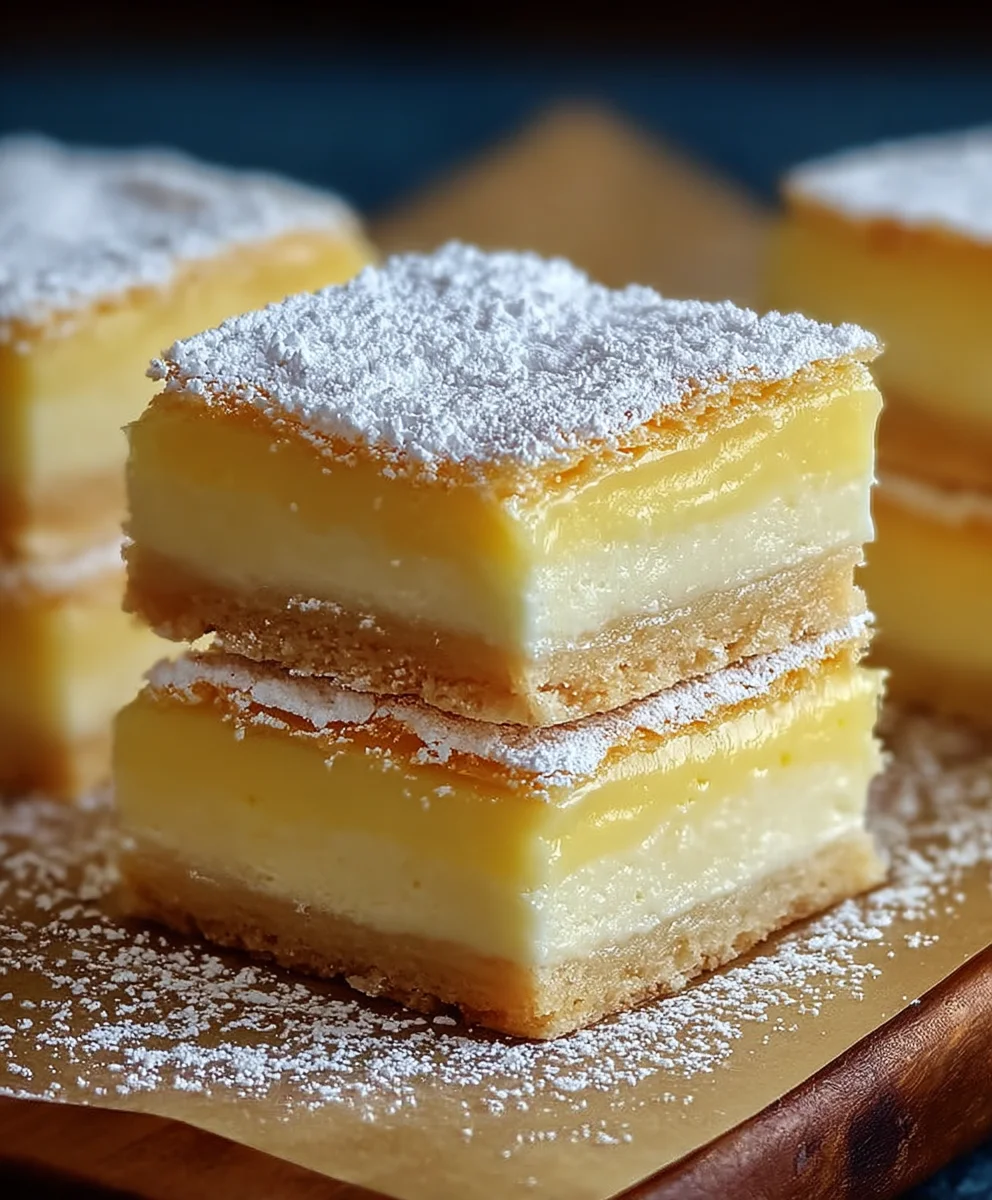
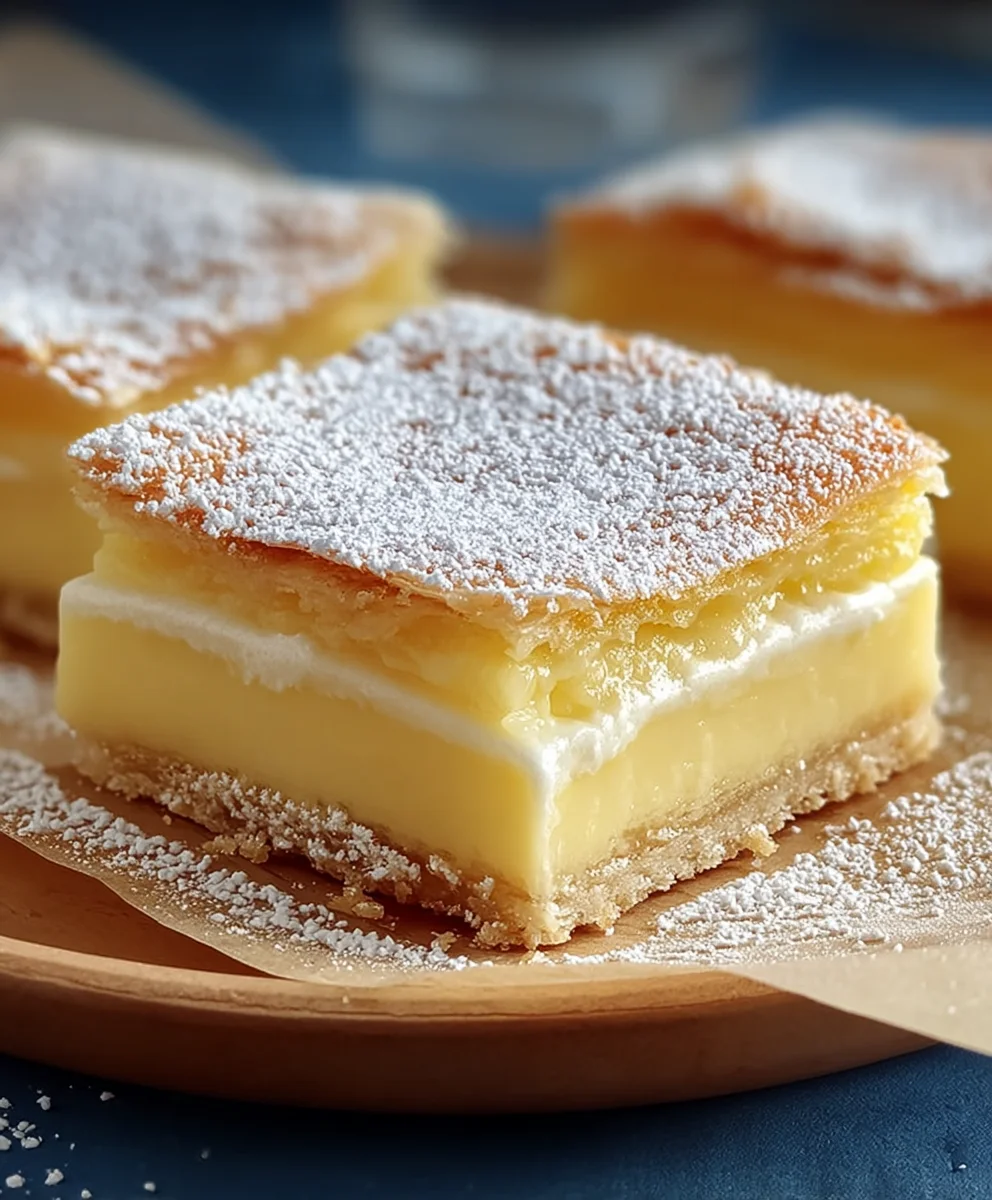
Vanilla Custard Cream Squares Recipe- Easy Dessert
Vanilla Custard Cream Squares are more than just a dessert; they are a nostalgic hug in edible form, a whisper of simpler times filled with sweet indulgence. We all have those cherished memories tied to specific flavors, and for so many, it’s the creamy, dreamy goodness of a perfectly made custard. These Vanilla Custard Cream Squares capture that essence beautifully, offering a delightful balance of a tender, buttery base and a luscious, velvety smooth vanilla bean custard filling. What truly sets these apart is their elegant simplicity, making them feel like a special occasion treat that’s surprisingly achievable for any home baker. The aroma that fills your kitchen as they bake is pure bliss, promising a moment of pure, unadulterated joy with every bite. Get ready to fall in love with the comforting elegance of these irresistible Vanilla Custard Cream Squares.
Ingredients:
- 2 sheets puff pastry, thawed but kept cold
- 4 cups whole milk, divided
- 1 1/2 cups granulated sugar
- 1 1/4 cups all-purpose flour
- 8 large eggs, carefully separated
- 3 teaspoons pure vanilla extract
- 2 tablespoons premium rum extract extract (optional)
- 1/4 teaspoon salt
- 2 cups heavy whipping cream, thoroughly chilled
- 2 tablespoons powdered sugar, plus extra for dusting
Preparing the Puff Pastry Base
The foundation of our delicious Vanilla Custard Cream Squares starts with perfectly baked puff pastry. Since the pastry is already thawed, we need to get it ready for baking. Preheat your oven to 400°F (200°C). While the oven heats up, gently unroll each sheet of puff pastry onto a lightly floured surface. Avoid overworking the dough as this can make it tough.
Now, we’ll prick the pastry all over with a fork. This step is crucial for preventing the pastry from puffing up too much in the oven, ensuring a nice, flat base for our custard. Cut each sheet into two equal rectangular pieces, giving you a total of four rectangles. Place these rectangles on a baking sheet lined with parchment paper. You can gently score a border about 1/2 inch from the edge of each rectangle. This border will help create a slight rim for the custard. Bake for about 12-15 minutes, or until the pastry is golden brown and puffed. Once baked, carefully press down any puffed areas with a spatula while still warm to create a more even surface. Let these pastry bases cool completely on a wire rack.
Making the Rich Vanilla Custard
This is where the magic happens! We’re going to create a lusciously smooth and creamy vanilla custard that will be the heart of our dessert. In a medium saucepan, combine 3 1/2 cups of the whole milk with 1 cup of the granulated sugar. Heat this mixture over medium heat, stirring occasionally, until it’s just steaming and the sugar has dissolved. Do not let it boil. Remove it from the heat and set aside.
In a separate large bowl, whisk together the all-purpose flour, the remaining 1/2 cup of granulated sugar, and the salt. Make sure there are no lumps of flour. In another bowl, whisk the 8 egg yolks until they are a pnon-alcoholic ale yellow. Gradually add the egg yolks to the flour mixture, whisking constantly until well combined.
Now, temper the egg yolk mixture by slowly and gradually pouring about half of the hot milk mixture into the egg yolk and flour mixture, whisking continuously. This process gently warms the eggs, preventing them from scrambling. Once this is incorporated, carefully pour the tempered egg mixture back into the saucepan with the remaining milk. Return the saucepan to medium-low heat. Cook, stirring constantly with a whisk or a wooden spoon, until the custard has thickened considerably and coats the back of a spoon. This can take anywhere from 8 to 15 minutes. Be patient and keep stirring to prevent scorching.
Once thickened, remove the custard from the heat. Stir in the pure vanilla extract and the orum extractonal rum extract until fully combined. To achieve the smoothest possible custard, you can strain it through a fine-mesh sieve into a clean bowl. This will catch any small lumps that may have formed. To prevent a skin from forming on the surface as it cools, press a piece of plastic wrap directly onto the surface of the custard. Allow the custard to cool at room temperature for about 30 minutes, then refrigerate until thoroughly chilled, at least 2 hours.
Whipping the Cream and Assembling the Squares
While the custard is chilling, let’s prepare the light and airy whipped cream. In a large, very cold bowl (it helps if you chill the bowl and beaters beforehand), combine the 2 cups of thoroughly chilled heavy whipping cream and the 2 tablespoons of powdered sugar. Using an electric mixer on medium-high speed, whip the cream until stiff peaks form. This means that when you lift the beaters, the cream will hold its shape and the peaks will stand straight up. Be careful not to overmix, or you’ll end up with butter!
Once the custard is completely chilled and the whipped cream is ready, it’s time for assembly. Take your cooled puff pastry bases. If the custard has become too firm from chilling, gently stir it with a spoon to loosen it slightly. Gently fold about half of the whipped cream into the chilled custard. This lightens the custard and makes it even more decadent.
Spread an even layer of the lightened custard mixture over each of the puff pastry bases, reaching close to the edges but leaving a small border. Then, spread the remaining plain whipped cream over the custard layer, creating a beautiful contrast.
Finishing Touches and Chilling
Now for the final touches that make these Vanilla Custard Cream Squares truly special. Lightly dust the tops of the assembled squares with a bit of extra powdered sugar using a fine-mesh sieve. This adds a professional and inviting finish.
For the best flavor and texture, it’s essential to chill the assembled squares for at least another hour, or preferably longer, in the refrigerator. This allows the flavors to meld together and the custard to set up further, making them easier to slice cleanly. When you are ready to serve, use a sharp knife to carefully cut the squares into your desired portions. Enjoy this delightful treat!
Conclusion:
And there you have it – your very own batch of delicious Vanilla Custard Cream Squares! We hope you enjoyed making these delightful treats as much as we did. This recipe is a wonderful balance of creamy, sweet, and slightly buttery, making it a perfect addition to any occasion. Whether you’re looking for a simple dessert to impress guests or a comforting sweet for a cozy afternoon, these Vanilla Custard Cream Squares are sure to hit the spot. Don’t be afraid to experiment and make them your own!
For serving, these squares are divine on their own, but you can elevate them further with a dusting of powdered sugar, a dollop of whipped cream, or even some fresh berries. For variations, consider adding a hint of lemon zest to the custard for a citrusy twist, or swirling in some melted chocolate before chilling for a marbled effect. You could also try adding a pinch of cinnamon to the shortbread base for a warm spice note. Remember, baking is an adventure, so have fun with it!
Frequently Asked Questions:
Q1: How should I store leftover Vanilla Custard Cream Squares?
Store any uneaten Vanilla Custard Cream Squares in an airtight container in the refrigerator for up to 3-4 days. The custard will firm up even more in the fridge, which some people prefer. Make sure they are completely cooled before storing to prevent condensation from making the base soggy.
Q2: Can I make the custard ahead of time?
Yes, absolutely! The custard can be made up to two days in advance and stored in an airtight container in the refrigerator. This can save you time on the day you plan to assemble the Vanilla Custard Cream Squares. Just give it a good whisk before spreading it over the cooled shortbread base.
Vanilla Custard Cream Squares
An easy and delicious dessert featuring layers of crisp puff pastry, rich vanilla custard, and light whipped cream.
Ingredients
-
2 sheets puff pastry, thawed but kept cold
-
4 cups whole milk, divided
-
1 1/2 cups granulated sugar
-
1 1/4 cups all-purpose flour
-
8 large eggs, carefully separated
-
3 teaspoons pure vanilla extract
-
2 tablespoons premium non-alcoholic rum extract (optional)
-
1/4 teaspoon salt
-
2 cups heavy whipping cream, thoroughly chilled
-
2 tablespoons powdered sugar, plus extra for dusting
Instructions
-
Step 1
Preheat oven to 400°F (200°C). Unroll puff pastry, prick all over with a fork, and cut each sheet into two equal rectangles. Score a 1/2 inch border on each rectangle. Place on a parchment-lined baking sheet and bake for 12-15 minutes until golden brown. Press down any puffed areas while warm and let cool completely. -
Step 2
In a saucepan, heat 3 1/2 cups milk with 1 cup sugar until steaming. In a large bowl, whisk flour, remaining 1/2 cup sugar, and salt. Whisk egg yolks until pale yellow and gradually add to flour mixture. Temper egg yolks by slowly adding half of the hot milk mixture, whisking constantly. -
Step 3
Pour the tempered egg mixture back into the saucepan with the remaining milk. Cook over medium-low heat, stirring constantly, until thickened and coats the back of a spoon (8-15 minutes). Remove from heat, stir in vanilla and optional rum extract. Strain into a clean bowl, press plastic wrap directly onto the surface, and let cool for 30 minutes, then refrigerate for at least 2 hours. -
Step 4
While custard chills, whip 2 cups heavy cream with 2 tablespoons powdered sugar in a very cold bowl until stiff peaks form. -
Step 5
Gently fold about half of the whipped cream into the chilled custard to lighten it. Spread this mixture evenly over the cooled puff pastry bases. Top with the remaining plain whipped cream. -
Step 6
Dust the tops with extra powdered sugar. Chill for at least 1 hour before slicing and serving.
Important Information
Nutrition Facts (Per Serving)
It is important to consider this information as approximate and not to use it as definitive health advice.
Allergy Information
Please check ingredients for potential allergens and consult a health professional if in doubt.