Unique Bridal Shower Ideas At Home – Fun Celebrations
30 Unique At-Home Bridal Shower Ideas will transform your living room into the most memorable celebration a bride could dream of! Forget the crowded banquet halls and predictable flower arrangements; we’re diving deep into creating an intimate, personal, and utterly delightful bridal shower experience right in the comfort of your own home. This isn’t just about celebrating the bride-to-be; it’s about crafting an atmosphere filled with love, laughter, and a touch of magic that reflects her personality and dreams. People adore at-home bridal showers because they offer unparalleled flexibility, a cozy and familiar setting, and the opportunity to infuse every detail with genuine sentiment. What makes these ideas truly special is their focus on personalization – from DIY craft stations that double as party favors to themed culinary adventures that guests will be talking about for years to come. Get ready to be inspired and discover how to host a bridal shower that feels handcrafted and bursting with joy.
Ingredients:
- 1 cup all-purpose flour
- 1 teaspoon baking powder
- 1/4 teaspoon salt
- 1/2 cup unsalted butter, softened
- 3/4 cup granulated sugar
- 2 large eggs
- 1 teaspoon vanilla extract
- 1/4 cup milk
- Assorted decorative sprinkles
- Frosting of choice (e.g., buttercream, cream cheese)
The Sweet Foundation: Preparing the Bridal Shower Cookies
Stage 1: Dry Ingredients Harmony
Let’s begin extractgin extract bringing together the essential dry components for our delightful cookies. In a medium-sized bowl, whisk together the 1 cup of all-purpose flour, 1 teaspoon of baking powder, and 1/4 teaspoon of salt. Whisking these ingredients ensures that the leavening agent (baking powder) and the salt are evenly distributed throughout the flour. This is a crucial step for achieving a consistent texture in your cookies – no one wants a bite that’s too salty or a cookie that doesn’t rise properly! Once combined, set this bowl aside.
Stage 2: Creaming for Creaminess
Now, we move on to creating a rich and creamy base. In a large mixing bowl, using either an electric mixer or a sturdy whisk and some elbow grease, cream together the 1/2 cup of softened unsalted butter and the 3/4 cup of granulated sugar. You want to beat these together until the mixture is light and fluffy, pnon-alcoholic ale in color, and has a noticeably airy texture. This process, known as creaming, incorporates air into the butter and sugar, which contributes to the cookies’ tender crum extractb and helps them spread just the right amount during baking. Scrape down the sides of the bowl occasionally to ensure all the butter and sugar are incorporated smoothly.
Stage 3: Introducing the Wet Ingredients
Once your butter and sugar are perfectly creamed, it’s time to add the eggs and vanilla. Add the 2 large eggs, one at a time, beating well after each addition until fully incorporated. Adding them one by one helps to emulsify the mixture, preventing it from becoming greasy. Next, stir in the 1 teaspoon of vanilla extract. Vanilla is a classic flavor enhancer, adding a warm and comforting aroma and taste that complements the sweetness of the cookie. Give it a good mix until everything is wonderfully comgin extracted.
Bringing it All Together: The Cookie Dough
Stage 4: The Flour and Milk Dance
Now, we’ll gradually combine the dry ingredients with the wet ingredients. With your mixer on low speed (or using a spatulgin extractf mixing by hand), begin adding the dry ingredients from Stage 1 to the wet ingredients in three additions, alternating with the 1/4 cup of milk. Start by adding about a third of the flour mixture, mix until just combined, then add half of the milk, mix again. Continue this pattern: add another third of the flour, mix, add the remaining milk, mix, and finally, add the last portion of the flour mixture. Be careful not to overmix the dough once the flour is added; overmixing can develop the gluten too much, resulting in tough cookies. Mix only until no dry streaks of flour remain. The dough should be soft but hold its shape.
Stage 5: Shaping and Sparkle
gin extractis is where the fun really begins! For bridal shower cookies, we want them to be as visually appealing as they are delicious. Preheat your oven to 350°F (175°C) and line baking sheets with parchment paper. To shape the cookies, you can either drop rounded tablespoons of dough onto the prepared baking sheets, leaving about 2 inches between them to allow for spreading, or you can roll the dough into balls and then flatten them slightly with your hand or the bottom of a glass. For an extra festive touch, gently press assorted decorative sprinkles onto the tops of the cookies before baking. This is where you can get creative and match your sprinkles to the bridal shower’s theme or color scheme!
Baking and Beautifying: The Finishing Touches
Stage 6: The Gentle Bake
Place the baking sheets in your preheated oven. Bake for 10-12 minutes, or until the edges are lightly golden and the centers are set. Keep a close eye on them, as ovens can vary. You want them to be cooked through but not browned too much, ensuring a soft and chewy interior. Once baked, remove the cookies from the oven and let them cool on the baking sheets for a few minutes before transferring them to a wire rack to cool completely. This cooling period is essential; hot cookies are delicate and can easily break. Allowing them to cool fully on the wire rack ensures they firm up properly and are ready for the final decorating stage.
Stage 7: Frosting and Flourishes
Once your cookies are completely cool, it’s time fornon-alcoholic alee grand finale – decorating! Prepare your frosting of choice. Whether you opt for a classic buttercream, a tangy cream cheese frosting, or even a simple glaze, ensure it’s spreadable. Using an offset spatula or a piping bag fitted with a decorative tip, generously frost the cooled cookies. You can spread it smoothly, create swirls, or even do a simple dunk into the frosting. While the frosting is still wet, you can add more sprinkles for an extra pop of color and texture. For a more intricate design, you can also use edible markers or additional piping to create patterns or write small messages. These decorated cookies are perfect for a “30 Unique At-Home Bridal Shower Ideas” celebration, offering a sweet and personalized touch that guests will adore.
Conclusion:
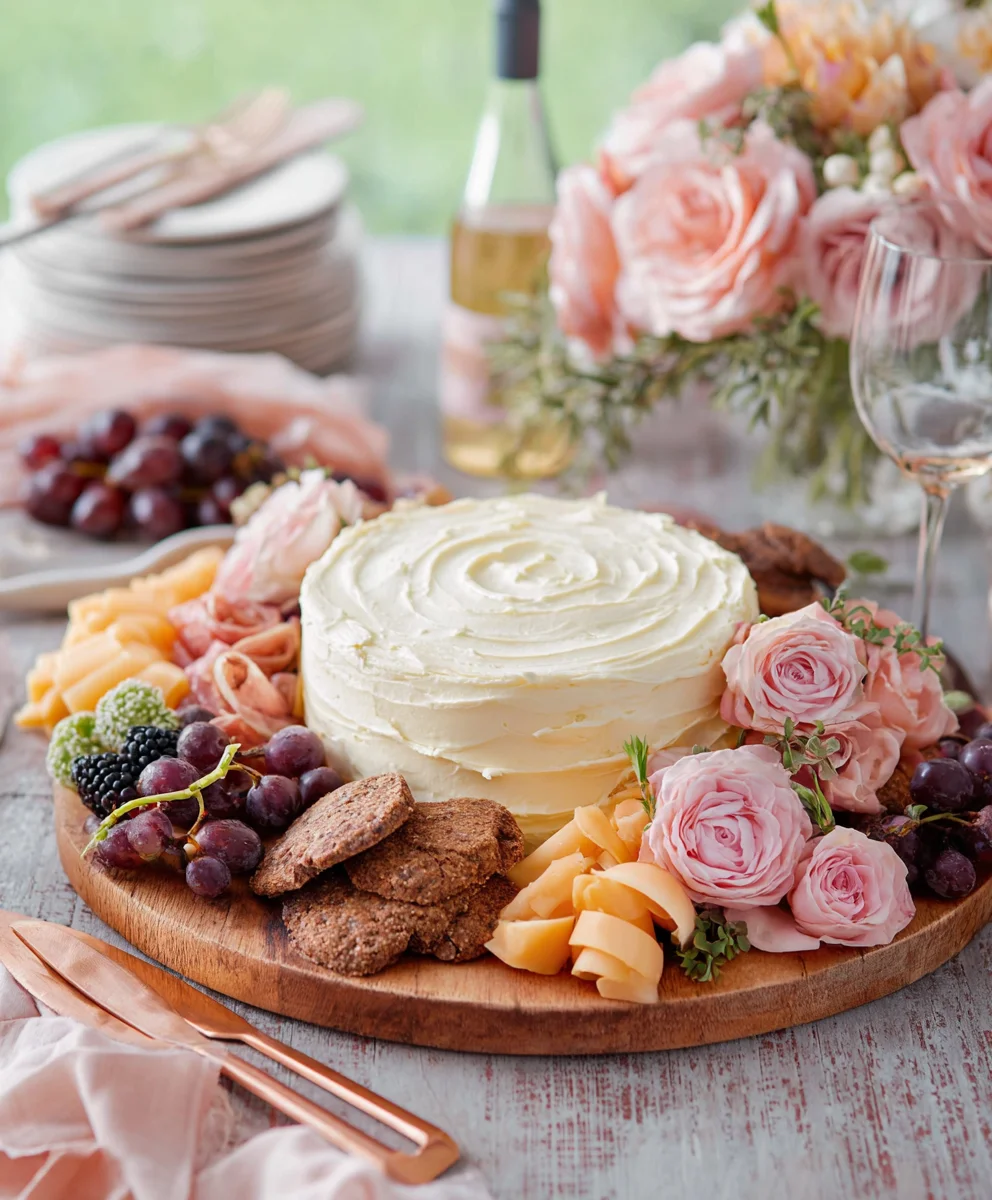
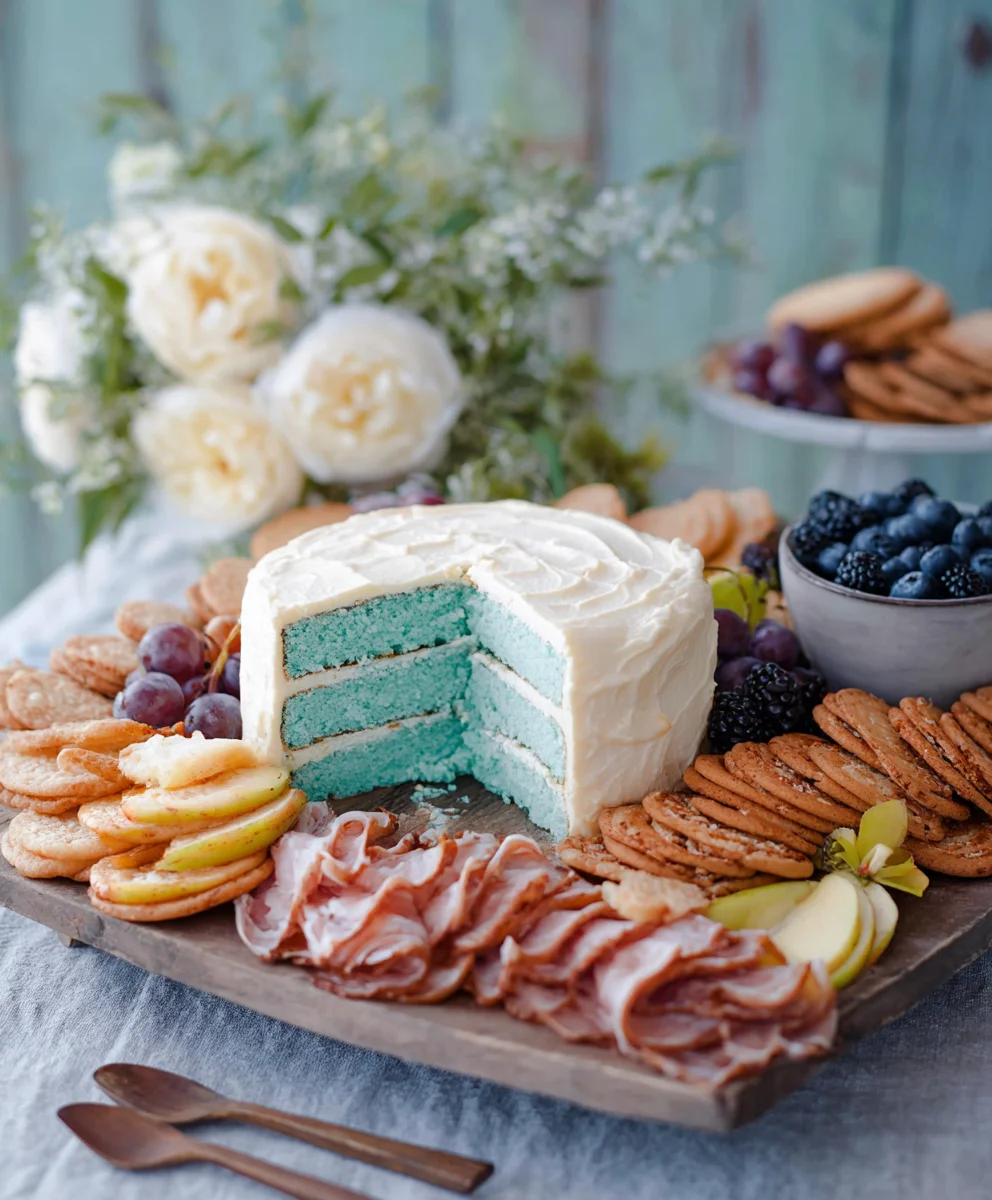
We hope you’ve found endless inspiration from our exploration of 30 Unique At-Home Bridal Shower Ideas! From elegant tea parties to playful game nights, there’s a concept here to suit every bride and her unique style. Remember, the most important ingredient is love and creating a memorable experience for the soon-to-be-wed. Don’t be afraid to mix and match elements from different ideas to craft your perfect celebration. Consider serving a beautifully curated charcuterie board with an assortment of cheeses, cured meats, and fresh fruits for a sophisticated touch, or perhaps a build-your-own mimosa bar for a bubbly brunch. For variations, feel free to adapt themes to the bride’s hobbies – a book-themed shower with literary-inspired decorations or a garden party filled with floral arrangements and botanical crafts.
We encourage you to embrace your creativity and have fun planning this special event. The joy of a bridal shower lies in celebrating friendship and love, and these ideas are designed to make that celebration truly unforgettable. Get ready to create cherished memories!
Frequently Asked Questions about 30 Unique At-Home Bridal Shower Ideas:
Q: What are some budget-friendly options within the 30 Unique At-Home Bridal Shower Ideas?
A: Many of our ideas can be adapted for a tighter budget. For instance, a potluck-style brunch or a DIY spa day where guests bring their favorite beauty products can significantly reduce costs. Focusing on homemade decorations and utilizing digital invitations also helps save money.
Q: How can I incorporate the bride’s personality into the shower, even if she’s shy?
A: For a shy bride, focus on activities that are less performative. A “memory jar” where guests write down their favorite memories with the bride, or a relaxed craft station where guests can create something for the couple’s new home, are wonderful ways to involve everyone without putting the bride on the spot. Personalizing the playlist with her favorite songs is also a thoughtful touch.
Unique Bridal Shower Cookies
Delicious and decorative cookies perfect for a fun bridal shower celebration at home.
Ingredients
-
1 cup all-purpose flour
-
1 teaspoon baking powder
-
1/4 teaspoon salt
-
1/2 cup unsalted butter, softened
-
3/4 cup granulated sugar
-
2 large eggs
-
1 teaspoon vanilla extract
-
1/4 cup milk
-
Assorted decorative sprinkles
-
Frosting of choice (e.g., buttercream, cream cheese)
Instructions
-
Step 1
Combine dry ingredients: Whisk together 1 cup all-purpose flour, 1 teaspoon baking powder, and 1/4 teaspoon salt in a medium bowl. Set aside. -
Step 2
Cream butter and sugar: In a large bowl, cream 1/2 cup softened unsalted butter and 3/4 cup granulated sugar until light, fluffy, and pale in color. -
Step 3
Add wet ingredients: Beat in 2 large eggs one at a time, then stir in 1 teaspoon vanilla extract. -
Step 4
Combine wet and dry: Gradually add the dry ingredients alternately with 1/4 cup milk to the wet ingredients, mixing on low speed until just combined. Do not overmix. -
Step 5
Shape and decorate: Preheat oven to 350°F (175°C). Drop rounded tablespoons of dough onto parchment-lined baking sheets. Press assorted decorative sprinkles onto the tops before baking. -
Step 6
Bake: Bake for 10-12 minutes, or until edges are lightly golden and centers are set. Cool on baking sheets for a few minutes, then transfer to a wire rack to cool completely. -
Step 7
Frost and finish: Once cookies are completely cool, frost with your choice of frosting. Add more sprinkles or use edible markers for extra decoration.
Important Information
Nutrition Facts (Per Serving)
It is important to consider this information as approximate and not to use it as definitive health advice.
Allergy Information
Please check ingredients for potential allergens and consult a health professional if in doubt.