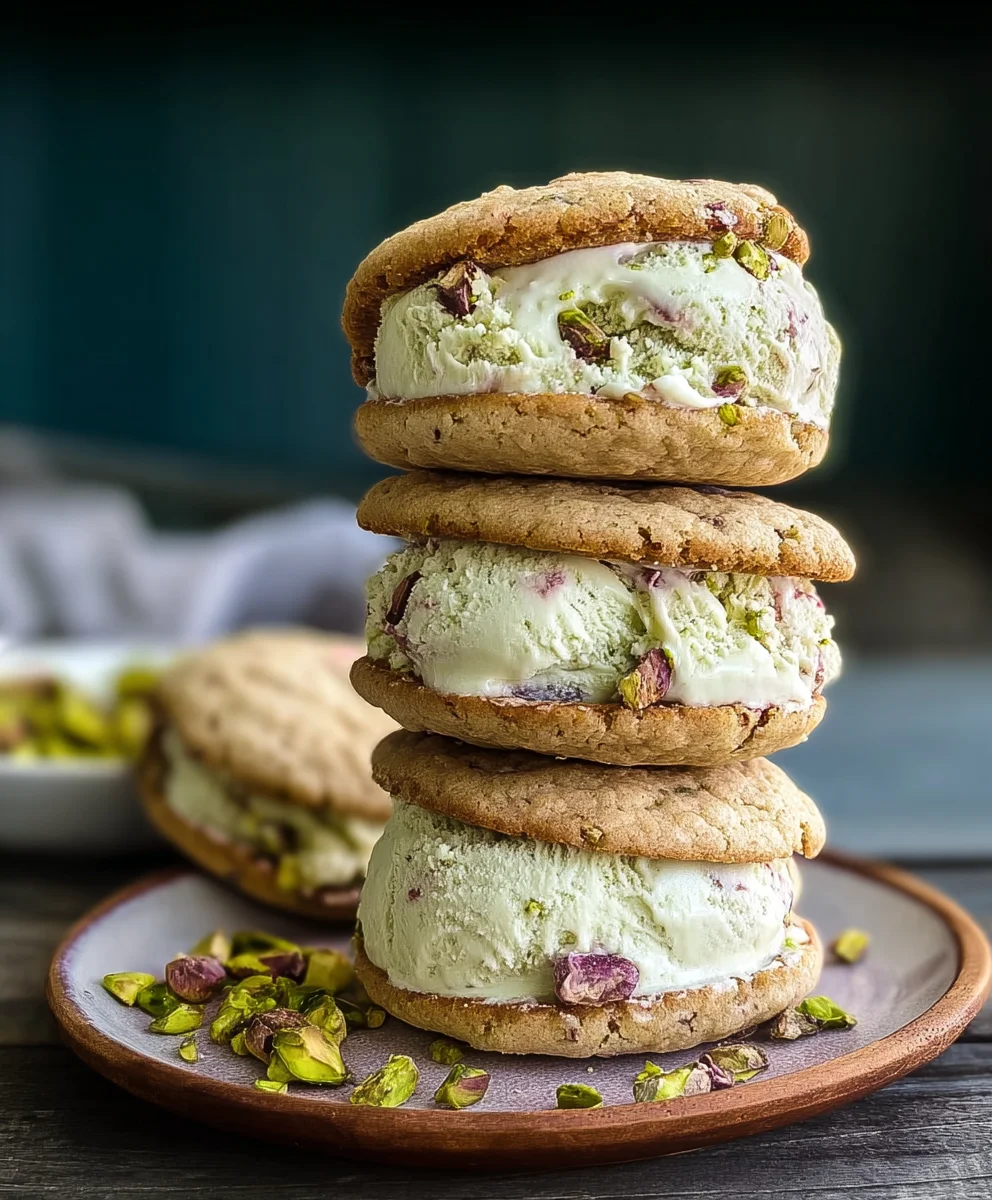
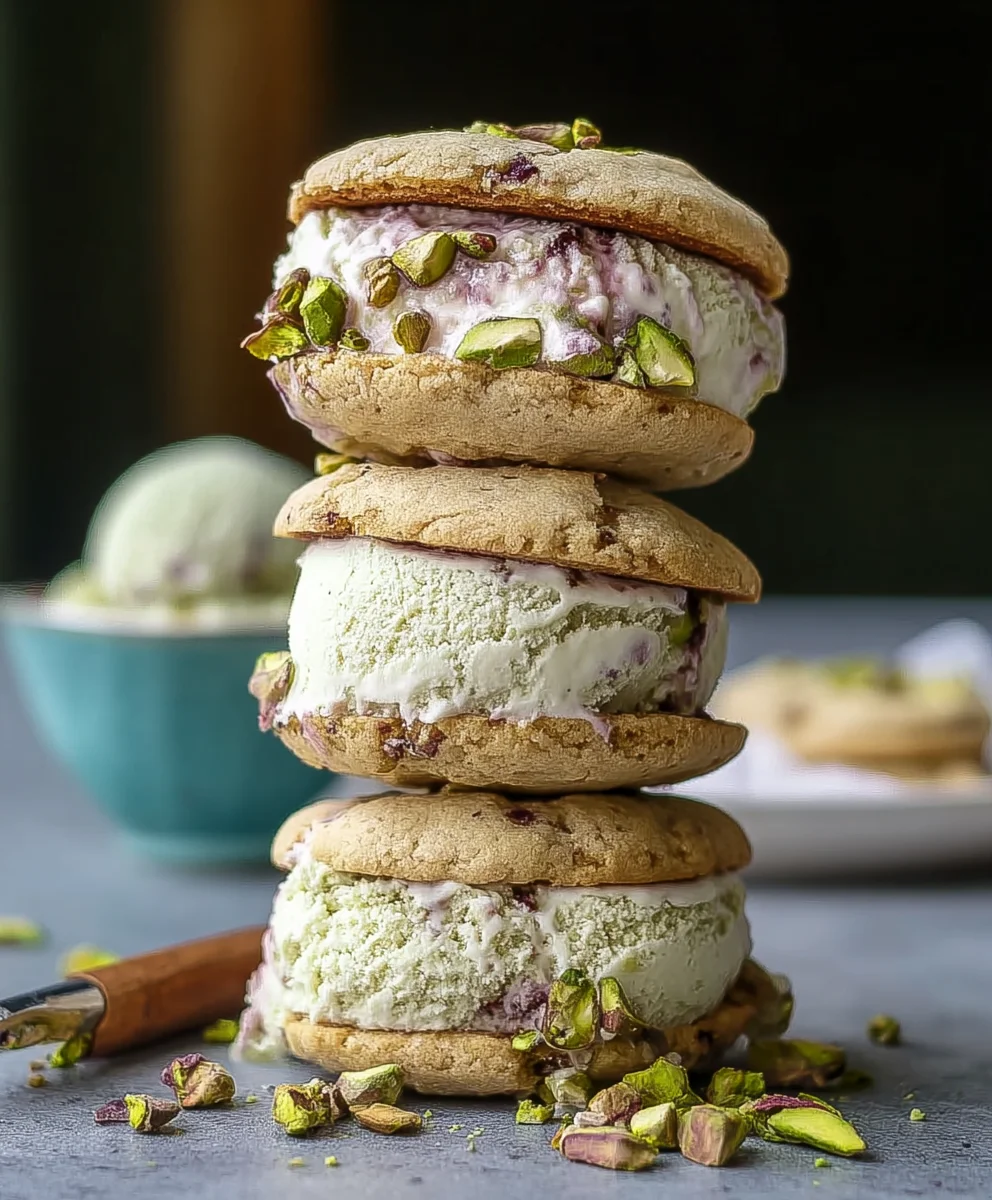
Pistachio Cookie Ice Cream Sandwiches – Easy Dessert
Pistachio Cookie Ice Cream Sandwiches are more than just a dessert; they’re a delightful fusion of textures and flavors that capture the essence of summer indulgence. Imagin extracte biting into a perfectly crisp, subtly sweet pistachio cookie, only to be met with a creamy, cool wave of your favorite ice cream. It’s a sensory experience that transports you to a place of pure bliss. This isn’t just any cookie sandwich; the unique nutty depth of pistachios elevates it beyond the ordinary, offering a sophisticated yet comforting taste. People adore these for their inherent charm, the satisfying contrast between the crum extractbly cookie and the smooth ice cream, and the beautiful, almost jewel-like green hue the pistachios lend to the cookies. What truly makes these Pistachio Cookie Ice Cream Sandwiches special is the ability to customize the ice cream filling, making each bite a personal masterpiece. Get ready to craft a treat that’s as visually appealing as it is delicious, a guaranteed crowd-pleaser that will have everyone asking for the recipe.
Ingredients:
- 1 cup unsalted butter, softened
- ¾ cup granulated sugar
- 1 large egg
- 1 teaspoon vanilla extract
- 2 cups all-purpose flour
- ½ cup finely ground pistachios
- ¼ teaspoon salt
- 2 cups vanilla ice cream, slightly softened
- ¼ cup chopped pistachios (for rolling)
Preparing the Cookie Dough
- In a large mixing bowl, cream together the softened unsalted butter and granulated sugar. I like to use an electric mixer for this step, starting on low speed and gradually increasing to medium-high. You’re looking for a light and fluffy texture, which usually takes about 2-3 minutes. This process incorporates air into the butter and sugar, which will help make your cookies tender and delicate. Scrape down the sides of the bowl occasionally to ensure everything is evenly mixed.
- Beat in the large egg and vanilla extract until well combined. Again, make sure to scrape down the sides of the bowl. The mixture should be smooth and homogenous.
- In a separate medium bowl, whisk together the all-purpose flour, finely ground pistachios, and salt. Using a whisk ensures that the dry ingredients are evenly distributed, especially the salt and ground pistachios. This prevents pockets of saltiness or clumps of pistachio.
- Gradually add the dry ingredients to the wet ingredients, mixing on low speed until just combined. Be careful not to overmix the dough at this stage. Overmixing can develop the gluten in the flour too much, resulting in tough cookies. Stop mixing as soon as you no longer see streaks of flour. The dough will be slightly soft.
Chilling and Shaping the Cookies
- Turn the dough out onto a clean surface and gently bring it together. Divide the dough in half, and shape each half into a flat log about 1.5 inches in diameter. You can do this by hand, or by placing the dough between two sheets of parchment paper and rolling it with a rolling pin to form an even log. Wrapping the dough logs tightly in plastic wrap is crucial. This helps to keep the logs in their shape and makes slicing easier. Chill these dough logs in the refrigerator for at least 2 hours, or until firm. This chilling period is essential as it solidifies the butter, making the dough much easier to slice evenly and preventing the cookies from spreading too much during baking. You can even prepare these dough logs a day or two in advance and keep them chilled.
Baking the Pistachio Cookies
- Preheat your oven to 350°F (175°C). Line baking sheets with parchment paper. This prevents the cookies from sticking and makes for easy cleanup.
- Once the dough logs are firm, unwrap them and carefully slice them into ¼-inch thick rounds. If the dough feels too hard to slice cleanly, let it sit at room temperature for a few minutes until it’s slightly more pliable, but still firm. Arrange the cookie slices on the prepared baking sheets, leaving about 2 inches between each cookie to allow for slight spreading.
- Bake for 10-12 minutes, or until the edges are lightly golden brown. The centers might still look a little soft, but they will continue to bake as they cool. Keep a close eye on them, as oven temperatures can vary. For more evenly baked cookies, you can rotate the baking sheets halfway through the baking time.
- Let the cookies cool on the baking sheets for 5 minutes before transferring them to a wire rack to cool completely. It’s imperative that the cookies are completely cooled before assembling the ice cream sandwiches. Warm cookies will melt the ice cream instantly, creating a messy and undesirable result.
Assembling the Pistachio Cookie Ice Cream Sandwiches
- Take your slightly softened vanilla ice cream out of the freezer. You want it to be scoopable but not melted. If it’s too hard, let it sit at room temperature for about 10-15 minutes.
- Place about 2 tablespoons of ice cream onto the flat side of one cooled cookie. Gently press another cookie on top, flat side down, to create a sandwich. You can also spread the ice cream using a small offset spatula for a neater finish, ensuring an even layer of ice cream between the cookies.
- Roll the exposed edges of the ice cream in the chopped pistachios. This not only adds a lovely crunch and visual appeal but also helps to seal the edges of the ice cream, minimizing melting when you handle them. You can gently press the sides of the sandwich into the chopped pistachios to help them adhere.
- Place the assembled ice cream sandwiches on a parchment-lined baking sheet and return them to the freezer immediately to firm up for at least 30 minutes before serving. This step is crucial for allowing the ice cream to re-harden and the sandwich to hold its shape. Enjoy your delicious Pistachio Cookie Ice Cream Sandwiches!
Conclusion:
And there you have it! Your very own batch of delicious Pistachio Cookie Ice Cream Sandwiches are ready to be enjoyed. We’ve walked through each step, from crafting the perfect pistachio cookies to assembling these delightful treats, and I’m confident you’ll be thrilled with the results. These sandwiches are more than just a dessert; they’re a celebration of vibrant flavor and satisfying textures. I encourage you to give this recipe a try – it’s a fantastic way to impress guests or simply treat yourself to something truly special.
For serving suggestions, these Pistachio Cookie Ice Cream Sandwiches are best enjoyed immediately after assembly, allowing the cookies to soften slightly around the ice cream. You can also freeze them for a firmer texture. They make a wonderful centerpiece for any gathering, a unique dessert after a family meal, or a delightful afternoon pick-me-up. Don’t be afraid to get creative with variations! Consider using different flavors of ice cream, like vanilla bean or even a complementary fruit sorbet. You could also add a drizzle of white chocolate or a sprinkle of chopped pistachios to the edges for an extra touch of elegance and crunch.
Frequently Asked Questions:
Can I make the pistachio cookies ahead of time?
Absolutely! The pistachio cookies can be baked and stored in an airtight container at room temperature for up to 3-4 days. Once cooled completely, you can assemble the sandwiches and freeze them for later enjoyment.
What kind of ice cream works best with pistachio cookies?
While vanilla bean is a classic and wonderful pairing, I find that a good quality pistachio ice cream or even a slightly tart raspberry sorbet can create intriguing flavor combinations. Feel free to experiment based on your personal preferences!
How should I store the assembled Pistachio Cookie Ice Cream Sandwiches?
Once assembled, place the Pistachio Cookie Ice Cream Sandwiches on a baking sheet lined with parchment paper and freeze them until solid. Then, transfer them to a freezer-safe container or resealable bag for optimal storage. They will keep well in the freezer for up to 2-3 weeks.
Pistachio Cookie Ice Cream Sandwiches
Easy and delicious homemade ice cream sandwiches featuring tender pistachio cookies filled with creamy vanilla ice cream and rolled in crunchy chopped pistachios.
Ingredients
-
1 cup unsalted butter, softened
-
3/4 cup granulated sugar
-
1 large egg
-
1 teaspoon vanilla extract
-
2 cups all-purpose flour
-
1/2 cup finely ground pistachios
-
1/4 teaspoon salt
-
2 cups vanilla ice cream, slightly softened
-
1/4 cup chopped pistachios (for rolling)
Instructions
-
Step 1
Cream together softened unsalted butter and granulated sugar in a large bowl until light and fluffy. Beat in the egg and vanilla extract until well combined. In a separate bowl, whisk together flour, ground pistachios, and salt. Gradually add dry ingredients to wet ingredients, mixing on low speed until just combined. Do not overmix. -
Step 2
Turn dough onto a clean surface, divide in half, and shape each half into a flat log about 1.5 inches in diameter. Wrap tightly in plastic wrap and chill in the refrigerator for at least 2 hours, or until firm. -
Step 3
Preheat oven to 350°F (175°C). Line baking sheets with parchment paper. Unwrap chilled dough logs and slice into 1/4-inch thick rounds. Arrange slices on prepared baking sheets, leaving space between cookies. -
Step 4
Bake for 10-12 minutes, or until edges are lightly golden brown. Let cookies cool on baking sheets for 5 minutes, then transfer to a wire rack to cool completely. -
Step 5
Take slightly softened vanilla ice cream. Place about 2 tablespoons of ice cream onto the flat side of one cooled cookie. Gently press another cookie on top, flat side down, to create a sandwich. -
Step 6
Roll the exposed edges of the ice cream in chopped pistachios. Place assembled sandwiches on a parchment-lined baking sheet and return to the freezer for at least 30 minutes to firm up before serving.
Important Information
Nutrition Facts (Per Serving)
It is important to consider this information as approximate and not to use it as definitive health advice.
Allergy Information
Please check ingredients for potential allergens and consult a health professional if in doubt.