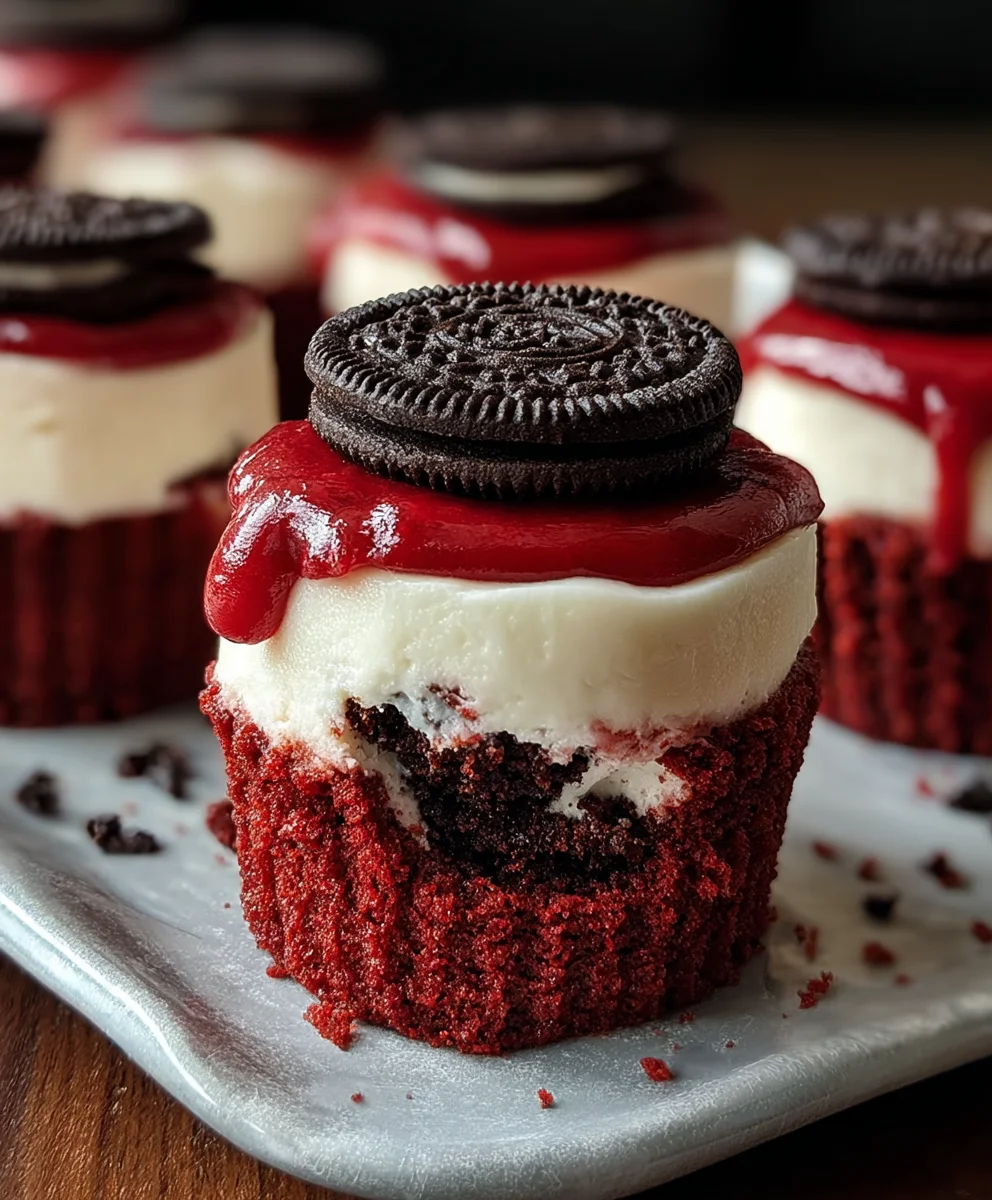
Mini Red Velvet Oreo Cheesecakes-Decadent Dessert
Mini Red Velvet Oreo Cheesecakes are more than just a dessert; they’re an experience. Imagin extracte the delightful crunch of an Oreo crust giving way to a rich, creamy cheesecake filling, all swirled with the iconic crimson hue and subtle cocoa notes of red velvet. It’s no wonder these delightful treats are a crowd-pleaser, perfect for parties, holidays, or simply when you need a little bit of magic. What truly sets these mini cheesecakes apart is the harmonious marriage of textures and flavors. The deep, slightly tangy red velvet complements the sweet, decadent cream cheese base beautifully, while the familiar comfort of the Oreo cookie provides an irresistible foundation. Each bite offers a symphony of sensations that will leave your gugin extracts begging for the recipe. Get ready to impress with these absolutely show-stopping Mini Red Velvet Oreo Cheesecakes!
Ingredients:
- 12 Oreo cookies
- 3 tablespoons all-purpose flour
- 1/2 cup cocoa powder (for the crust and filling)
- 1/2 cup granulated sugar (for the crust)
- 1/4 cup unsalted butter, melted (for the crust)
- 8 oz cream cheese, room temperature
- 1 egg, room temperature (for the filling)
- 1/4 cup sour cream, room temperature
- 1/4 cup granulated sugar (for the filling)
- 1/2 teaspoon vanilla extract (for the filling)
- Red gel food coloring
- 1 egg, room temperature (for the filling – yes, there are two eggs listed, one for the crust base and one for the filling)
- Pinch of salt (for the crust base)
Creating the Mini Red Velvet Oreo Cheesecakes
This recipe will guide you through making adorable and decadent Mini Red Velvet Oreo Cheesecakes. These miniature treats combine the classic flavors of red velvet cake and creamy cheesecake, all nestled on a crunchy Oreo crust. They are perfect for parties, special occasions, or simply when you crave a rich and satisfying dessert. We’ll be working in phases to ensure each component is perfectly prepared for the best results.
Phase 1: The Oreo Crust Foundation
First, let’s prepare the delightful Oreo crust that forms the base of our mini cheesecakes. This is a simple yet crucial step that adds a wonderful texture and chocolatey depth.
1. Begin extract by finely crushing the 12 Oreo cookies. You can do this by placing them in a food processor and pulsing until they resemble coarse crum extractbs. Alternatively, you can put the Oreos in a resealable plastic bag, seal it tightly, and then crush them with a rolling pin until you achieve a srum extractlar crumb consistency. It’s important to get them quite fine for a cohesive crust.
2. In a medium bowl, combine the crushed Oreo cookies with the 3 tablespoons of all-purpose flour, 1/2 cup of cocoa powder, 1/2 cup of granulated sugar, and a pinch of salt. Whisk these dry ingredients together thoroughly to ensure everything is evenly distributed. This blend will create a robust and flavorful base.
3. Pour the 1/4 cup of melted unsalted butter into the dry ingredients. Stir with a fork or spatularum extracttil all the crumbs are moistened and the mixture resembles wet sand. It should clump together when squeezed. This is the ideal consistency for pressing into your muffin tin.
Phase 2: Assembling the Mini Cheesecakes
Now it’s time to assemble our mini cheesecakes in their individual molds. Using a standard 12-cup muffin tin is perfect for this recipe. You can line the muffin cups with paper liners if you prefer, or you can lightly grease them. For easier removal, especially if not using liners, you might consider using silicone muffin liners.
4. Divide the Oreo crust mixture evenly among the 12 muffin cups. Use the back of a spoon or a small tamper to firmly press the crust mixture into the bottom of each cup. Ensure you pack it down tightly to create arum extractlid base that won’t crumble when the cheesecakes are baked and removed. This firm pressing is key to a well-formed crust.
Phase 3: Crafting the Red Velvet Cheesecake Filling
Next, we’ll prepare the luscious red velvet cheesecake filling. This is where the signature color and creamy texture come to life.
5. In a separate large bowl, beat the 8 oz of softened cream cheese until it is completely smooth and creamy. Make sure your cream cheese is at room temperature; this is essential for achieving a lump-free filling. You can use an electric mixer (handheld or stand mixer) for best results.
6. Add the 1/4 cup of granulated sugar and 1 tablespoon of cocoa powder to the cream cheese. Continue beating until these are well incorporated and the mixture is smooth. Scrape down the sides of the bowl periodically to ensure all ingredients are mixed in.
7. Beat in the 1 egg (room temperature is important here too, as it helps with emulsification) and the 1/4 cup of sour cream until just combined. Be careful not to overmix at this stage, as overbeating can introduce too much air, which can lead to cracks in your cheesecakes.
8. Add the 1/2 teaspoon of vanilla extract and the red gel food coloring. Start with a few drops of the red gel food coloring and mix thoroughly. Add more coloring, a drop at a time, until you achieve your desired vibrant red velvet hue. Gel food coloring provides a more intense color without adding excess liquid, which is ideal for cheesecake.
9. Once the filling is perfectly colored and smooth, carefully spoon it over the prepared Oreo crusts in each muffin cup. Fill each cup about two-thirds to three-quarters full, leaving a little room for slight puffing during baking. For an even smoother top, you can gently tap the muffin tin on the counter a few times to release any air bubbles.
Phase 4: Baking and Chilling for Perfection
The final stages involve baking and chilling, which are critical for setting the cheesecakes and developing their ultimate texture.
10. Bake the mini cheesecakes in a preheated oven at 325°F (160°C) for approximately 20-25 minutes. The cheesecakes are ready when the edges are set and slightly puffed, but the centers still jiggle just a little when the pan is gently shaken. Overbaking can result in a dry cheesecake.
11. Once baked, remove the muffin tin from the oven and let the mini cheesecakes cool in the tin on a wire rack for about 15-20 minutes. This initial cooling period allows thgin extractto begin setting.
12. After the initial cooling, carefully remove the mini cheesecakes from the muffin tin. If you used paper liners, you can gently peel them away. Place the cheesecakes on the wire rack to cool completely to room temperature.
13. Once at room temperature, cover the cheesecakes loosely with plastic wrap and refrigerate them for at least 4 hours, or preferably overnight. Chilling is absolutely essential for the cheesecakes to fully set and develop their rich, creamy texture. The longer they chill, the better they will taste and the firmer they will become.
Enjoy your homemade Mini Red Velvet Oreo Cheesecakes! They are best served chilled, and you can garnish them with a dollop of whipped cream or a drizzle of chocolate sauce if desired.
Conclusion:
And there you have it – the delightfully decadent Mini Red Velvet Oreo Cheesecakes! We’ve walked through creating these bite-sized wonders from scratch, layering rich chocolate cookie crust with creamy, vibrant red velvet cheesecake filling, and topping it all off with that iconic cookie crum extractble. These individual delights are perfect for parties, special occasions, or simply when you crave a truly indulgent treat. They look stunning on any dessert table and are always a crowd-pleaser. For serving suggestions, consider a dollop of whipped cream or a fresh raspberry to complement the flavors. Experiment with different rum extractkie crumbles or add a swirl of cream cheese frosting for exciting variations!
Don’t be intimidated by making cheesecakes; this mini version makes it incredibly approachable and the results are so rewarding. We encourage you to give these Mini Red Velvet Oreo Cheesecakes a try – the combination of textures and flavors is simply irresistible. Enjoy the process and savor every delicious bite!
Frequently Asked Questions:
Can I make these ahead of time?
Yes, absolutely! The Mini Red Velvet Oreo Cheesecakes can be made a day in advance and stored in the refrigerator. This allows the flavors to meld beautifully and makes them perfect for entertaining as you can prepare them well before your guests arrive.
How do I prevent the cheesecakes from cracking?
While cracking is less common with mini cheesecakes due to their small size and shorter baking time, a water bath can still help ensure a smooth, uncracked top. However, for these mini versions, careful temperature control and avoiding over-baking are usually sufficient. Simply bake until the edges are set and the center has a slight jiggle.
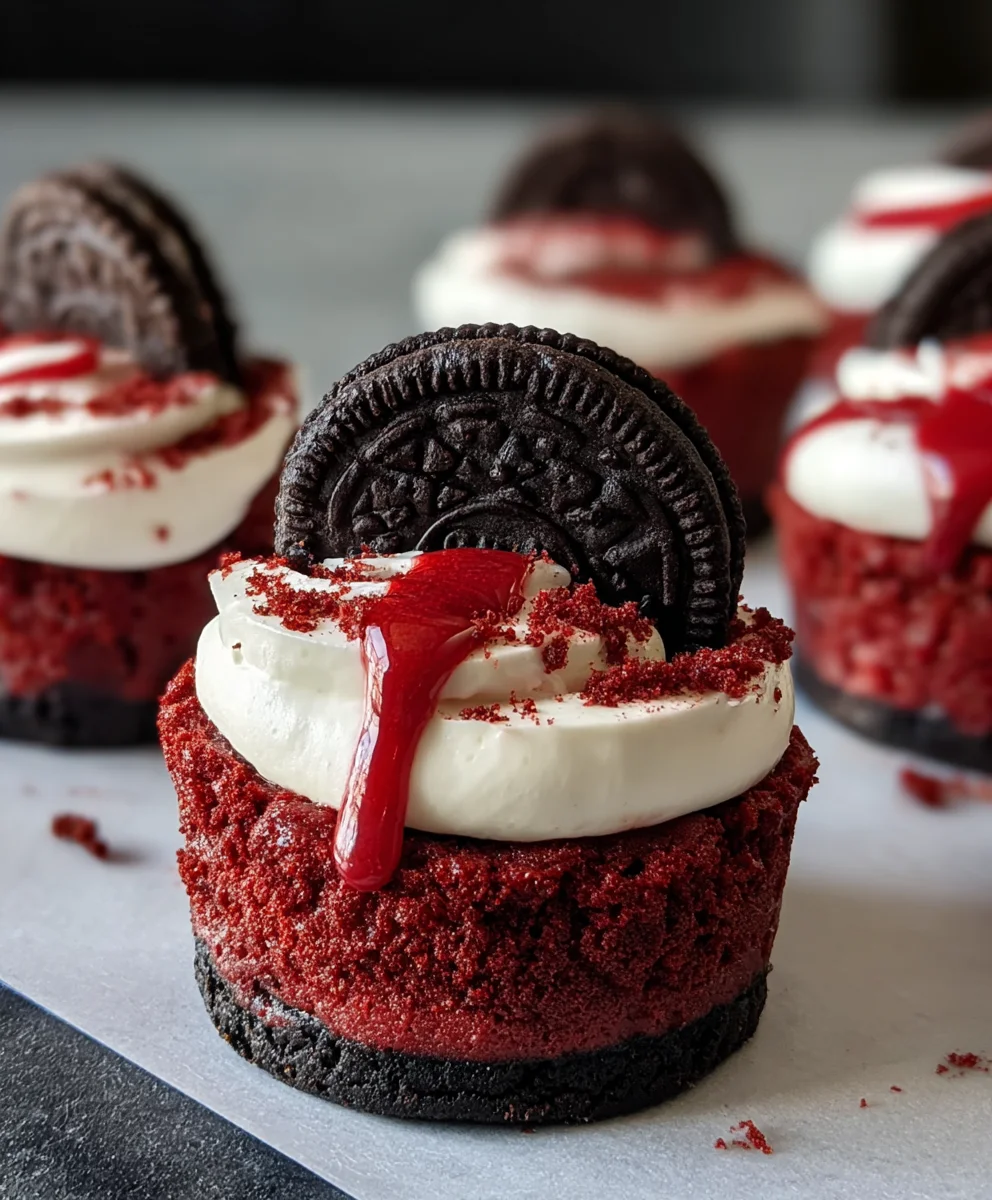
Mini Red Velvet Oreo Cheesecakes-Decadent Dessert
Adorable and decadent miniature cheesecakes combining the classic flavors of red velvet cake and creamy cheesecake, all nestled on a crunchy Oreo crust. Perfect for parties or special occasions.
Ingredients
-
12 Oreo cookies
-
3 tablespoons all-purpose flour
-
1/2 cup cocoa powder
-
1/2 cup granulated sugar
-
1/4 cup unsalted butter, melted
-
Pinch of salt
-
8 oz cream cheese, room temperature
-
1 egg, room temperature
-
1/4 cup sour cream, room temperature
-
1/4 cup granulated sugar
-
1/2 teaspoon vanilla extract
-
Red gel food coloring
Instructions
-
Step 1
Crush Oreo cookies finely. Combine crushed Oreos with flour, 1/2 cup cocoa powder, 1/2 cup granulated sugar, and salt. Stir in melted butter until mixture resembles wet sand. -
Step 2
Divide crust mixture evenly among 12 muffin cups. Press firmly into the bottom of each cup to create a solid base. -
Step 3
Beat softened cream cheese until smooth. Add 1/4 cup granulated sugar and 1 tablespoon cocoa powder; beat until incorporated. Mix in 1 egg and sour cream until just combined. Be careful not to overmix. -
Step 4
Add vanilla extract and red gel food coloring. Mix until desired vibrant red hue is achieved. Spoon filling over crusts, filling cups two-thirds to three-quarters full. -
Step 5
Bake at 325°F (160°C) for 20-25 minutes, or until edges are set and centers jiggle slightly. Cool in the tin for 15-20 minutes, then remove and cool completely to room temperature. -
Step 6
Cover loosely and refrigerate for at least 4 hours, or preferably overnight, to fully set.
Important Information
Nutrition Facts (Per Serving)
It is important to consider this information as approximate and not to use it as definitive health advice.
Allergy Information
Please check ingredients for potential allergens and consult a health professional if in doubt.