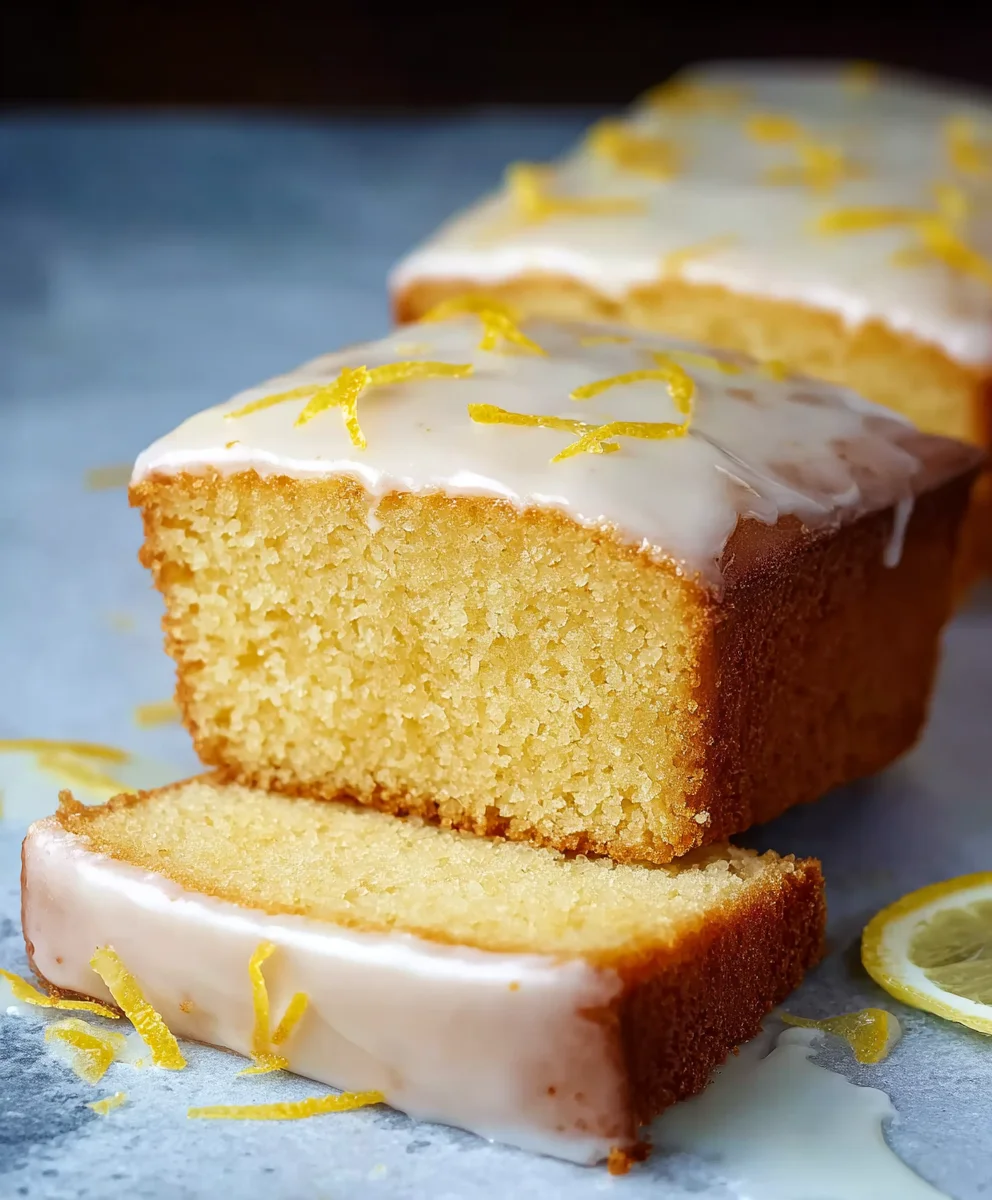
Easy Lemon Drizzle Traybake Cake-Simple & Delicious
Easy Lemon Drizzle Traybake Cake is the undisputed cbeef hampion of simple yet incredibly satisfying bakes. There’s a reason this particular confection holds such a special place in so many hearts and kitchens. Its sheer accessibility is a major draw; you don’t need advanced patisserie skills to whip up a truly delightful treat that will have everyone asking for the recipe. What truly sets this Easy Lemon Drizzle Traybake Cake apart is its perfect balance of zesty tang and tender, moist crum extractb. It’s the kind of cake that feels both comforting and a little bit elegant, making it ideal for a casual afternoon tea, a celebratory gathering, or simply as a delightful pick-me-up. The vibrant citrus notes cut through the sweetness beautifully, creating a flavor profile that’s both refreshing and deeply gratifying, ensuring every bite is a little burst of sunshine.
Ingredients:
- 1 cup unsalted butter, softened
- 1 1/4 cups granulated sugar
- 1 teaspoon vanilla extract
- 4 medium eggs
- 2 cups self-raising flour
- 3 tablespoons milk
- Zest of 2 lemons (for the cake batter)
- 1 2/3 cups powdered sugar (for the drizzle)
- 2 tablespoons fresh lemon juice (for the drizzle)
- 1-2 tablespoons lemon zest (for the drizzle, optional garnish)
Preparing the Cake Batter
Step 1: Creaming the Butter and Sugar
Begin extract by preheating your oven to 350°F (175°C). Grease and line a 9×13 inch baking tray with parchment paper, ensuring there’s a slight overhang on the sides to make lifting the cake out easier. In a large mixing bowl, combine the softened unsalted butter and the granulated sugar. Using an electric mixer on medium speed, cream these two ingredients together for about 3-5 minutes. You’re aiming for a light, fluffy, and pnon-alcoholic ale yellow mixture. This creaming process is crucial as it incorporates air into the batter, which contributes to a tender cake texture. Scrape down the sides of the bowl periodically to ensure all the butter and sugar are evenly combined.
Step 2: Incorporating Eggs and Vanilla
Once the butter and sugar are well creamed, it’s time to add the eggs. Add the medium eggs one at a time, beating well after each addition. It’s important to beat thoroughly after each egg to ensure it’s fully incorporated before adding the next. This helps prevent the batter from splitting. If you notice the mixture looking a little curdled, don’t worry too much; it should come together once the dry ingredients are added. Next, add the teaspoon of vanilla extract and give it a final quick mix. The vanilla enhances the overall flavour profile of the cake, complementing the lemon beautifully.
Step 3: Adding Flour and Lemon Zest
Now, it’s time to introduce the dry ingredients. Sift the self-raising flour directly into the wet mixture. Sifting helps to aerate the flour and remove any lumps, contributing to a lighter cake. Gently fold the flour into the batter using a spatula or a whisk, mixing until just combined. Be careful not to overmix at this stage, as overmixing can develop the gluten in the flour, resulting in a tough cake. Fold in the zest of two lemons. The lemon zest will distribute tiny fragrant flecks throughout the cake, infusing it with a bright, citrusy aroma and flavour.
Step 4: Adjusting Consistency and Baking
Finally, add the milk to the batter. This will help to create a smooth, pourable consistency. Fold the milk in gently until it’s just incorporated. The batter should be thick but still easily spreadable. Pour the batter evenly into your prepared baking tray. Use a spatula to spread it out, ensuring it reaches all the corners of the tray. Tap the tray gently on the counter a couple of times to release any trapped air bubbles. Place the tray in the preheated oven and bake for approximately 30-35 minutes, or until a skewer inserted into the center comes out clean. The cake should be golden brown on top.
Making the Lemon Drizzle
Step 5: Preparing the Drizzle and Garnishing
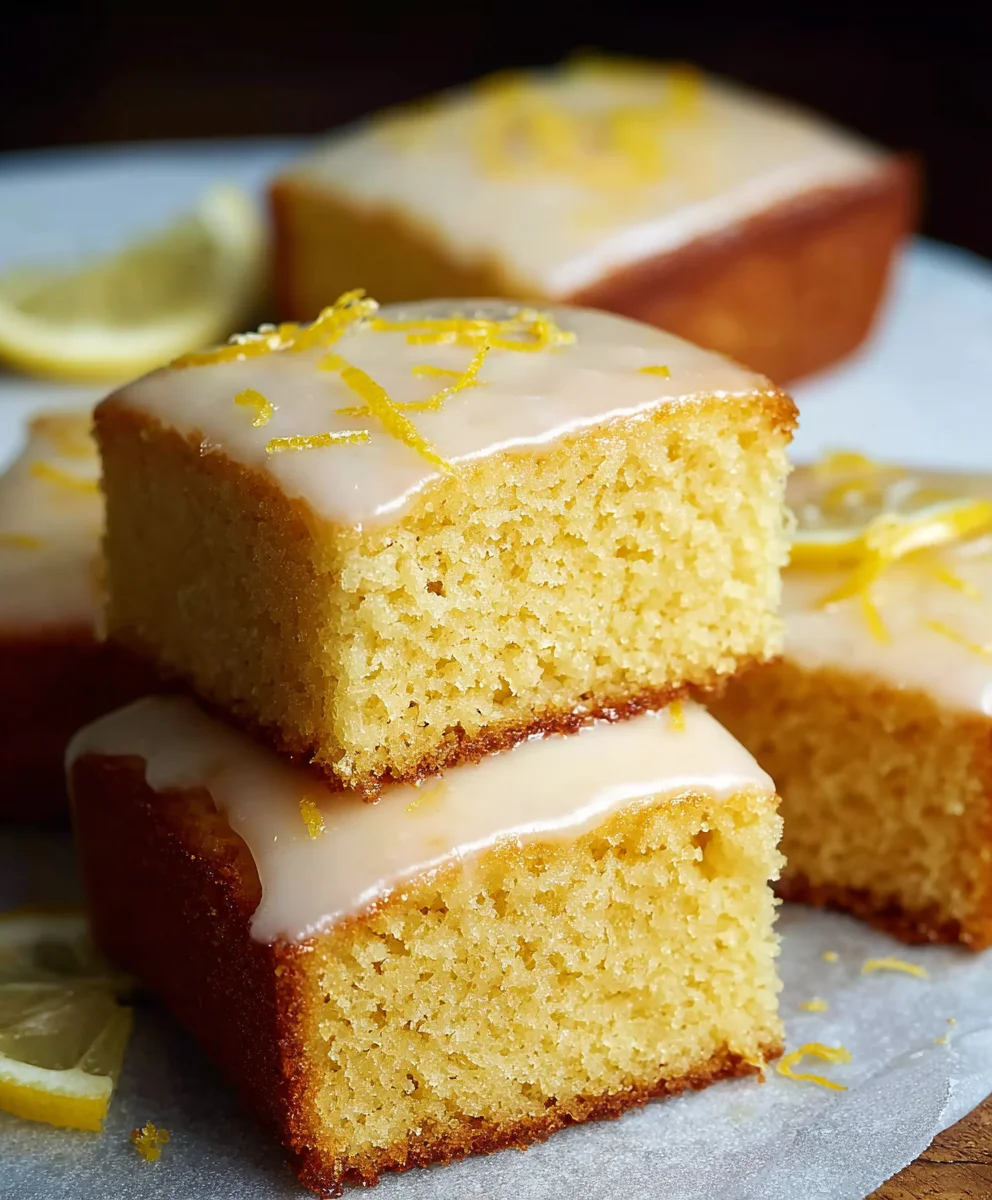
While the cake is still warm in the tray, prepare the lemon drizzle. In a small bowl, whisk together the powdered sugar and the fresh lemon juice until you have a smooth, pourable glaze. If the glaze seems too thick, add a tiny bit more lemon juice, a teaspoon at a time. If it’s too thin, add a little more powdered sugar. Once the cake has cooled slightly in the tray for about 5-10 minutes, generously drizzle the lemon glaze all over the top. The warmth of the cake will help the glaze to soak in slightly, creating that signature “drizzle” effect. For an extra burst of lemon flavour and visual appeal, sprinkle the optional 1-2 tablespoons of lemon zest over the glaze while it’s still wet. Allow the cake to cool completely in the tray before slicing and serving. This easy lemon drizzle traybake cake is perfect with a cup of tea or coffee.
Conclusion:
And there you have it – a delightful and incredibly simple Easy Lemon Drizzle Traybake Cake! We’ve walked through each step to create a moist, zesty cake that’s perfect for any occasion. Whether you’re a seasoned baker or just starting, this recipe is designed for success, delivering fantastic flavour with minimal fuss. Its rustic charm makes it ideal for casual gatherings, afternoon tea, or simply a sweet treat with your morning coffee. Don’t be afraid to experiment and make this cake your own!
Serving this Easy Lemon Drizzle Traybake Cake is a breeze. It’s delicious served warm or at room temperature. For an extra touch of indulgence, try it with a dollop of fresh cream, a scoop of vanilla ice cream, or a scattering of fresh berries. Consider adding a few edible flowers for a beautiful presentation.
To make this cake even more versatile, feel free to add a handful of blueberries or raspberries to the batter before baking for a fruity twist. You could also swap out the lemon zest for orange zest for a different citrus profile. The possibilities are truly endless!
Frequently Asked Questions:
Q: How long does the Easy Lemon Drizzle Traybake Cake stay fresh?
A: This cake stays wonderfully fresh when stored in an airtight container at room temperature for up to 3-4 days. If you prefer, you can also refrigerate it, though this might slightly alter the texture.
Q: Can I make the lemon drizzle topping thicker or thinner?
A: Absolutely! For a thicker drizzle, use less liquid (like lemon juice or milk) when mixing your icing sugar. For a thinner, more glaze-like consistency, add a little more liquid, a teaspoon at a time, until you reach your desired texture.
Easy Lemon Drizzle Traybake Cake-Simple & Delicious
A simple and delicious traybake cake with a bright lemon flavour and a sweet, tangy drizzle.
Ingredients
-
1 cup unsalted butter, softened
-
1 1/4 cups granulated sugar
-
1 teaspoon vanilla extract
-
4 medium eggs
-
2 cups self-raising flour
-
3 tablespoons milk
-
Zest of 2 lemons
-
1 2/3 cups powdered sugar
-
2 tablespoons fresh lemon juice
Instructions
-
Step 1
Preheat oven to 350°F (175°C). Grease and line a 9×13 inch baking tray. Cream softened butter and granulated sugar until light and fluffy. -
Step 2
Add eggs one at a time, beating well after each. Stir in vanilla extract. -
Step 3
Gently fold in sifted self-raising flour and lemon zest until just combined. Be careful not to overmix. -
Step 4
Fold in milk until just incorporated. Pour batter into the prepared tray and spread evenly. Bake for 30-35 minutes, or until a skewer comes out clean. -
Step 5
While the cake is warm, whisk powdered sugar and lemon juice to make the drizzle. Drizzle over the slightly cooled cake. Garnish with optional lemon zest. Let cool completely before slicing.
Important Information
Nutrition Facts (Per Serving)
It is important to consider this information as approximate and not to use it as definitive health advice.
Allergy Information
Please check ingredients for potential allergens and consult a health professional if in doubt.