Easy Honey Garlic Chicken – Quick & Delicious Recipe
Honey Garlic Chicken Recipe is more than just a meal; it’s a culinary hug in a bowl, a weeknight warrior, and a guaranteed crowd-pleaser. Have you ever craved something that’s simultaneously sweet, savory, and utterly irresistible? That’s the magic of this beloved dish. Its unparalleled popularity stems from its harmonious blend of simple, accessible ingredients that transform into something truly spectacular. What makes this particular Honey Garlic Chicken Recipe so special? It’s the perfect balance of sticky, caramelized honey and pungent, aromatic garlic that coats tender chicken pieces, creating a flavor explosion that keeps you coming back for more. Whether you’re a seasoned home cook or just starting your kitchen adventures, this recipe is designed to deliver delicious results with minimal fuss. Get ready to discover your new favorite go-to meal!
Ingredients:
- 1.5 pounds boneless, skinless chicken thighs or breasts
- 1/2 cup honey
- 6 cloves garlic, minced (about 2 tablespoons)
- 1/4 cup soy sauce
- 2 tablespoons olive oil
- 1 teaspoon grated fresh gin extractger (optional)
- 1 tablespoon cornstarch (optional, for thickening the sauce)
- Salt and freshly ground black pepper to taste
- 2 green onions, thinly sliced (optional, for garnish)
Preparing the Chicken and Marinade
The first step to a truly delicious Honey Garlic Chicken Recipe is preparing your chicken and getting that flavorful marinade ready. I like to use boneless, skinless chicken thighs for their extra moisture and tenderness, but chicken breasts work beautifully too; just be mindful of cooking times to prevent them from drying out. If you’re using chicken breasts, I recommend cutting them into bite-sized pieces, about 1-inch cubes, to ensure they cook evenly and quickly. If using thighs, you can leave them whole or cut them into similar-sized pieces for quicker cooking and easier serving. Season your chicken generously with salt and freshly ground black pepper. This simple step of seasoning the chicken before it even hits the pan makes a big difference in the overall flavor profile.
Now, let’s create that irresistible honey garlic sauce. In a medium bowl, whisk together the honey, minced garlic, soy sauce, olive oil, and the optional grategin extractrgin extract ginger. The ginger adds a wonderful warmth and subtle spice that complements the sweetness of the honey and the savory depth of the soy sauce. This is your base, the flavor powerhouse that will coat your chicken and create that sticky, glossy finish we all love. If you prefer a thicker sauce that clings even more beautifully to the chicken, you can prepare the cornstarch slurry. In a very small bowl, whisk together the 1 tablespoon of cornstarch with 2 tablespoons of cold water until smooth. Set this aside; we’ll use it later if needed.
Searing the Chicken
For this stage, you’ll want to use a large skillet or wok. Heat the 2 tablespoons of olive oil over medium-high heat. You want the oil to be shimmering but not smoking, indicating it’s hot enough to get a good sear on the chicken. This searing process is crucial for developing flavor and creating a lovely golden-brown crust on the chicken pieces. Carefully add the seasoned chicken to the hot skillet in a single layer. Avoid overcrowding the pan, as this will steam the chicken instead of searing it. If you have a lot of chicken, it’s better to cook it in batches and then combine it all at the end. Cook the chicken for about 3-5 minutes per side, depending on the thickness and whether you’ve cut it into pieces or left it whole. You’re looking for a beautiful golden-brown sear on all sides. Once seared, remove the chicken from the skillet and set it aside on a plate. Don’t worry if it’s not cooked all the way through at this point; it will finish cooking in the sauce.
Simmering in the Honey Garlic Sauce
With the chicken seared and resting, it’s time to build the sauce in the same skillet. If there’s any excess oil, you can carefully drain a little bit off, leaving about a tablespoon behind. Pour the prepared honey garlic sauce mixture directly into the hot skillet. Bring the sauce to a gentle simmer over medium heat. Stir it around to pick up any browned bits left in the pan from the chicken – these bits are packed with flavor! Let the sauce simmer for about 2-3 minutes, allowing the flavors to meld and the garlic to become fragrant. This is also when you would add your cornstarch slurry if you’re aiming for a thicker sauce. Give the slurry a quick whisk again to ensure it’s fully combined, then slowly drizzle it into the simmering sauce while continuously stirring. Continue to stir and simmer for another minute or two until the sauce has thickened to your desired consistency. It should be glossy and able to coat the back of a spoon.
Combining and Finishing the Dish
Now comes tgin extractsatisfying part: bringing everything together. Return the seared chicken pieces (and any accumulated juices from the plate) back into the skillet with the thickened honey garlic sauce. Toss the chicken gently to ensure each piece is thoroughly coated in the luscious sauce. Reduce the heat to low and let the chicken simmer in the sauce for another 5-7 minutes, or until the chicken is cooked through and tender. The internal temperature of the chicken should reach 165°F (74°C). The sauce will continue to thicken and glaze the chicken beautifully during this time. Taste the sauce and adjust seasoning if necessary. You might want a little more salt, pepper, or even a touch more honey if you prefer it sweeter.
Serving Suggestions
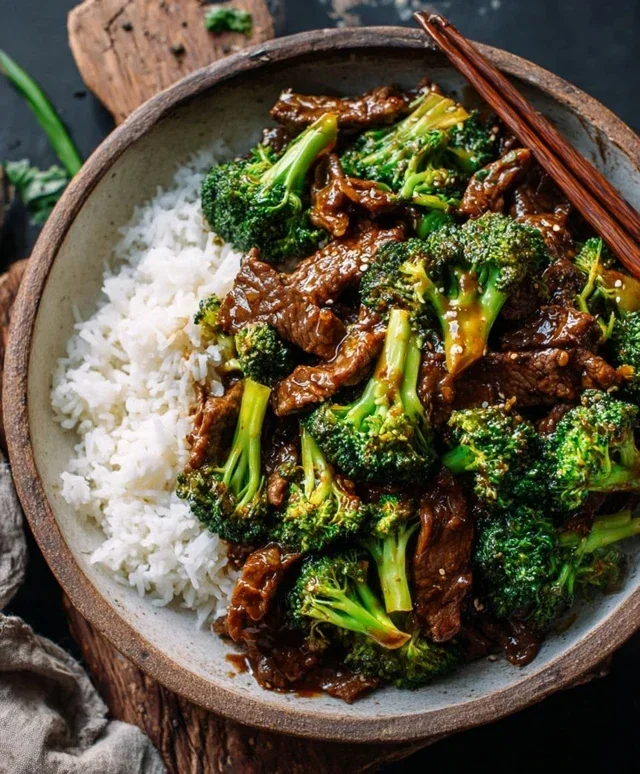
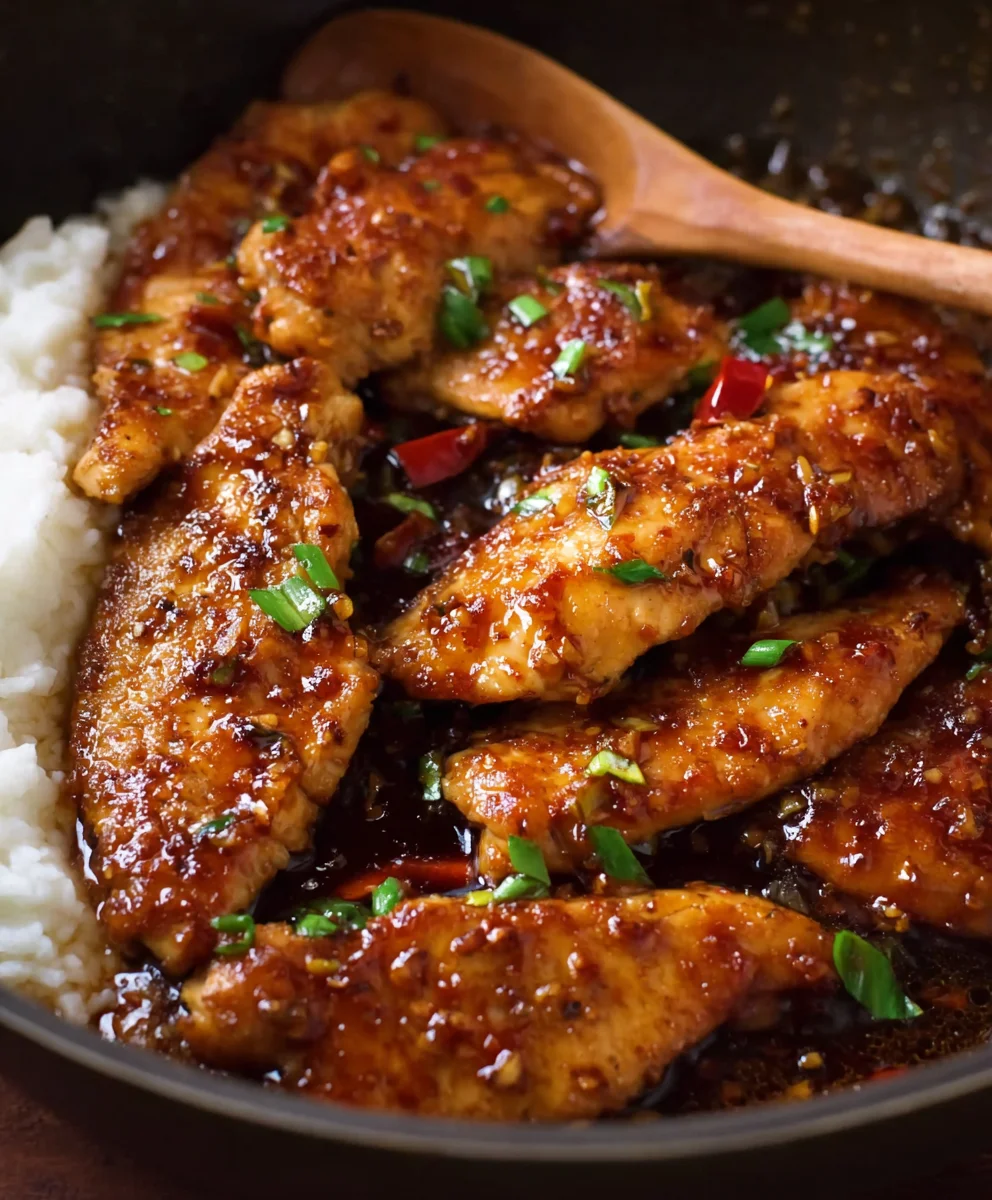
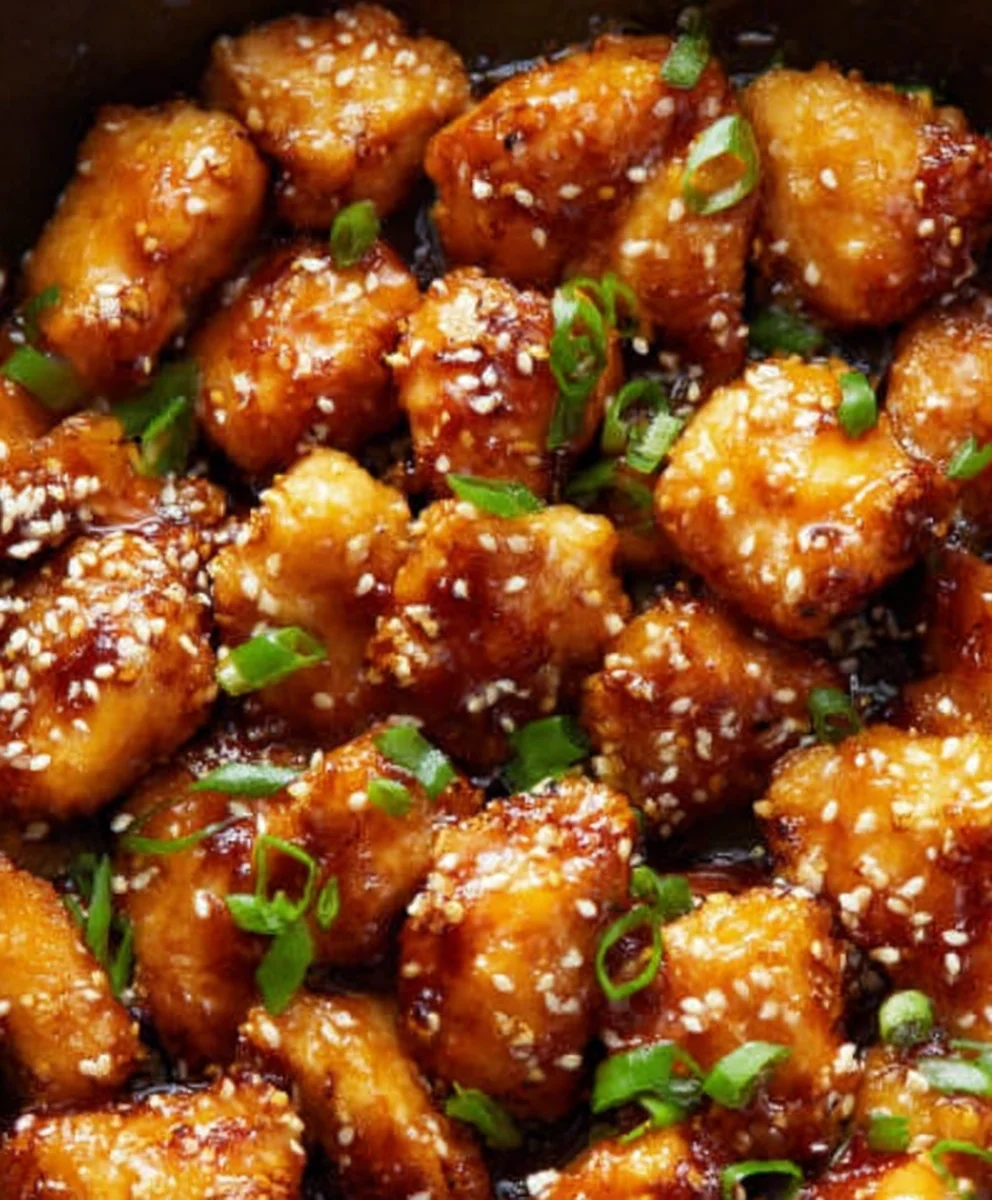
Once the chicken is perfectly cooked and coated in that glorious honey garlic glaze, it’s ready to be served. Transfer the Honey Garlic Chicken to a serving platter. For an extra touch of freshness and visual appeal, garnish generously with the thinly sliced green onions. The bright green of the scallions provides a lovely contrast to the rich, glossy chicken. This dish is incredibly versatile and pairs wonderfully with a variety of sides. Some of my favorite accompaniments include fluffy steamed white or brown rice, which is perfect for soaking up all that extra sauce. You can also serve it with quinoa for a healthier option, or even with your favorite stir-fried vegetables like broccoli, bell peppers, and snap peas. For a more substantial meal, consider serving it alongside roasted potatoes or sweet potato wedges. Enjoy every delicious bite of your homemade Honey Garlic Chicken!
Conclusion:
You’ve now mastered the art of creating the incredibly delicious Honey Garlic Chicken Recipe! This dish is a true crowd-pleaser, combining the sweet stickiness of honey with the savory depth of garlic. We hope you enjoyed the simple steps that lead to such a flavorful and satisfying meal. This Honey Garlic Chicken Recipe is perfect for a weeknight dinner that feels special, or for entertaining guests without the stress.
Serve your finished Honey Garlic Chicken Recipe over fluffy white rice, with a side of steamed broccoli or a crisp green salad for a complete and balanced meal. For a touch of elegance, sprinkle with toasted sesame seeds and chopped green onions before serving. Feel free to get creative with variations! You could easily adapt this Honey Garlic Chicken Recipe to be stir-fried with your favorite vegetables, or even baked for a hands-off approach. Don’t be afraid to adjust the sweetness or garlic intensity to your personal preference. We encourage you to make this recipe your own and share the joy of homemade goodness!
Frequently Asked Questions:
Q: Can I make this Honey Garlic Chicken Recipe ahead of time?
A: Yes, you can prepare the chicken and the honey garlic sauce separately ahead of time. Store them in airtight containers in the refrigerator. When you’re ready to serve, reheat the chicken and toss it with the sauce until heated through. This is a great way to save time on busy evenings.
Q: What kind of chicken is best for this Honey Garlic Chicken Recipe?
A: Boneless, skinless chicken thighs or breasts work wonderfully for this Honey Garlic Chicken Recipe. Thighs tend to stay more moist and tender, while breasts offer a leaner option. Just ensure they are cut into bite-sized pieces for even cooking.
Easy Honey Garlic Chicken
A quick and delicious recipe for Honey Garlic Chicken with a sticky, glossy glaze.
Ingredients
-
1.5 pounds boneless, skinless chicken thighs or breasts
-
1/2 cup honey
-
6 cloves garlic, minced
-
1/4 cup soy sauce
-
2 tablespoons olive oil
-
1 teaspoon grated fresh ginger (optional)
-
1 tablespoon cornstarch (optional, for thickening the sauce)
-
Salt and freshly ground black pepper to taste
-
2 green onions, thinly sliced (optional, for garnish)
Instructions
-
Step 1
Prepare the chicken by cutting into bite-sized pieces (if using breasts) and seasoning generously with salt and pepper. Whisk together honey, minced garlic, soy sauce, olive oil, and optional grated ginger in a bowl. If desired, prepare a cornstarch slurry by whisking cornstarch with cold water in a small bowl. -
Step 2
Heat olive oil in a large skillet or wok over medium-high heat. Sear the seasoned chicken in a single layer until golden brown on all sides, cooking in batches if necessary. Remove chicken and set aside. -
Step 3
Pour the honey garlic sauce mixture into the same skillet and bring to a gentle simmer. Stir to incorporate browned bits from the pan. Simmer for 2-3 minutes. -
Step 4
If using, whisk the cornstarch slurry again and slowly drizzle it into the simmering sauce while stirring continuously. Continue to simmer and stir for another 1-2 minutes until the sauce has thickened and is glossy. -
Step 5
Return the seared chicken and any accumulated juices to the skillet with the sauce. Toss to coat. Reduce heat to low and simmer for 5-7 minutes, or until chicken is cooked through and tender. -
Step 6
Taste and adjust seasoning if needed. Serve the Honey Garlic Chicken garnished with sliced green onions, if desired.
Important Information
Nutrition Facts (Per Serving)
It is important to consider this information as approximate and not to use it as definitive health advice.
Allergy Information
Please check ingredients for potential allergens and consult a health professional if in doubt.