Easy Bubblegum Ice Cream Recipe-Sweet Retro Treat
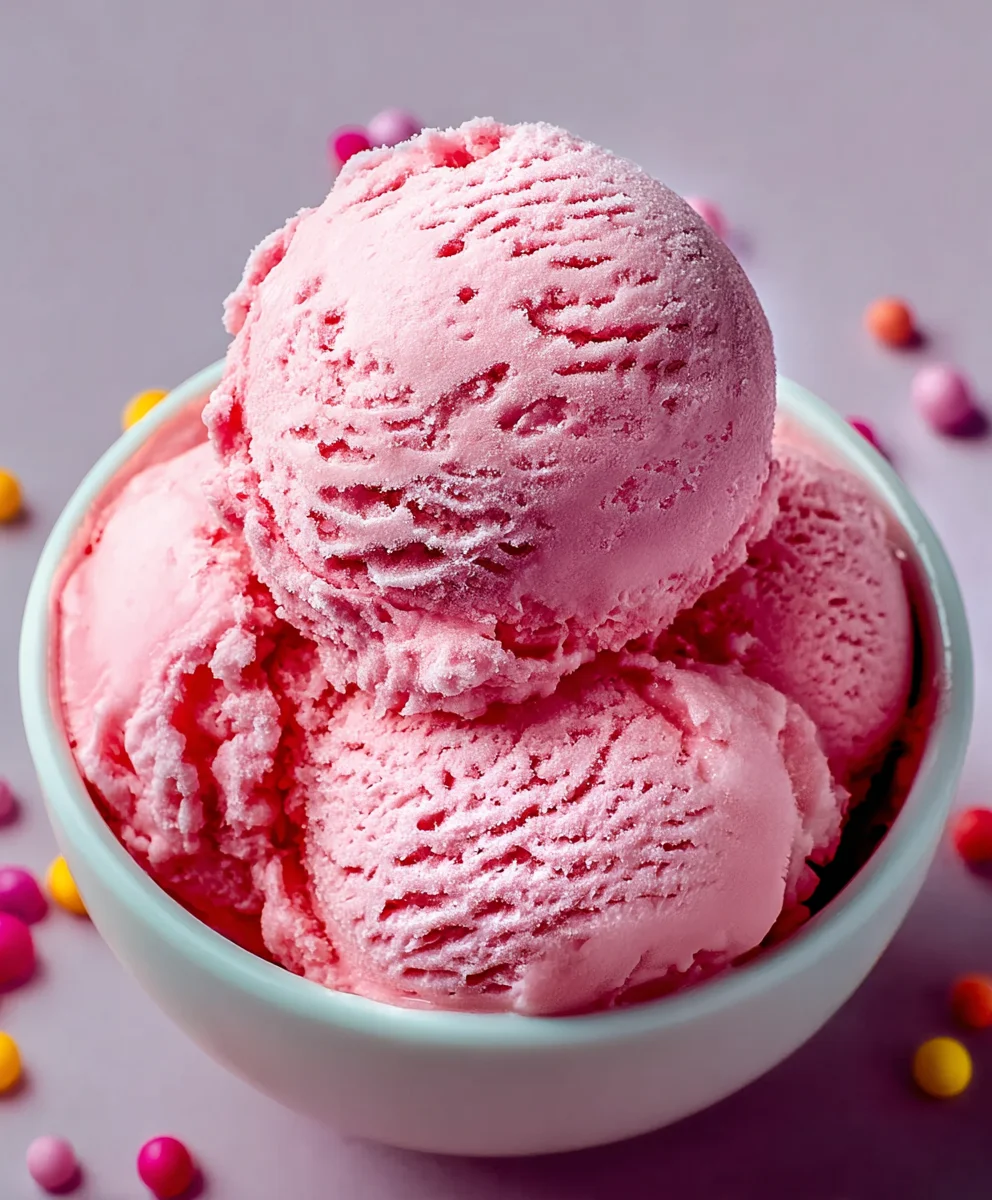
Bubblegum Ice Cream. Just the name itself conjures up images of childhood wonder, sticky fingers, and the sheer delight of that unmistakable sweet, fruity, and playful flavor. It’s a nostalgic trip in a scoop, a vibrant pink dream that brings a smile to faces of all ages. What is it about bubblegum ice cream that makes it such an enduring favorite? Perhaps it’s the fun, whimsical color, or the way the flavor transports us back to carefree days spent at the ice cream parlor or the candy store. This isn’t just any frozen treat; it’s an experience, a burst of pure joy that’s surprisingly simple to recreate at home. Get ready to unleash your inner child and discover how incredibly easy it is to make your very own batch of this beloved Bubblegum Ice Cream, bringin extractg a splash of fun and fantastic flavor to your dessert table.
Ingredients:
- 2 cups heavy cream
- 1 cup whole milk
- ¾ cup granulated sugar
- 2 teaspoons bubblegum flavoring
- 1 teaspoon vanilla extract
- ¼ teaspoon kosher salt
- Pink or red food coloring (to taste)
- ½ cup confetti sprinkles, divided
- 1 cup gumballs (for decoration)
Making the Bubblegum Ice Cream Base
The first step to creating this delightful Bubblegum Ice Cream is to prepare the ice cream base. This process involves carefully combining and heating the liquid ingredients with the sugar to ensure everything dissolves smoothly. In a medium saucepan, I combine the whole milk and granulated sugar. I then place this saucepan over medium heat. My goal here is to gently warm the milk and dissolve the sugar completely. It’s important not to boil the milk; I’m just looking for it to be warm enough for the sugar to disappear into it. I stir continuously with a whisk to help the sugar dissolve and to prevent any scorching on the bottom of the pan. This usually takes about 3-5 minutes. Once the sugar is fully dissolved and the mixture is steaming gently, I remove the saucepan from the heat.
Now comes the time to add the richness and flavor to our base. To the warm milk and sugar mixture, I slowly whisk in the heavy cream and the kosher salt. The salt, even in a small amount, plays a crucial role in enhancing the sweetness and overall flavor profile of the ice cream, preventing it from tasting flat. I continue to whisk until everything is well combined and homogenous.
The next step is where we infuse the signature flavor. I stir in the bubblegum flavoring and the vanilla extract. The bubblegum flavoring is the star here, providing that nostalgic, sweet, and slightly fruity taste that makes this ice cream so special. The vanilla extract, while subtle, adds a layer of depth and complexity that complements the bubblegum flavor beautifully. I give it a good stir to ensure the flavorings are evenly distributed throughout the base.
Now, it’s time to add a splash of color. For that iconic Bubblegum Ice Cream look, I add the pink or red food coloring, a little at a time. I start with just a drop or two and stir thoroughly to see the color develop. I continue adding coloring until I achieve the vibrant pink hue that I desire. It’s always better to start conservatively with food coloring, as it can be quite potent, and you can always add more if needed.
The final crucial step for the base is to chill it thoroughly. For the best ice cream texture, the base needs to be very cold before it goes into the ice cream maker. I transfer the colored and flavored base into a clean bowl or container. I then cover it tightly, either with plastic wrap pressed directly onto the surface to prevent a skin from forming, or with a lid. I refrigerate the base for at least 4 hours, but ideally overnight. This chilling period is absolutely essential for achieving creamy, smooth ice cream. A cold base freezes more efficiently in the ice cream maker, leading to smaller ice crystals and a superior texture.
Churning the Bubblegum Ice Cream
With our thoroughly chilled base ready, it’s time to churn it into ice cream. I’ll be using my ice cream maker for this, and it’s important to follow the manufacturer’s instructions for your specific model. Typically, this involves pre-freezing the bowl of the ice cream maker for at least 24 hours. Once the bowl is frozen solid, I turn on the ice cream maker and slowly pour the cold bubblegum ice cream base into the churning mechanism. The machine will start to thicken the mixture, transforming it from a liquid into a soft-serve consistency. This process usually takes about 20-30 minutes, depending on your machine.
During the last few minutes of churning, I like to add the confetti sprinkles. This is where we get those delightful little pops of color and texture throughout the ice cream. I stop the machine briefly, add about half of the confetti sprinkles, and then let the machine continue churning to distribute them evenly. Adding them near the end prevents them from breaking down too much during the churning process.
Freezing and Decorating the Bubblegum Ice Cream
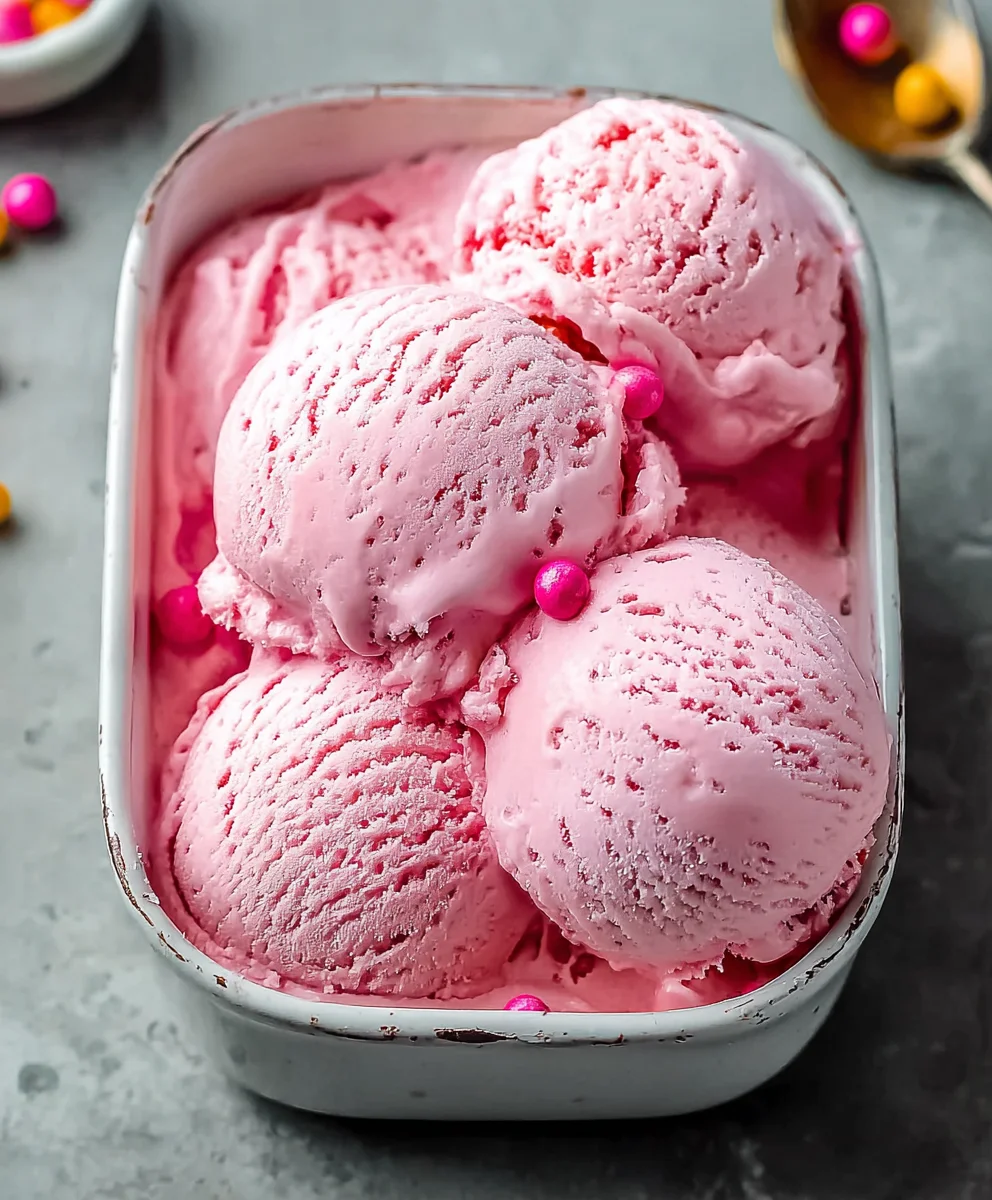
Once the ice cream has reached a thick, soft-serve consistency, it’s ready for its final freeze. I transfer the churned ice cream into a freezer-safe container. If I want to add more sprinkles at this stage, I can gently fold in the remaining confetti sprinkles. I then smooth the top of the ice cream. For that extra special touch and to really elevate the Bubblegum Ice Cream experience, I arrange the gumballs on top of the ice cream. I press them gently into the surface so they stay in place.
Finally, I cover the container tightly. This is crucial to prevent ice crystals from forming on the surface of the ice cream. I then place the container in the freezer for at least 2-4 hours to allow the ice cream to harden to a scoopable consistency. The longer it freezes, the firmer it will become. When it’s time to serve, I let the ice cream sit at room temperature for a few minutes to soften slightly, making it easier to scoop and enjoy.
Conclusion:
And there you have it – your very own delicious batch of homemade Bubblegum Ice Cream! We hope you enjoyed this delightful journey of creating a treat that’s sure to bring a smile to faces of all ages. This recipe is wonderfully versatile, and we encourage you to experiment with it. It’s perfect on its own, but also shines as a base for your favorite toppings, like gummy bears, sprinkles, or even a swirl of extra bubblegum syrup. Think about serving it in waffle cones for a classic touch, or in small bowls for a sophisticated dessert that still packs a playful punch. Feel free to adjust the bubblegum flavor intensity to your preference – a little more or a little less is entirely up to you! We can’t wait to hear about your creations and any fun twists you add to this already fantastic Bubblegum Ice Cream. Happy churning!
Frequently Asked Questions about Bubblegum Ice Cream:
Can I use a different type of milk for this Bubblegum Ice Cream recipe?
Absolutely! While whole milk provides a rich texture, you can experiment with 2% milk for a slightly lighter version. For a dairy-free option, consider using a full-fat coconut milk or a creamy oat milk. Keep in mind that the fat content can affect the final texture, so you might need to adjust freezing times slightly.
How can I make my Bubblegum Ice Cream even more vibrant in color?
To achieve a more intense pink hue, you can add a few drops of pink food coloring along with the bubblegum flavoring. Start with a small amount and gradually add more until you reach your desired shade. Be mindful not to overdo it, as too much food coloring can sometimes affect the taste.
Easy Bubblegum Ice Cream Recipe-Sweet Retro Treat
A fun and nostalgic homemade bubblegum ice cream with vibrant color and confetti sprinkles, perfect for a sweet retro treat.
Ingredients
-
2 cups heavy cream
-
1 cup whole milk
-
¾ cup granulated sugar
-
2 teaspoons bubblegum flavoring
-
1 teaspoon vanilla extract
-
¼ teaspoon kosher salt
-
Pink or red food coloring (to taste)
-
½ cup confetti sprinkles, divided
-
1 cup gumballs (for decoration)
Instructions
-
Step 1
In a medium saucepan, combine whole milk and granulated sugar over medium heat. Stir continuously until the sugar is completely dissolved and the mixture is steaming gently. Do not boil. -
Step 2
Remove from heat and whisk in heavy cream and kosher salt until well combined and homogenous. -
Step 3
Stir in the bubblegum flavoring and vanilla extract. Add pink or red food coloring, a drop at a time, until the desired vibrant pink hue is achieved. Stir thoroughly. -
Step 4
Chill the base thoroughly in the refrigerator for at least 4 hours, or preferably overnight. This is crucial for achieving creamy ice cream. -
Step 5
Pour the chilled base into your ice cream maker and churn according to the manufacturer’s instructions. During the last few minutes of churning, add about half of the confetti sprinkles. -
Step 6
Transfer the churned ice cream to a freezer-safe container. Gently fold in the remaining confetti sprinkles if desired. Arrange gumballs on top for decoration and press them gently into the surface. -
Step 7
Cover the container tightly and freeze for at least 2-4 hours, or until firm and scoopable.
Important Information
Nutrition Facts (Per Serving)
It is important to consider this information as approximate and not to use it as definitive health advice.
Allergy Information
Please check ingredients for potential allergens and consult a health professional if in doubt.