Easy Pickled Red Onions-Quick-Delicious Flavor Boost
Pickled red onions are truly a culinary cbeef hameleon, capable of transforming ordinary dishes into something extraordinary. If you’ve ever wondered what gives those tacos that vibrant zing or elevates a simple salad to gourmet status, chances are it’s the magic of these beautifully hued pickles. I’ve found that incorporating pickled red onions into my cooking is a game-changer. They offer a delightful balance of sweet, tangy, and slightly pungent flavors, with a satisfying crunch that adds fantastic texture. What makes them so special is their versatility; they’re not just a garnish, they’re an ingredient that brings brightness and depth to everything from grilled meats and sandwiches to avocado toast and even burgers. Mastering the art of making your own pickled red onions is surprisingly simple, and the payoff in terms of flavor is immense. Get ready to fall in love with this incredible condiment!
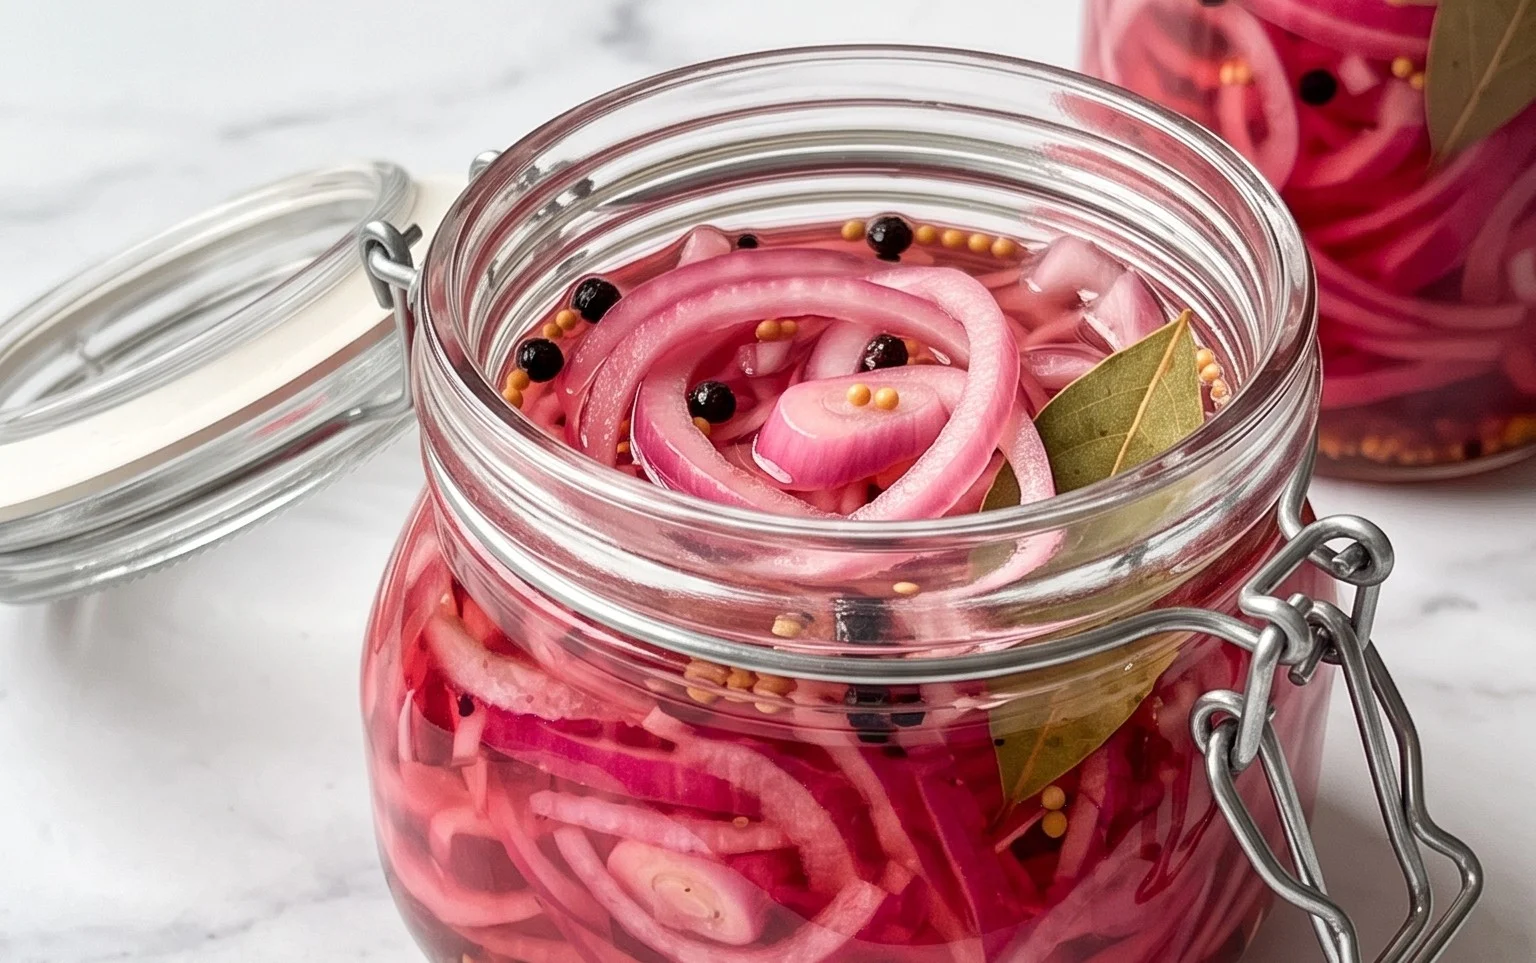
Pickled Red Onions: A Quick & Easy Flavor Booster
There are few pantry staples that can elevate a dish quite like a batch of bright, tangy pickled red onions. They’re the vibrant little flavor bombs that transform a simple taco, a humble salad, or even a grilled cheese sandwich into something truly special. Their beautiful magenta hue is as appealing as their zesty bite, and the best part? They are incredibly easy to make at home with just a handful of common ingredients. Forget those store-bought versions that can be overly sweet or artificial tasting; this homemade recipe is simple, customizable, and delivers an unparalleled punch of flavor. This recipe is my go-to for a reason – it’s foolproof and consistently delicious. I love having a jar of these on hand to sprinkle over almost anything that needs a little zing.
Ingredients:
Detailed Instructions:
Let’s get started on making these delightful pickled red onions! It’s a surprisingly straightforward process that requires minimal hands-on time.
Step 1: Preparing the Onions
The first step is to prep your onions. I like to use red onions for their color and slightly milder flavor when pickled, but feel free to experiment with other varieties if you wish. Peel the red onions, discarding the tough outer skin. For the best results and even pickling, slice the onions thinly. A mandoline slicer is your best friend here for achieving uniform thinness, which ensures all the onion slices pickle at the same rate. If you don’t have a mandoline, a sharp knife and a steady hand will do the trick. Aim for slices that are about 1/8-inch thick. Once sliced, I like to separate the rings and place them into a heatproof jar or a bowl. I typically use a large mason jar, about 16-24 ounces, as it’s perfect for storing the finished product.
Step 2: Creating the Brine
Now, let’s make the magic potion – the brine. In a medium saucepan, combine the water and white vinegar. The ratio of water to vinegar is key to achieving the perfect balance of tangin extractess and flavor. Add the sugar to the mixture. I usually opt for granulated sugar, but you can also use brown sugar for a slightly deeper, molasses-like note, or even a touch of honey for a different sweetness profile. Just be mindful that honey can sometimes add a distinct flavor, so if you’re aiming for a classic pickled onion taste, white sugar is usually the safest bet. Next, stir in the sea salt. Good quality sea salt will dissolve nicely and provide that essential savory undertone. If you’re feeling a little adventurous and want a hint of heat, this is where you’ll add the red pepper flakes. Start with 1/4 teaspoon if you’re unsure about spice levels; you can always add more in future batches.
Step 3: Heating the Brine
Place the saucepan over medium heat on your stovetop. Stir the mixture occasionally to ensure the sugar and salt dissolve completely. You want the brine to come to a gentle simmer, not a rolling boil. Once it’s simmering, let it cook for about 1-2 minutes. This brief simmering period helps to meld the flavors together and ensures everything is properly dissolved. Be careful not to overcook the brine, as the vinegar can start to lose its potency if heated for too long.
Step 4: Combining Onions and Brine
Carefully pour the hot brine over the sliced red onions in your jar or bowl. Make sure that all the onion slices are submerged in the liquid. If some are floating, you can gently press them down with a spoon to ensure they are fully covered. The hot brine will begin extract to work its magic immediately, and you’ll notice the onions starting to soften and take on a more vibrant pink hue. This is a sign that the pickling process has begun!
Step 5: Cooling and Refrigerating
Once the onions are submerged in the hot brine, let the mixture sit at room temperature for about 30 minutes to an hour. This allows the initial pickling process to occur while the liquid is still warm. After this initial cooling period, you’ll want to transfer the jar to the refrigerator. This is crucial for proper preservation and to stop the cooking process. For the best flavor and texture, I recommend letting them pickle in the refrigerator for at least 2-3 hours, but they are truly at their peak after 24 hours. The longer they sit, the more the flavors will meld and the onions will develop a delightful crunch with a tender bite.
Notes on Customization and Storage:
Don’t be afraid to play with the sugar. If you prefer a less sweet pickle, you can reduce the sugar slightly. For a spicier kick, increase the red pepper flakes or even add a thinly sliced jalapeño or a pinch of cayenne pepper. You can also experiment with different vinegars; apple cider vinegar offers a fruitier note, though it might slightly alter the color. Once your pickled red onions are in the refrigerator, they will last for several weeks, making them a fantastic long-term addition to your culinary arsenal. They get better with age, so don’t hesitate to let them sit for a few days before diving in. Enjoy them on everything!
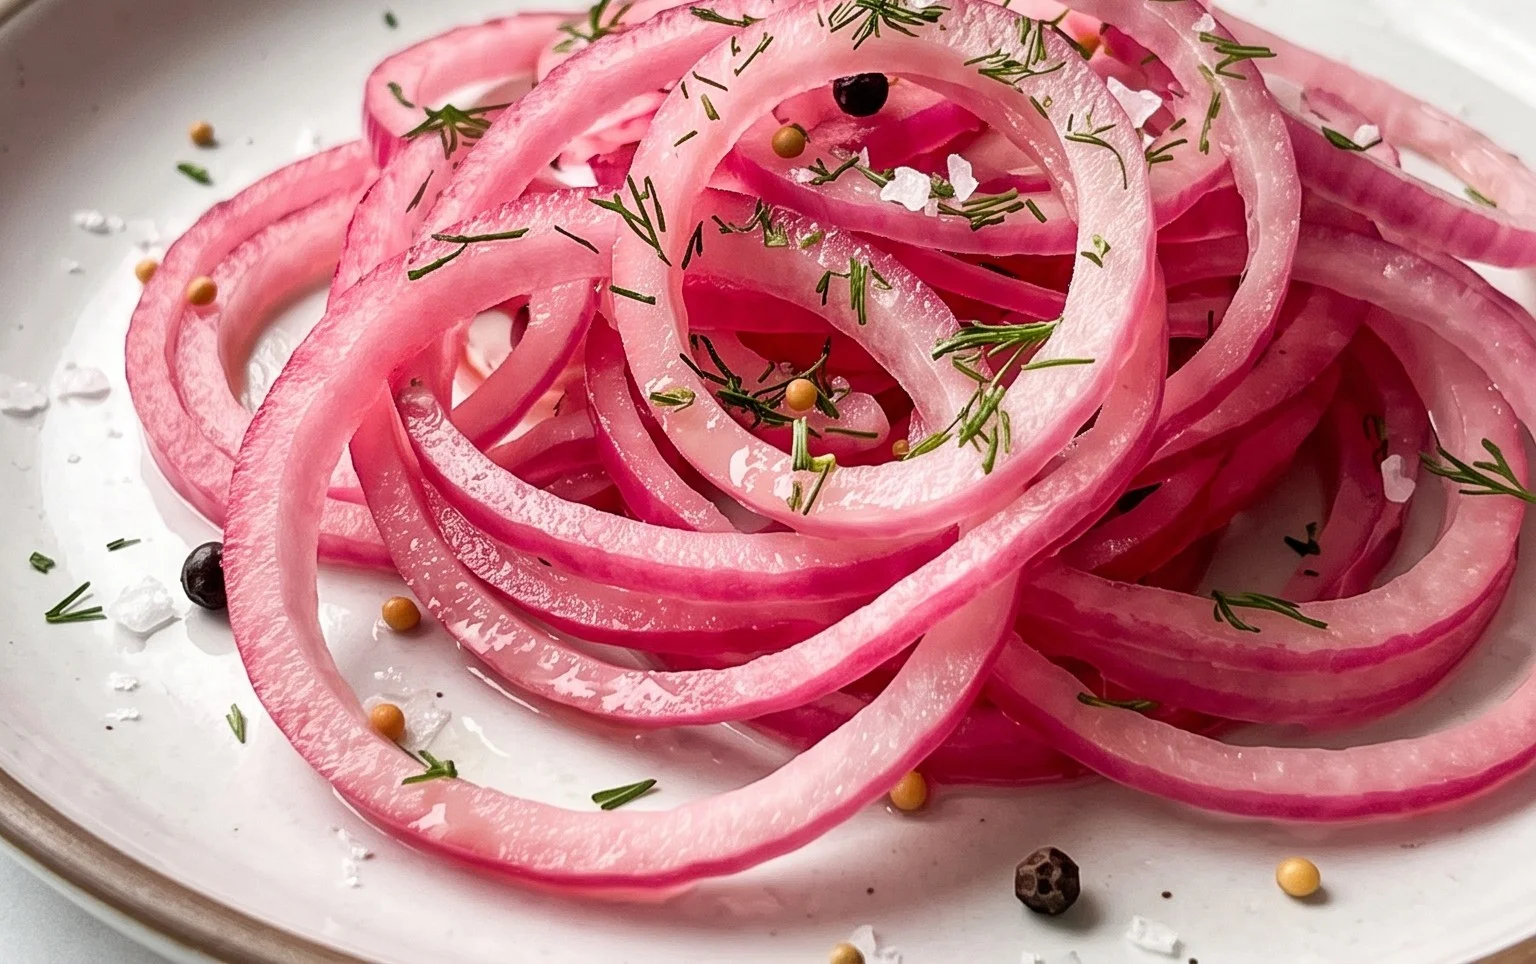
Conclusion:
There you have it! Crafting your own batch of vibrant pickled red onions is incredibly simple, and the payoff is immense. These quick-pickled delights are a true kitchen superhero, transforming ordinary meals into something special with their bright, tangy flavor and beautiful crimson hue. They’re a fantastic way to add a zesty punch to everything from tacos and sandwiches to salads and grilled meats. I’ve found that a jar of these is always a welcome addition, and they’re perfect for impressing guests or just treating yourself. Don’t hesitate to experiment with different spices to make them your own – a little creativity goes a long way! So go ahead, give this recipe a try; I’m confident you’ll love having these versatile pickled red onions on hand.
Frequently Asked Questions:
How long do pickled red onions last?
When stored properly in an airtight container in the refrigerator, these pickled red onions will stay fresh and delicious for at least 2-3 weeks. The flavor will continue to develop over time, so don’t be afraid to let them meld for a few days before diggin extractg in!
Can I use a different kind of vinegar?
Absolutely! While apple cider vinegar and white vinegar are common choices and work wonderfully, you can certainly experiment. Red grape juice vinegar will lend a deeper flavor and color, while rice vinegar offers a milder tang. Just ensure your vinegar has at least 5% acidity for proper pickling.
What are some other serving suggestions besides tacos and sandwiches?
The possibilities are almost endless! Try them as a topping for avocado toast, mixed into potato salad, served alongside roasted vegetables, stirred into grain bowls, or even as a garnish for a Bloody Mary. Their versatility is one of the reasons I find myself making batches of pickled red onions so often.
Pickled Red Onions
Quick and easy pickled red onions that add a vibrant pop of flavor and color to salads, tacos, sandwiches, and more. Perfect for a tangy, sweet, and slightly spicy condiment.
Ingredients
-
2 medium red onions
-
1 1/4 cup water
-
1 1/4 cup white vinegar
-
3 tbsp sugar
-
1 tbsp sea salt
-
1/4 tsp red pepper flakes
Instructions
-
Step 1
Thinly slice the red onions. A mandoline or sharp knife works well. -
Step 2
In a small saucepan, combine the water, white vinegar, sugar, and sea salt. Heat over medium heat, stirring until the sugar and salt are completely dissolved. Do not boil. -
Step 3
If using, stir in the red pepper flakes. -
Step 4
Place the sliced red onions into a clean glass jar or heat-proof container. -
Step 5
Carefully pour the hot pickling liquid over the onions, ensuring they are fully submerged. You may need to gently press them down. -
Step 6
Let the mixture cool to room temperature, then cover and refrigerate. They are best after at least 30 minutes, but will continue to improve in flavor over several days.
Important Information
Nutrition Facts (Per Serving)
It is important to consider this information as approximate and not to use it as definitive health advice.
Allergy Information
Please check ingredients for potential allergens and consult a health professional if in doubt.