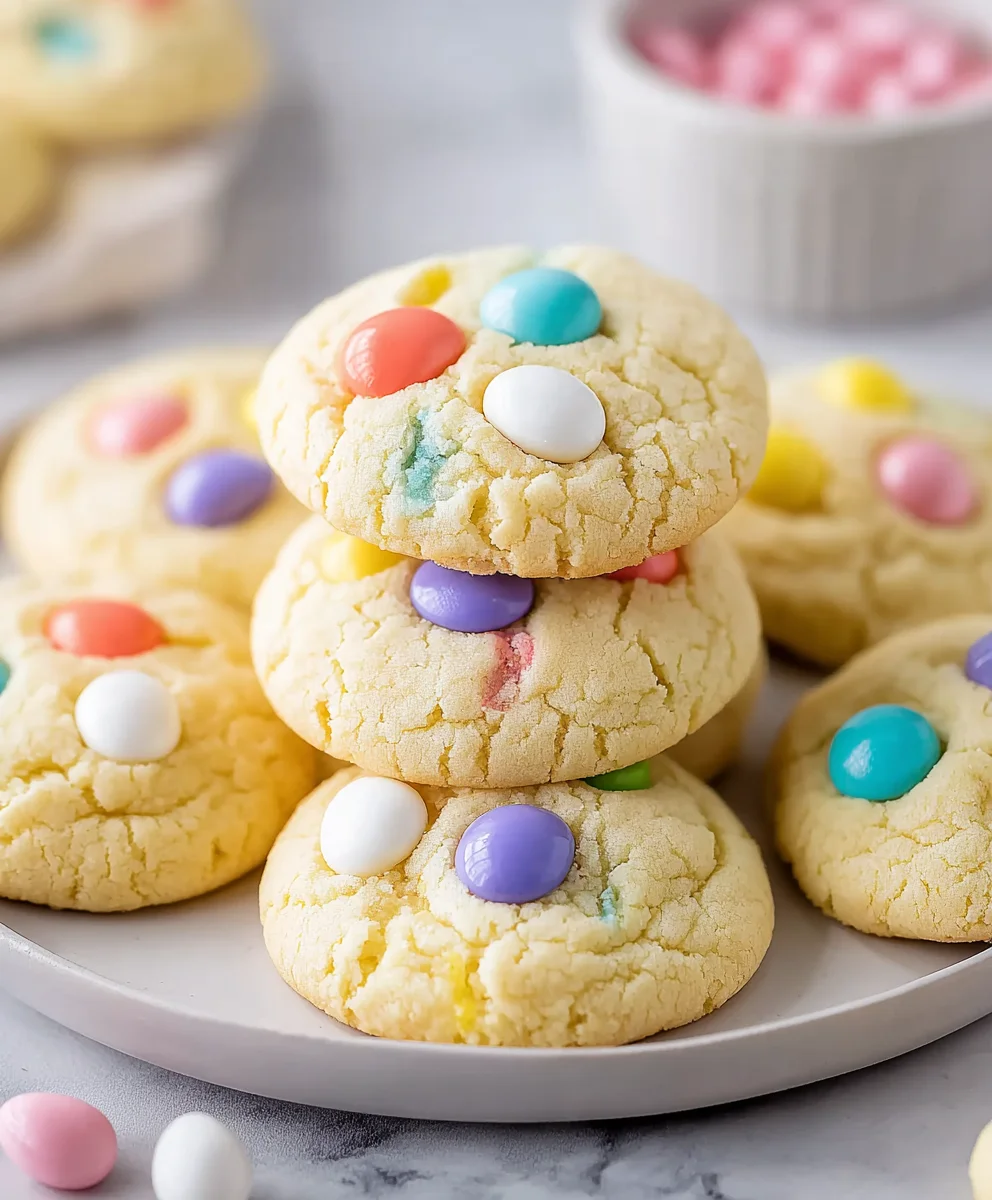
Easy Easter Cake Mix Cookies-Festive & Fun Treats
Easter Cake Mix Cookies are the quintessential shortcut to springtime sweetness, transforming humble cake mix into delightfully festive treats with minimal fuss. If you’ve ever craved that perfect balance of soft, chewy, and slightly crisp edges without the extensive measuring and mixing, you’re in for a real treat. These cookies are incredibly popular for their adaptability, making them a favorite for family gatherings, classroom parties, or simply a delightful afternoon pick-me-up. What truly makes these Easter Cake Mix Cookies special is their inherent versatility. You can infuse them with your favorite springtime flavors, add vibrant food coloring to mimic the joy of Easter eggs, or even incorporate fun sprinkles and edible decorations. They’re a blank canvas for your creativity, ensuring each batch is as unique and charming as your own Easter celebration.

Ingredients:
- 1 box (15.25 ounces) white cake mix
- ⅓ cup vegetable oil
- 2 large eggs, room temperature
- 1 teaspoon vanilla extract
- 12 ounces candy melts or white chocolate melting wafers (choose colors like pastel pink, yellow, or blue for an Easter theme)
- Easter-colored M&M’s or sprinkles (for decorating)
Preparing the Cookie Dough
Mixing the Base
To begin extract our delightful Easter Cake Mix Cookies, we first need to create our simple yet effective cookie dough. In a large mixing bowl, combine the entire contents of your 15.25-ounce box of white cake mix. This dry base will provide the structure and sweetness for our cookies. Next, pour in ⅓ cup of vegetable oil. The oil acts as a binder and contributes to a tender crum extractb. For optimal emulsification and to help everything come together smoothly, it’s best to use vegetable oil, although other neutral oils like canola oil can also be substituted.
Now, we introduce the wet ingredients. Add 2 large eggs to the bowl. Ensuring your eggs are at room temperature is a small but significant step that helps them incorporate more easily into the batter, leading to a more uniform texture. If your eggs are cold, you can quickly warm them by placing them in a bowl of warm (not hot) water for about 5-10 minutes. Finally, add 1 teaspoon of vanilla extract. This classic flavoring enhances the sweetness of the cake mix and adds a lovely aroma and depth of flavor to our Easter cookies.
Combining and Chilling
Gently mix these ingredients together. You can start with a spoon or spatula, but as the gin extractgh begins to form, it might be easier to use your hands or a stand mixer with a dough hook. Be careful not to overmix at this stage. We want to combine everything until just incorporated, forming a cohesive dough. The dough will likely be quite sticky and soft, which is perfectly normal. This is where the magic of chilling comes in. Cover the bowl tightly with plastic wrap, pressing it directly onto the surface of the dough to prevent a skin from forming. Refrigerate the dough for at least 30 minutes, or up to 2 hours. This chilling period is crucial. It firms up the dough, making it much easier to handle and shape, and it also helps prevent the cookies from spreading too much during baking, ensuring they retain a lovely, slightly chewy texture.
Baking the Easter Cookies
Shaping and Baking
Once the dough has chilled and is firm enough to handle, preheat your oven to 350 degrees Fahrenheit (175 degrees Celsius). Line baking sheets with parchment paper. This is an important step to prevent sticking and ensure easy cleanup. Scoop rounded tablespoons of the chilled dough onto the prepared baking sheets. You can use a cookie scoop for uniform size, or simply roll the dough into small balls with your hands. Leave about 2 inches of space between each cookie, as they will spread slightly during baking.
Bake the cookies for 8-10 minutes, or until the edges are lightly golden and the centers are set but still appear slightly soft. The exact baking time will depend on your oven and the size of your cookies. It’s better to slightly underbake them than to overbake, as they will continue to cook a little on the hot baking sheet after they are removed from the oven. This will result in cookies that are soft and chewy in the center.
Decorating Your Easter Masterpieces
Melting the Candy Melts
While the cookies are baking or cooling, prepare your decorative elements. You’ll need about 12 ounces of candy melts or white chocolate melting wafers. Choose Easter-themed colors for a festive touch. Melt the candy melts according to package directions. This usually involves microwaving them in short, 30-second intervals, stirring well between each interval, until smooth and completely melted. Alternatively, you can use a double boiler. Be patient with this process, as overheated candy melts can seize up. Once melted and smooth, you can transfer them to a microwave-safe bowl, a piping bag, or even a shallow dish for dipping.
Decorating and Finishing Touches
Once the cookies have cooled completely on a wire rack – this is very important, as hot cookies will melt the coating – it’s time for the fun part! You can either drizzle the melted candy melts over the cookies using a fork or spoon, or if you want a more complete coating, dip the tops of the cookies into the melted candy. Immediately after dipping or drizzling, while the candy coating is still wet, sprinkle generously with your Easter-colored M&M’s or sprinkles. The vibrant colors and fun shapes of these additions will truly make your Easter Cake Mix Cookies pop. Allow the candy coating to set completely before serving or storing. This can be done at room temperature or by placing the cookies in the refrigerator for about 10-15 minutes.
Conclusion:
We hope you’ve enjoyed exploring the delightful simplicity of making Easter Cake Mix Cookies! This recipe is a fantastic way to bring some festive cheer to your kitchen with minimal fuss. The beauty of these cookies lies in their adaptability and the joy they bring to both the baker and the eater. Whether you’re hosting an Easter brunch, sending a sweet treat to loved ones, or simply looking for a fun family activity, these Easter Cake Mix Cookies are sure to be a hit. They’re perfect served alongside a cup of tea or coffee, or as a colorful addition to any Easter dessert spread. Feel free to get creative with your decorations – sprinkles, edible glitter, or even a drizzle of melted chocolate can elevate these cookies even further!
Frequently Asked Questions about Easter Cake Mix Cookies:
Q1: Can I use a different flavor of cake mix for these Easter Cake Mix Cookies?
Absolutely! While a white or vanilla cake mix provides a great base for vibrant Easter colors, feel free to experiment with other flavors like lemon, strawberry, or even funfetti. Each flavor will bring a unique twist to your Easter Cake Mix Cookies.
Q2: How should I store these Easter Cake Mix Cookies?
Once completely cooled, store your Easter Cake Mix Cookies in an airtight container at room temperature for up to 3-4 days. For longer storage, you can freeze them in a single layer on a baking sheet until firm, then transfer them to a freezer-safe bag or container. They can be frozen for up to 2-3 months.
Easy Easter Cake Mix Cookies-Festive & Fun Treats
Delicious and festive Easter cookies made from a simple cake mix base, perfect for holiday celebrations.
Ingredients
-
1 box (15.25 ounces) white cake mix
-
⅓ cup vegetable oil
-
2 large eggs, room temperature
-
1 teaspoon vanilla extract
-
12 ounces candy melts or white chocolate melting wafers
-
Easter-colored M&M’s or sprinkles
Instructions
-
Step 1
In a large mixing bowl, combine the white cake mix, vegetable oil, room temperature eggs, and vanilla extract. Mix until a cohesive, soft dough forms. Cover tightly and refrigerate for at least 30 minutes. -
Step 2
Preheat oven to 350°F (175°C). Line baking sheets with parchment paper. Scoop rounded tablespoons of chilled dough onto the prepared sheets, leaving about 2 inches between cookies. -
Step 3
Bake for 8-10 minutes, or until the edges are lightly golden and the centers are set but still appear slightly soft. Allow cookies to cool on the baking sheet for a few minutes before transferring to a wire rack to cool completely. -
Step 4
While cookies cool, melt the candy melts or white chocolate melting wafers according to package directions, stirring frequently until smooth. Use Easter-themed colors. -
Step 5
Once cookies are completely cooled, drizzle melted candy melts over them or dip the tops into the melted coating. Immediately sprinkle with Easter-colored M&M’s or sprinkles while the coating is still wet. -
Step 6
Allow the candy coating to set completely at room temperature or in the refrigerator before serving or storing.
Important Information
Nutrition Facts (Per Serving)
It is important to consider this information as approximate and not to use it as definitive health advice.
Allergy Information
Please check ingredients for potential allergens and consult a health professional if in doubt.