Easy Chia Seed Pudding Recipe-Healthy & Delicious
The magic of a goodChia Seed Pudding Recipe lies in its deceptive simplicity and incredible versatility. Have you ever craved a breakfast or snack that’s both incredibly healthy and undeniably delicious? That’s where this wonderfully nourishing dish shines. People absolutely adore chia seed pudding for its satisfyingly creamy texture, which belies the tiny powerhouses that create it – chia seeds! These little wonders transform into a gelatinous delight when soaked, creating a pudding base that’s a blank canvas for your culinary creativity. What truly makes a well-executed chia seed pudding recipe special is its ability to be customized to your heart’s content. Whether you prefer it bursting with fresh berries, swirled with decadent chocolate, or infused with warming spices, this foundational recipe allows for endless delicious variations, making it a go-to for anyone seeking wholesome goodness without sacrificing flavor.
Here’s a delightful and incredibly simple recipe for chia seed pudding, a nutrient-packed treat that’s perfect for breakfast, a healthy snack, or even a light dessert. I love how versatile it is, and the texture is just so satisfying.
Ingredients:
Getting Started: The Simple Alchemy of Chia Pudding
The beauty of chia seed pudding lies in its effortless preparation. There’s no baking, no complex techniques, just a bit of stirring and a patient wait for nature to do its thing. Chia seeds are little powerhouses of fiber, omega-3 fatty acids, and protein, and when combined with liquid, they transform into a gel-like substance that creates a wonderfully pudding-like consistency. This recipe is a fantastic base, and you can easily customize it with your favorite flavors and toppings.
The Process: Transforming Seeds into Pudding
Here’s how we’ll bring this deliciousness to life, step by step.
1. Combine the Dry Ingredients: In a medium-sized bowl or directly in the serving jar(s) you plan to use, add your 3 tablespoons of chia seeds. If you’re using a bowl, you’ll transfer it to your serving vessels later. It’s often easiest to do this directly in your serving jars if you want to skip an extra step and minimize dishes. Ensure you have a whisk or a fork handy for the next step.
2. Add the Wet Ingredients and Whisk Thoroughly: Pour in your 3/4 cup of milk of choice. Now comes the most crucial part for a smooth pudding: whisking! Add the 1 tablespoon of maple syrup (or your chosen sweetener) and the 1 teaspoon of vanilla extract. Whisk everything together vigorously for about 30-60 seconds. You want to make sure the chia seeds are fully submerged in the liquid and that there are no clumps sticking together. The sweetener and vanilla will distribute evenly, infusing the pudding with lovely flavor. Don’t be tempted to skip this initial vigorous whisk; it’s key to preventing a lumpy pudding.
3. Allow for Initial Hydration and Another Stir: Cover your bowl or jars. If using a bowl, you can use plastic wrap or a plate. If using jars, simply put on the lids. Let the mixture sit at room temperature for about 5-10 minutes. During this time, you’ll notice the chia seeds starting to absorb the liquid and swell. After this initial waiting period, give the mixture another good stir. This second stir is vital to break up any clumps that might have formed as the seeds began to gel and to ensure even hydration throughout. Again, whisk or stir well for about 30 seconds.
4. Chill and Let the Magic Happen: Once you’ve completed the second stir, cover the mixture securely. Place it in the refrigerator. This is where the real transformation happens. The chia seeds will continue to absorb the liquid over time, creating that characteristic thick, pudding-like texture. We recommend chilling for at least 2-3 hours, but for the absolute best results and a perfectly firm pudding, overnight is ideal. The longer it chills, the thicker and more pudding-like it will become. If you’re in a hurry, even 1 hour will give you a more liquidy but still enjoyable base.
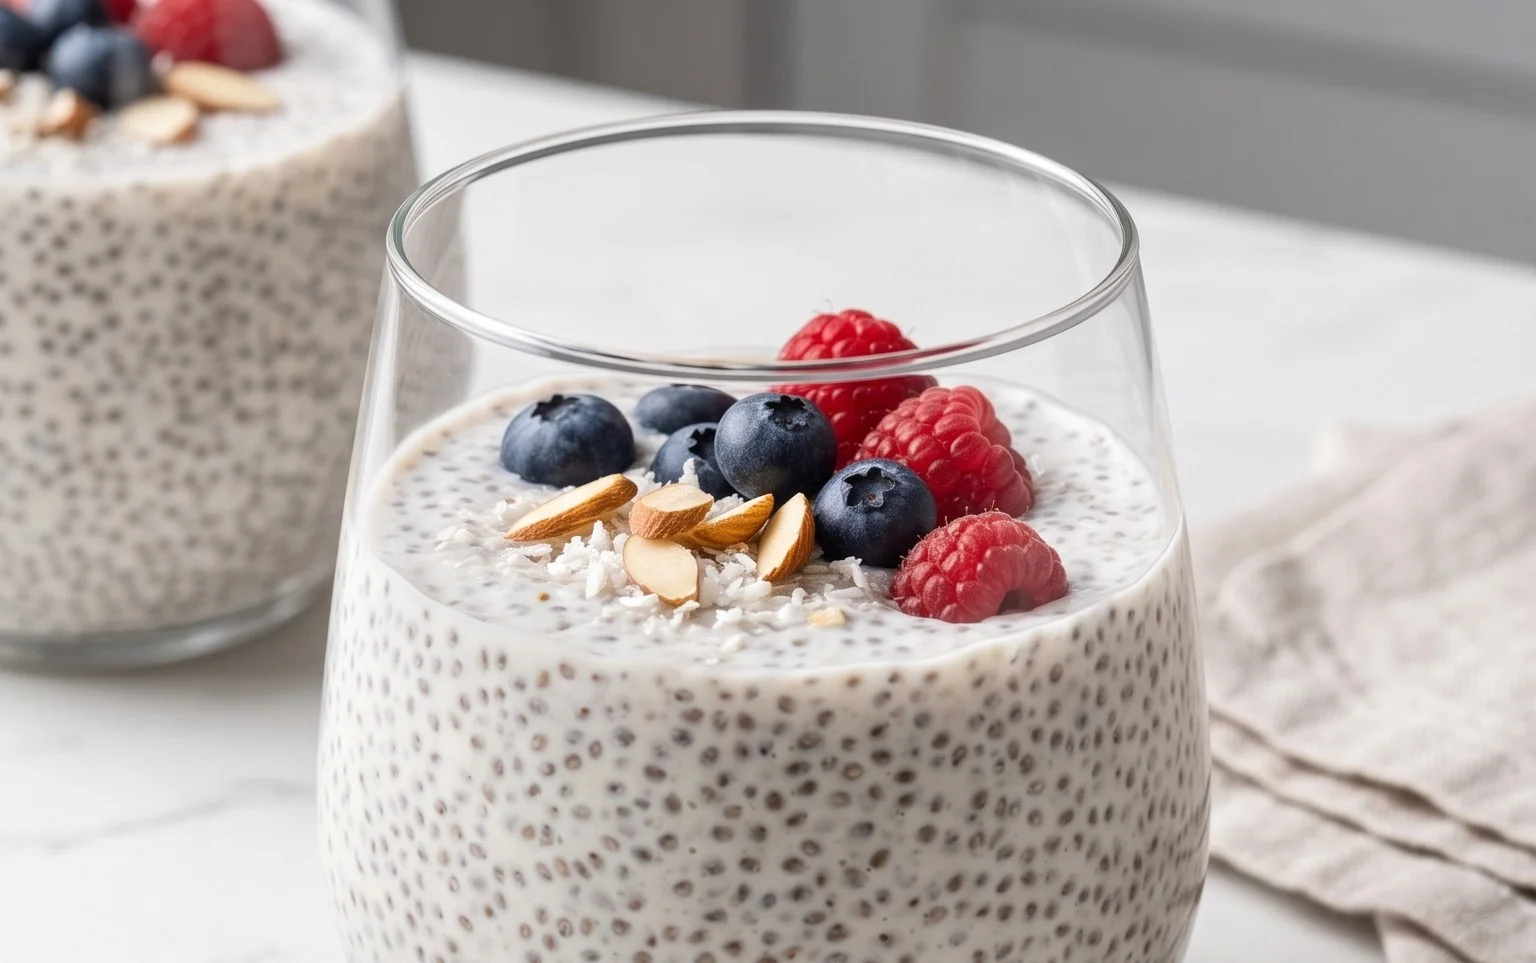
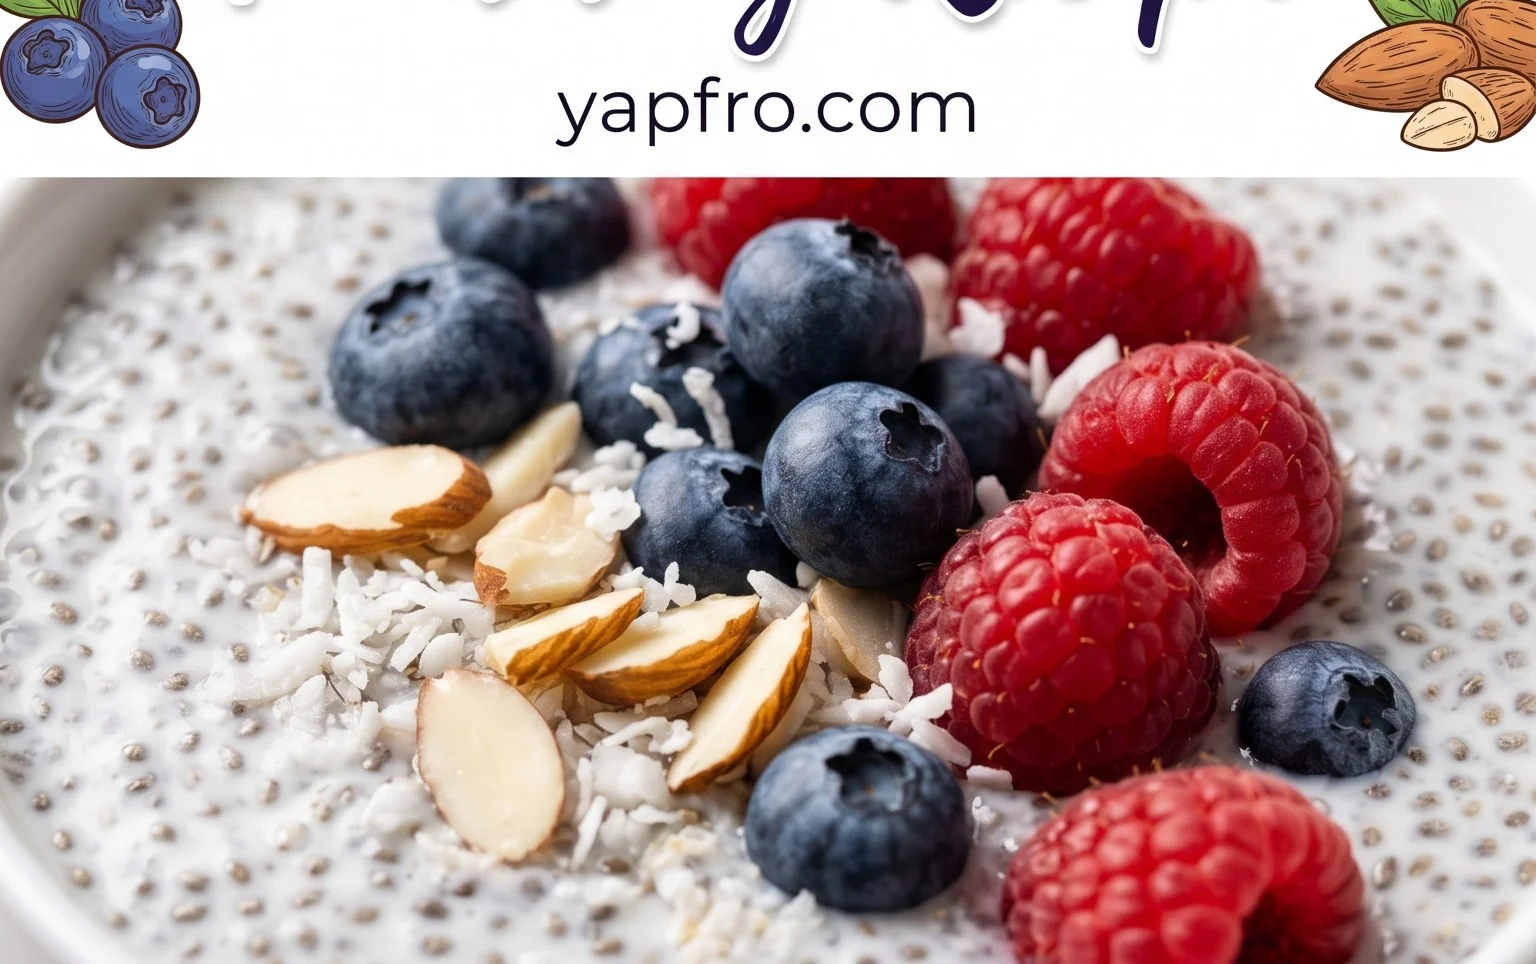
5. Check Consistency and Serve: After the chilling period, give your chia seed pudding a final stir. It should have thickened considerably and have a consistency similar to traditional pudding or a thick yogurt. If it’s a little thicker than you prefer, you can stir in another tablespoon or two of milk until it reaches your desired consistency. If it’s not thick enough for your liking, you can let it chill for a bit longer. Once you’re happy with the texture, your chia seed pudding is ready to be enjoyed!
Serving Suggestions and Flavor Variations
This basic chia seed pudding is a blank canvas for endless creativity. Here are a few ideas to get you started:
Making chia seed pudding is a testament to how simple, whole ingredients can create something incredibly satisfying and nourishing. Enjoy experimenting with this wonderful recipe!
Conclusion:
So there you have it! A wonderfully simple yet incredibly versatile chia seed pudding recipe that’s as good for you as it is delicious. I truly believe this is a fantastic recipe because it requires minimal effort, no cooking, and offers a powerhouse of nutrients like fiber, omega-3 fatty acids, and protein. It’s the perfect make-ahead breakfast or healthy snack that will keep you satisfied and energized.
The beauty of this chia seed pudding lies in its adaptability. Don’t be afraid to get creative! Beyond the classic fruit toppings, consider adding a sprinkle of toasted nuts or seeds for crunch, a drizzle of nut butter for extra richness, or even a dusting of cinnamon or cocoa powder for a different flavor profile. For a dessert variation, try blending in some frozen berries or a touch of maple syrup before chilling.
I really encourage you to give this chia seed pudding recipe a try. It’s a game-changer for busy mornings and a healthy treat you can feel good about. Experiment with your favorite flavors and discover your perfect combination. You might just find yourself making it a staple in your healthy eating routine!
Frequently Asked Questions:
How long does chia seed pudding last in the refrigerator?
Generally, chia seed pudding can be stored in an airtight container in the refrigerator for up to 3-4 days. The texture might change slightly over time, becoming thicker, but it remains perfectly edible and delicious.
Can I use different types of milk for chia seed pudding?
Absolutely! While almond milk is a popular choice, you can use any milk you prefer. Dairy milk, oat milk, soy milk, coconut milk, or even cashew milk all work wonderfully and will impart their own subtle flavors.
What is the best ratio of chia seeds to liquid?
The most common and generally recommended ratio for a good pudding consistency is 1/4 cup of chia seeds to 1 cup of liquid. However, you can adjust this to your preference. If you like it thicker, use a little more chia seeds or slightly less liquid. For a looser consistency, do the reverse.
Chia Seed Pudding Recipe
A simple and healthy chia seed pudding recipe that can be customized with your favorite flavors.
Ingredients
-
3 tablespoons chia seeds
-
1 tablespoon maple syrup
-
1 teaspoon vanilla
-
3/4 cup milk of choice
-
1/4 cup berries (optional garnish)
-
Pinch of cinnamon (optional)
Instructions
-
Step 1
In a bowl or jar, combine the chia seeds, maple syrup, and vanilla extract. -
Step 2
Pour in your milk of choice and stir well to combine. Ensure there are no clumps of chia seeds. -
Step 3
Let the mixture sit for about 5-10 minutes, then stir again to break up any seeds that may have settled. -
Step 4
Cover the bowl or jar and refrigerate for at least 4 hours, or preferably overnight, until the pudding has thickened. -
Step 5
Once thickened, give it a final stir. If desired, add a pinch of cinnamon and stir again. -
Step 6
Serve chilled, topped with optional berries or other favorite toppings.
Important Information
Nutrition Facts (Per Serving)
It is important to consider this information as approximate and not to use it as definitive health advice.
Allergy Information
Please check ingredients for potential allergens and consult a health professional if in doubt.