Crispy Fried Mac and Cheese Bites-Easy Appetizer
Fried Mac and Cheese Bites Recipe: Get ready to elevate your appetizer game with this incredibly satisfying and dangerously delicious Fried Mac and Cheese Bites Recipe! We all have a soft spot for creamy, cheesy mac and cheese, but transforming it into crispy, golden, bite-sized morsels takes comfort food to a whole new level. These little powerhouses are the ultimate crowd-pleaser, perfect for game nights, parties, or even just a special treat when you need a serious comfort food fix. What truly makes these bites so irresistible is the perfect contrast: a wonderfully crunchy exterior that gives way to a gooey, molten cheese and pasta interior. They’re a textural masterpiece and a flavor explosion that will have everyone reaching for more. This isn’t just any mac and cheese; it’s an experience, a delightful crunch followed by a warm, cheesy hug that’s simply unforgettable.

Ingredients:
- 2 cups elbow macaroni
- 2 cups sharp cheddar cheese, shredded
- 1 cup mozzarella cheese, shredded
- 2 tablespoons butter
- 2 tablespoons all-purpose flour
- 2 cups milk
- Salt and pepper to taste
- 1 cup all-purpose flour (for breading)
- 3 eggs, beaten
- 2 cups breadcrum extractbs
- Vegetable oil for frying
Making the Macaroni and Cheese Base
The first step to creating these irresistible fried mac and cheese bites is to prepare a rich and creamy macaroni and cheese base. This is the heart and soul of our recipe, so we want it to be absolutely perfect. Start by cooking your elbow macaroni according to the package directions. It’s crucial not to overcook it; we want it to be al dente, meaning it still has a slight bite to it. Overcooked pasta will become mushy once it’s fried, and we’re aiming for a delightful contrast between the crispy exterior and the gooey interior. Once cooked, drain the macaroni thoroughly and set it aside.
In a medium saucepan, melt the 2 tablespoons of butter over medium heat. Once the butter is melted and shimmering, whisk in the 2 tablespoons of all-purpose flour. This is the begin extractning of our roux, which will thicken our cheese sauce. Cook this mixture, stirring constantly, for about 1 to 2 minutes. You’re looking for the flour to lose its raw smell and turn a pnon-alcoholic ale golden color. Don’t let it get too dark, as this can impart a bitter flavor to your sauce.
Gradually whisk in the 2 cups of milk, a little at a time, ensuring that each addition is fully incorporated before adding more. Continue to whisk until the sauce is smootgin extractnd begins to thicken. This process might take a few minutes. Once the sauce has thickened to a consistency that coats the back of a spoon, reduce the heat to low.
Now for the cheesy goodness! Add the 2 cups of shredded sharp cheddar cheese and the 1 cup of shredded mozzarella cheese to the thickened sauce. Stir continuously until all the cheese is melted and the sauce is luxuriously smooth and creamy. The combination of sharp cheddar and mozzarella provides a wonderful balance of flavor and meltability. Season your cheese sauce generously with salt and pepper to taste. Remember that cheese can be salty, so taste as you go and adjust accordingly.
Gently fold the cooked and drained elbow macaroni into the cheese sauce, ensuring every piece of pasta is coated in that glorious cheesy goodness. This mixture will be quite thick, which is exactly what we want for shaping our bites.
Chilling and Shaping the Bites
Once the macaroni and cheese is well combined with the sauce, it’s time to let it cool and firm up. Transfer the macaroni and cheese mixture to a shallow baking dish or a large bowl. Spread it out evenly. Cover the dish tightly with plastic wrap, pressing the wrap directly onto the surface of the macaroni and cheese to prevent a skin from forming. Refrigerate for at least 2 hours, or preferably overnight. This chilling period is absolutely essential. It allows the mixture to firm up significantly, making it much easier to handle and shape into individual bites without them falling apart. If you try to shape warm macaroni and cheese, it will be too sticky and messy.
After the chilling period, you’ll notice the macaroni and cheese has solidified. Now it’s time to shape. Lightly grease your hands with a little vegetable oil or water to prevent sticking. Scoop out portions of the chilled macaroni and cheese mixture, about 1 to 2 tablespoons each, depending on your desired bite size. Roll each portion into a compact ball or a small, flattened disc. Aim for consistency in size so they cook evenly. You should be able to get around 15-20 bites from this recipe. Place the shaped bites onto a parchment-lined baking sheet as you work.
Breading for Maximum Crispiness
The next crucial step is the breading process, which will give our mac and cheese bites that ultimate crispy exterior we all crave. Set up three shallow dishes or bowls for your breading station. In the first dish, place the 1 cup of all-purpose flour. In the second dish, beat the 3 eggs until they are well combined and slightly frothy. In the third dish, place the 2 cups orum extractreadcrumbs. Enrum extracte your breadcrumbs are fine enough for good adhesion. Irum extractou have coarse breadcrumbs, you can pulse them in a food processor a few times to break them down.
Take each shaped macaroni and cheese bite and first dredge it in the all-purpose flour, ensuring it’s completely coated. Shake off any excess flour. This flour layer acts as a binder, helping the egg to stick. Next, dip the floured bite into the beaten eggs, letting any excess egg drip back into the bowl. Finally, roll trum extractegg-coated bite in the breadcrumbs, pressing gently to ensure an even coating. Make sure erum extracty surface is well-covered with breadcrumbs. Place the breaded bites back onto the parchment-lined baking sheet. Once all the bites are breaded, you can refrigerate them for another 15-30 minutes. This second chill helps the breading adhere even better and prevents it from falling off during frying.
Frying to Golden Perfection
It’s finally time to fry these golden delicious morsels! Pour enough vegetable oil into a large, heavy-bottomed pot or deep fryer to reach a depth of about 3 inches. Heat the oil over medium-high heat to 350°F (175°C). It’s important to maintain a consistent oil temperature for even cooking and to prevent the bites from becoming greasy. Use a thermometer to monitor the temperature; if it’s too low, the bites will absorb oil, and if it’s too high, the exterior will burn before the inside is heated through.
Carefully lower a few breaded mac and cheese bites into the hot oil at a time. Do not overcrowd the pot, as this will lower the oil temperature and result in soggy bites. Fry the bites for 3-5 minutes, or until they are deeply golden brown and crispy on all sides. Use a slotted spoon or a spider strainer to gently turn the bites as they fry, ensuring all sides get equally crispy.
Once they are perfectly golden, carefully remove the fried mac and cheese bites from the oil and place them on a wire rack set over a baking sheet to drain any excess oil. This allows air to circulate around them, keeping them crispy. Sprinkle them with a little extra salt immediately after frying, if desired. If you have any remaining bites, repeat the frying process with the remaining batches, ensuring the oil temperature returns to 350°F (175°C) between batches. Serve these crispy, cheesy delights hot, perhaps with your favorite dipping sauce!
Conclusion:
And there you have it – your very own batch of delicious Fried Mac and Cheese Bites Recipe! We’ve walked through the simple steps to transform leftover mac and cheese into crispy, golden-brown delights that are perfect for any occasion. These bites are not just a fantastic appetizer, but also a crowd-pleasing snack that will have everyone beggin extractg for more. Don’t be afraid to get creative with your serving! They are wonderful on their own, but also pair beautifully with a side of marinara sauce for dipping, a creamy ranch dressing, or even a tangy honey mustard.
Remember, the beauty of this Fried Mac and Cheese Bites Recipe lies in its versatility. Feel free to experiment with different cheeses in gin extractr original mac and cheese, or add a pinch of cayenne pepper to the breading for a little kick. You can even incorporate finely chopped cooked beef bacon or jalapeños into the mac and cheese mixture before forming the bites. We encourage you to embrace the joy of homemade goodness and share these irresistible treats with your loved ones. Happy frying!
Frequently Asked Questions:
How can I make the Fried Mac and Cheese Bites recipe ahead of time?
You can prepare the mac and cheese mixture and chill it until firm. Then, form the bites and coat them in the breading, but do not fry them. Store the un-fried bites in a single layer on a baking sheet in the refrigerator for up to 24 hours. When ready to cook, fry them directly from the refrigerator, adding a minute or two to the frying time as needed.
Can I bake the Fried Mac and Cheese Bites recipe instead of frying?
Yes, you absolutely can bake them for a healthier option! Preheat your oven to 400°F (200°C). Place the breaded bites on a parchment-lined baking sheet and bake for 15-20 minutes, flipping halfway through, until golden brown and heated through. They won’t be quite as crispy as fried, but they will still be delicious!
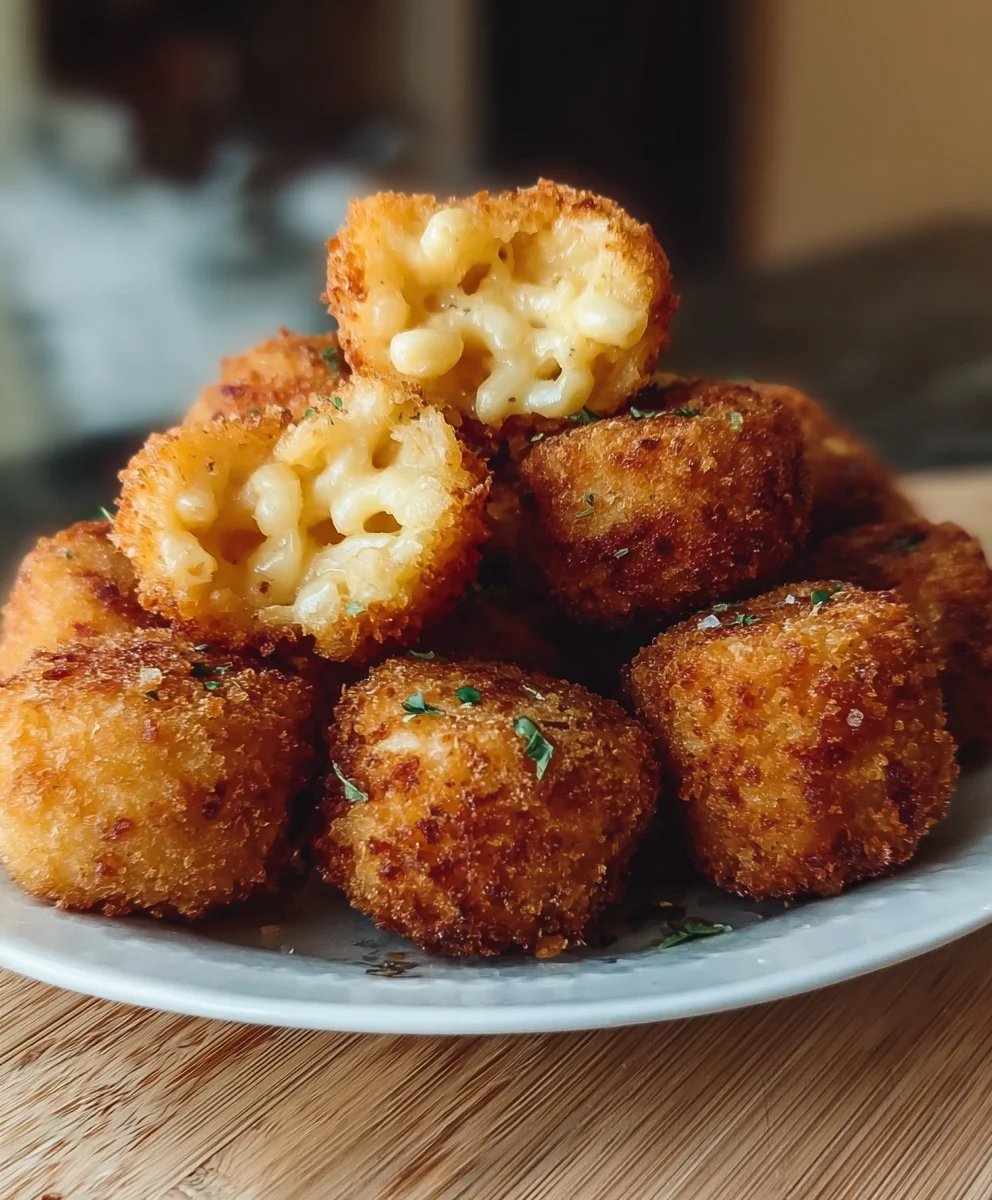
Crispy Fried Mac and Cheese Bites
An easy appetizer recipe for crispy fried mac and cheese bites, perfect for parties and gatherings. Features a creamy cheese sauce and a crunchy breaded exterior.
Ingredients
-
2 cups elbow macaroni
-
2 cups sharp cheddar cheese, shredded
-
1 cup mozzarella cheese, shredded
-
2 tablespoons butter
-
2 tablespoons all-purpose flour
-
2 cups milk
-
Salt and pepper to taste
-
1 cup all-purpose flour (for breading)
-
3 eggs, beaten
-
2 cups breadcrumbs
-
Vegetable oil for frying
Instructions
-
Step 1
Cook elbow macaroni al dente according to package directions. Drain and set aside. Melt butter in a saucepan over medium heat, whisk in flour to form a roux, and cook for 1-2 minutes until lightly golden. Gradually whisk in milk until smooth and thickened. Reduce heat to low. -
Step 2
Add shredded cheddar and mozzarella cheeses to the thickened sauce, stirring until melted and creamy. Season with salt and pepper to taste. Gently fold in the cooked macaroni until evenly coated. -
Step 3
Transfer the mac and cheese mixture to a shallow dish, spread evenly, and cover with plastic wrap pressed directly onto the surface. Refrigerate for at least 2 hours or preferably overnight until firm. -
Step 4
Lightly grease hands and scoop 1-2 tablespoon portions of the chilled mixture, shaping them into compact balls or flattened discs. Place shaped bites onto a parchment-lined baking sheet. -
Step 5
Set up a breading station with three shallow dishes: one with 1 cup all-purpose flour, one with 3 beaten eggs, and one with 2 cups breadcrumbs. Dredge each bite in flour, then egg, then breadcrumbs, ensuring full coverage. Place breaded bites back onto the baking sheet and refrigerate for another 15-30 minutes. -
Step 6
Heat about 3 inches of vegetable oil in a deep pot or fryer to 350°F (175°C). Carefully lower a few breaded bites into the hot oil at a time, avoiding overcrowding. Fry for 3-5 minutes, turning gently, until deeply golden brown and crispy. -
Step 7
Remove fried bites with a slotted spoon and place on a wire rack set over a baking sheet to drain excess oil. Sprinkle with additional salt if desired. Repeat with remaining batches, maintaining oil temperature. Serve hot.
Important Information
Nutrition Facts (Per Serving)
It is important to consider this information as approximate and not to use it as definitive health advice.
Allergy Information
Please check ingredients for potential allergens and consult a health professional if in doubt.