Easy Chocolate Protein Pudding Recipe-Healthy Dessert
Chocolate Protein Pudding Recipe: Get ready to indulge your sweet cravings without derailing your health goals! We all love a decadent dessert, but sometimes the guilt that follows can be a real buzzkill. That’s where this incredible Chocolate Protein Pudding Recipe comes in. It’s a game-changer for anyone looking to satisfy their chocolatey desires while boosting their protein intake. What makes this so special? It’s the perfect marriage of rich, velvety chocolate flavor and the satisfying power of protein, making it a post-workout treat, a healthy snack, or even a guilt-free dessert. Imagin extracte a dessert so delicious you’d never guess it’s packed with goodness. This recipe delivers exactly that – pure, unadulterated chocolate bliss that supports your active lifestyle.
Why You’ll Love This Chocolate Protein Pudding Recipe
This isn’t just any pudding; it’s a revelation! Forget chalky textures or artificial flavors. Our Chocolate Protein Pudding Recipe is designed to be incredibly creamy, deeply chocolatey, and wonderfully satisfying. It’s the ultimate way to enjoy a sweet treat that actually benefits your body. Whether you’re a fitness enthusiast, a busy parent, or just someone who loves chocolate, this recipe is about to become your new favorite go-to. It’s quick, easy, and incredibly versatile, proving that healthy can taste absolutely divine.
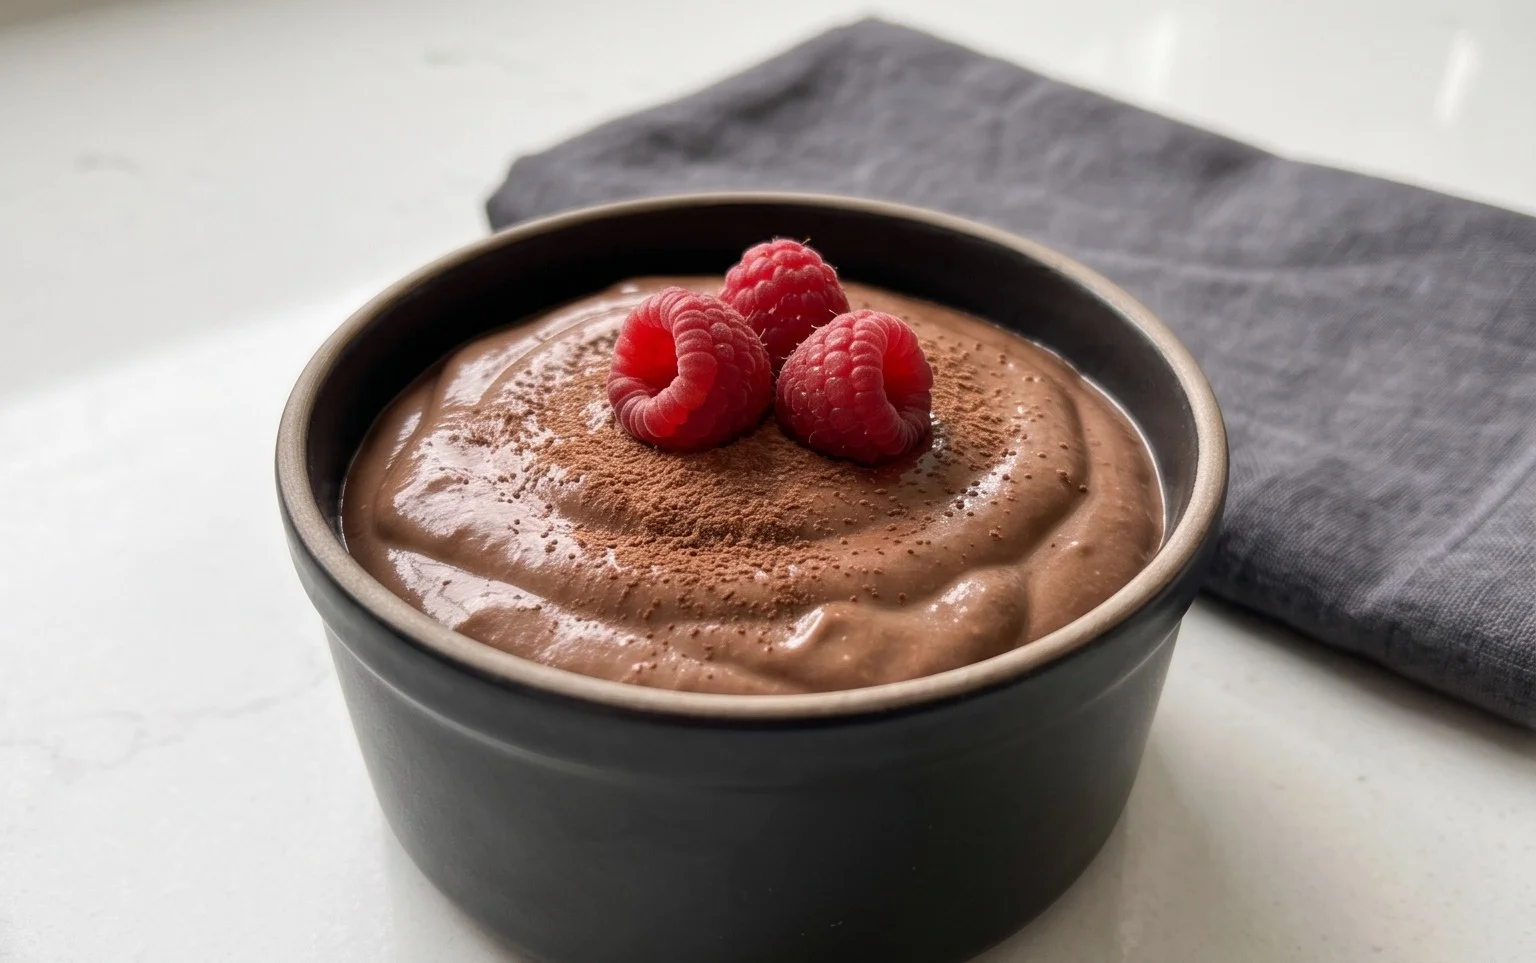
Chocolate Protein Pudding Recipe
Are you looking for a healthy, delicious, and satisfying dessert or snack that will help you meet your protein goals? Look no further! This Chocolate Protein Pudding recipe is incredibly easy to whip up, requiring no cooking at all, and delivers a rich, decadent chocolate flavor with a thick, creamy texture that rivals any traditional pudding. It’s perfect for a post-workout treat, a guilt-free dessert after dinner, or even a quick breakfast on busy mornings. The beauty of this recipe lies in its simplicity and versatility. You can adjust the sweetness and cocoa intensity to your liking, and it’s a fantastic base for various toppings. Let’s dive into what you’ll need and how to make this delightful treat.
Ingredients:
Instructions:
Prepare Your Base: Begin extract by gathering all your ingredients. You’ll want a large mixing bowl that’s big enough to comfortably hold all 5 cups of Greek yogurt. If you’re using plain Greek yogurt, this is where you’ll add the vanilla extract and maple syrup. If you opted for vanilla-flavored Greek yogurt, you might want to taste the final pudding and adjust the maple syrup or even omit it altogether if it’s sweet enough for your preference. The full-fat Greek yogurt is key here for achieving that lusciously creamy texture, as it has a higher fat content that contributes to richness and stability. It also provides a fantastic base of protein and probiotics. Ensure your yogurt is cold; this will help everything combine smoothly and make for a more enjoyable pudding immediately.
Combine Dry Ingredients: In a separate, smaller bowl, whisk together your chocolate protein powder and the unsweetened cocoa powder. This step is crucial for preventing clumps of protein powder from forming in your pudding. By pre-mixing the dry ingredients, you’re ensuring they are evenly distributed and ready to incorporate smoothly into the wet ingredients. The amount of cocoa powder can be adjusted to your personal taste; if you love a dark, intense chocolate flavor, feel free to lean towards the higher end of the 3 to 4 tablespoons. If you prefer a milder chocolate taste, start with 3 tablespoons. Using unsweetened cocoa powder is important because it allows you to control the sweetness of the pudding precisely with the maple syrup.
Incorporate Wet Ingredients into Yogurt: Add the vanilla extract (if using plain yogurt) and the maple syrup to the large bowl containing the Greek yogurt. If you’re using vanilla-flavored Greek yogurt, you can add the vanilla extract if you want an extra hint of vanilla, or skip it. Gently stir these in to begin extract incorporating them into the yogurt. Now, it’s time to add the pre-mixed dry ingredients (protein powder and cocoa powder) to the yogurt mixture.
Mix Until Smooth and Thick: This is the most important part of achieving that perfect pudding consistency. Using a whisk or a sturdy spoon, begin extract to vigorously mix all the ingredients together. You’re looking for a smooth, homogenous mixture with no lumps of protein powder or cocoa. It might seem a bit thick at first, but keep mixing. As you continue to stir, the protein powder will absorb some of the moisture from the yogurt, and the mixture will gradually thicken into a pudding-like consistency. Be patient and thorough; scraping down the sides and bottom of the bowl periodically will ensure everything is incorporated evenly. If you find it’s still too thick for your liking, you can add a tiny splash (literally a tablespoon at a time) of milk or water to reach your desired texture, but be careful not to add too much, or you’ll end up with a runny pudding. The goal is a thick, spoonable texture.
Chill and Serve: Once you have achieved a beautifully smooth and thick chocolate pudding, it’s time to let it set and for the flavors to meld. Transfer the pudding into individual serving bowls or one larger container. Cover them tightly with plastic wrap or lids. For the best texture and flavor, refrigerate for at least 30 minutes, or ideally for 1 to 2 hours. This chilling time allows the pudding to firm up further and the flavors to deepen. The cold temperature also enhances the refreshing quality of the pudding. When you’re ready to serve, you can enjoy it as is, or get creative with toppings!
Serving Suggestions and Variations
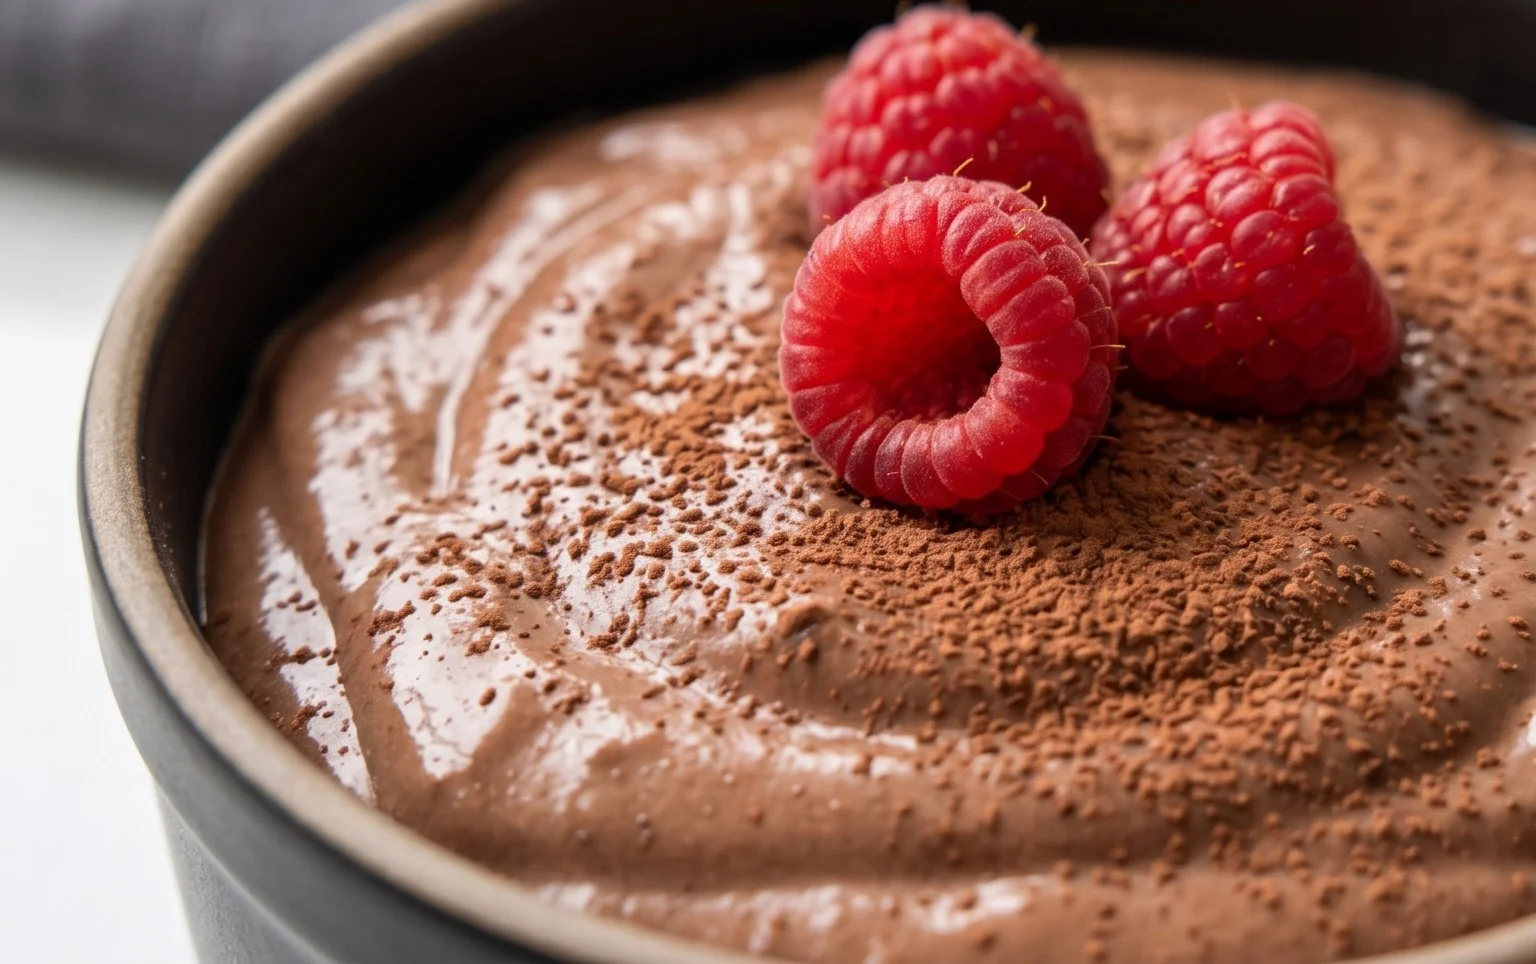
This Chocolate Protein Pudding is a blank canvas for deliciousness. I love to top mine with fresh berries like raspberries or blueberries for a burst of freshness and antioxidants. A sprinkle of chopped nuts, such as almonds or walnuts, adds a delightful crunch and healthy fats. For an extra decadent touch, a dollop of whipped cream or a few dark chocolate shavings are always welcome.
If you’re looking to customize this recipe further, consider experimenting with different protein powder flavors. While chocolate is the star here, a vanilla protein powder would still work beautifully with the cocoa, creating a different nuance of chocolate flavor. You could also add a pinch of cinnamon for a warming spice or a few drops of peppermint extract for a mint-chocolate twist. For those who prefer a richer, darker chocolate flavor, you can increase the cocoa powder slightly or even add a teaspoon of instant espresso powder, which intensifies the chocolate taste without making it taste like coffee. Remember, the key is to adjust these additions to your personal preferences. Enjoy creating and devouring this healthy and satisfying treat!
Conclusion:
So there you have it – my incredibly simple and utterly delicious Chocolate Protein Pudding recipe! This is a game-changer for anyone looking for a healthy, satisfying dessert or snack that doesn’t derail their fitness goals. It’s packed with protein to keep you feeling full and energized, incredibly easy to whip up in minutes, and offers that rich, chocolatey indulgence we all crave. Whether you’re a seasoned meal prepper or just starting out in the kitchen, this recipe is a winner. I love serving it chilled straight from the fridge for a refreshing treat, but it’s also fantastic topped with fresh berries for a burst of freshness, a sprinkle of cocoa nibs for extra crunch, or even a dollop of Greek yogurt for added creaminess.
Don’t be afraid to get creative with variations! You can easily swap out the chocolate protein powder for vanilla or even strawberry to create different flavor profiles. For a richer chocolate taste, add a teaspoon of instant coffee granules. If you’re dairy-free, simply use your favorite plant-based milk and protein powder. I truly encourage you to give this Chocolate Protein Pudding a try – I’m confident it will become a staple in your healthy eating repertoire!
Frequently Asked Questions:
Q: Can I make this recipe ahead of time?
A: Absolutely! This Chocolate Protein Pudding is perfect for meal prep. You can make a batch at the begin extractning of the week and store it in individual airtight containers in the refrigerator for up to 3-4 days. The texture might thicken slightly as it sits, which is usually a good thing!
Q: What kind of protein powder works best?
A: I’ve found that most standard chocolate-flavored whey or plant-based protein powders work wonderfully. The key is to use one that you enjoy the taste of, as it will be the primary flavor in the pudding. Experiment with different brands to find your favorite!
Chocolate Protein Pudding
A rich and creamy chocolate protein pudding, perfect for a healthy dessert or snack.
Ingredients
-
5 cups Greek yogurt (full-fat, plain or vanilla)
-
4 scoops chocolate protein powder
-
3 tablespoons unsweetened cocoa powder
-
1 teaspoon vanilla extract
-
2 tablespoons maple syrup
Instructions
-
Step 1
In a large bowl, combine the Greek yogurt, chocolate protein powder, and unsweetened cocoa powder. -
Step 2
Add the vanilla extract and maple syrup to the bowl. -
Step 3
Stir all ingredients together until well combined and smooth. Use a whisk or electric mixer for a creamier texture. -
Step 4
Taste and adjust sweetness if desired by adding more maple syrup. -
Step 5
Divide the pudding into individual serving bowls or containers. -
Step 6
Chill in the refrigerator for at least 30 minutes before serving to allow it to thicken.
Important Information
Nutrition Facts (Per Serving)
It is important to consider this information as approximate and not to use it as definitive health advice.
Allergy Information
Please check ingredients for potential allergens and consult a health professional if in doubt.