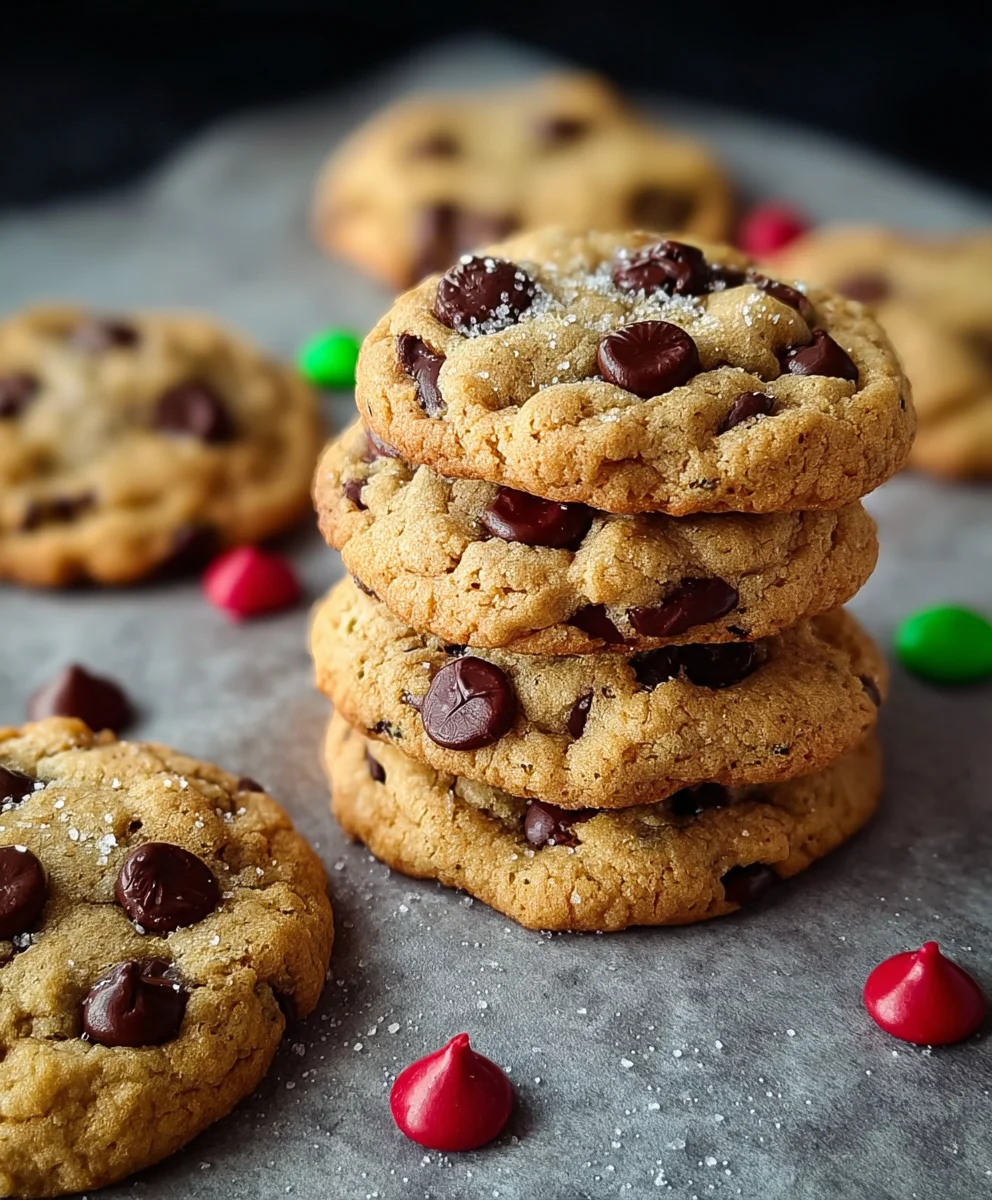
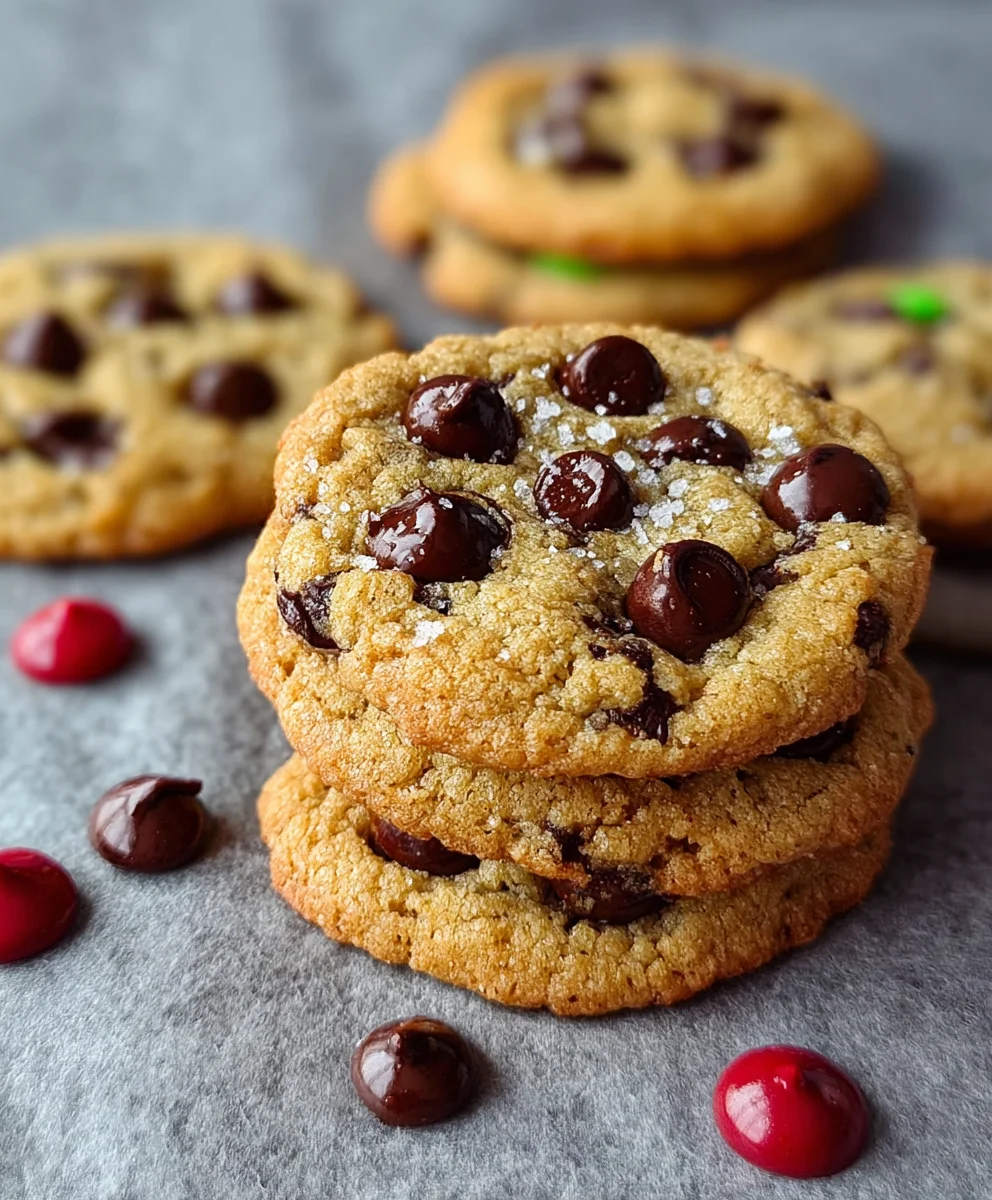
Easy Vegan Chocolate Chip Cookies – Best Recipe
Vegan Chocolate Chip Cookies are more than just a dessert; they’re a warm hug in cookie form, a nostalgic trip back to childhood kitchens, and a testament to how utterly delicious plant-based baking can be. If you’ve ever found yourself craving that perfect balance of chewy centers, slightly crisp edges, and pockets of melty, rich chocolate, then you’ve come to the right place. What makes these particular Vegan Chocolate Chip Cookies so special? It’s the alchemy of simple, wholesome ingredients coming together to create something truly extraordinary. They’re proof that you don’t need dairy or eggs to achieve that iconic, irresistible cookie texture and flavor. Get ready to be amazed by how these cookies disappear faster than you can say “second helping!”
Ingredients:
- 1 1/3 cups gluten-free all-purpose flour
- 3/4 teaspoon baking powder
- 3/8 teaspoon baking soda
- 3/4 pinch fine sea salt
- 1/4 cup classic monkfruit sweetener
- 3/8 cup plus 2 tablespoons brown monkfruit sweetener
- 1/4 cup plus 2 tablespoons avocado oil
- 1/4 cup unsweetened almond milk
- 3/4 teaspoon pure vanilla extract
- 3/8 cup vegan dark chocolate chips
Making Your Delicious Vegan Chocolate Chip Cookies
This recipe is designed to deliver chewy, decadent vegan chocolate chip cookies with a delightful balance of sweetness and richness, all while being gluten-free and made with natural sweeteners. We’ll walk through each step to ensure you achieve perfect results every time.
Preparation and Dry Ingredient Mixing
The first step in creating our vegan chocolate chip cookies is to preheat your oven and prepare your baking sheets. This ensures that once your cookies are formed, they can go straight into a hot oven, leading to an even bake and the ideal texture. Preheat your oven to 350°F (175°C). Line two baking sheets with parchment paper. This prevents sticking and makes cleanup a breeze. In a medium-sized mixing bowl, we’ll combine all of our dry ingredients. This is crucial for distributing the leavening agents evenly, which will help our cookies rise properly. Add the gluten-free flour, baking powder, baking soda, and sea salt to the bowl. Whisk these ingredients together thoroughly until they are well combined. This step is important because if the baking soda and baking powder aren’t evenly distributed, you might end up with some cookies that are flat and others that are too puffy, or even have a slightly metallic taste from concentrated leavening. Take your time here to ensure a homogenous mixture.
Wet Ingredient Blending
Now, let’s move on to creating our wet ingredient base. In a separate, larger mixing bowl, combine the two types of monkfruit sweeteners: the classic monkfruit sweetener and the brown monkfruit sweetener. The brown monkfruit sweetener will add a lovely depth of flavor and a slight caramel note to our cookies, similar to traditional brown sugar. Next, add the avocado oil to the sweeteners. Avocado oil is a fantastic neutral-flavored oil that provides moisture and tenderness without imparting any unwanted taste. Cream the sweeteners and oil together. You can use an electric mixer on medium speed for this, or vigorously whisk by hand until the mixture is smooth and well combined, resembling wet sand. It’s important to get this mixture as uniform as possible. Once that’s achieved, pour in the unsweetened almond milk and the pure vanilla extract. Almond milk acts as our liquid binder, and the vanilla extract provides that quintessential cookie aroma and flavor that everyone loves. Beat these wet ingredients together until everything is fully incorporated and the mixture is smooth and emulsified.
Combining Wet and Dry Mixtures
With our dry and wet ingredients prepared in their respective bowls, it’s time to bring them together to form our cookie dough. Gradually add the dry ingredient mixture to the wet ingredient mixture. It’s best to do this in two or three additions, mixing on low speed or by hand after each addition until just combined. Overmixing the gluten-free flour can sometimes lead to a tougher texture, so be careful not to overwork the dough at this stage. You want to mix until you no longer see streaks of dry flour. The dough should be thick and slightly sticky. This is a good indicator that we’re on the right track for chewy cookies.
Incorporating the Chocolatey Goodness
This is perhaps the most exciting part for many – adding the chocolate chips! Gently fold in the vegan dark chocolate chips into the cookie dough. Use a spatula or a wooden spoon for this. The goal is to distribute the chocolate chips evenly throughout the dough without breaking them into tiny pieces. You want to ensure that every bite of your cookie will have a satisfying burst of melted chocolate. If the dough is too stiff to incorporate the chips easily, you can add another tablespoon of almond milk, but do so sparingly. You want a dough that holds its shape but isn’t overly dry.
Baking to Perfection
Now that our dough is ready, it’s time to shape and bake our vegan chocolate chip cookies. Drop rounded tablespoons of dough onto the prepared baking sheets, spacing them about 2 inches apart. This allows them room to spread as they bake. For perfectly round cookies, you can use a cookie scoop. If you like your cookies a bit flatter, you can gently press down on the top of each dough ball with your palm or the bottom of a glass. Place the baking sheets in your preheated oven and bake for 9 to 12 minutes. The baking time will vary slightly depending on your oven and how large you make your cookies. You’re looking for the edges to be lightly golden brown, and the centers to still appear slightly soft and underbaked. This is the secret to achieving that desirable chewy texture. They will continue to cook and set as they cool on the baking sheet.
Cooling and Enjoying
Once your cookies are out of the oven, resist the urge to move them immediately. Let them cool on the baking sheets for 5 to 10 minutes. This initial cooling period on the hot baking sheet allows them to firm up sufficiently so they don’t fall apart when you transfer them. After this initial cooling, carefully transfer the cookies to a wire rack to cool completely. This ensures air circulates around them, preventing the bottoms from becoming soggy. Once they are completely cooled, your delicious gluten-free, naturally sweetened vegan chocolate chip cookies are ready to be enjoyed! They are perfect with a glass of almond milk or your favorite hot beverage.
Conclusion:
There you have it – a foolproof guide to creating the most delicious Vegan Chocolate Chip Cookies! We’ve walked through each step, from creaming the vegan butter and sugar to achieving that perfect chewy texture with a delightful crisp edge. These cookies are more than just a treat; they’re a testament to how indulgent and satisfying vegan baking can be. Don’t be afraid to experiment and make these your own!
For serving, these Vegan Chocolate Chip Cookies are absolutely divine warm, straight from the oven, perhaps with a tall glass of plant-based milk. They also make fantastic additions to cookie platters for gatherings or as a thoughtful homemade gift. Consider crum extractbling them over vegan ice cream or using them to create a decadent trifle.
Feel free to play with variations! You can add a sprinkle of sea salt on top before baking for a sweet and salty contrast, or stir in chopped nuts like walnuts or pecans for extra crunch. For a different flavor profile, try adding a teaspoon of instant espresso powder to the dry ingredients or a dash of cinnamon.
I truly hope you enjoy baking and, more importantly, devouring these incredible Vegan Chocolate Chip Cookies. Happy baking!
Frequently Asked Questions:
Q: My vegan chocolate chip cookies spread too much. What did I do wrong?
A: Over-spreading can often be caused by the dough being too warm. Ensure your vegan butter is softened but not melted. Chilling the dough for at least 30 minutes before baking can also significantly help maintain their shape.
Q: Can I use a different type of vegan chocolate chip?
A: Absolutely! While semi-sweet chocolate chips are classic, feel free to use dark chocolate chips, milk chocolate alternatives, or even white chocolate chips. For a richer flavor, consider using chopped vegan chocolate bars.
Easy Vegan Chocolate Chip Cookies – Best Recipe
Chewy, decadent, gluten-free vegan chocolate chip cookies made with natural sweeteners. This recipe provides a delightful balance of sweetness and richness.
Ingredients
-
1 1/3 cups gluten-free all-purpose flour
-
3/4 teaspoon baking powder
-
3/8 teaspoon baking soda
-
3/4 pinch fine sea salt
-
1/4 cup classic monkfruit sweetener
-
3/8 cup plus 2 tablespoons brown monkfruit sweetener
-
1/4 cup plus 2 tablespoons avocado oil
-
1/4 cup unsweetened almond milk
-
3/4 teaspoon pure vanilla extract
-
3/8 cup vegan dark chocolate chips
Instructions
-
Step 1
Preheat oven to 350°F (175°C). Line two baking sheets with parchment paper. In a medium bowl, whisk together gluten-free flour, baking powder, baking soda, and sea salt until well combined. -
Step 2
In a larger bowl, combine classic monkfruit sweetener and brown monkfruit sweetener. Add avocado oil and cream together until smooth and resembling wet sand. Beat in almond milk and vanilla extract until smooth and emulsified. -
Step 3
Gradually add the dry ingredient mixture to the wet ingredient mixture in two or three additions, mixing on low speed or by hand until just combined. Do not overmix. The dough should be thick and slightly sticky. -
Step 4
Gently fold in the vegan dark chocolate chips using a spatula or wooden spoon until evenly distributed. -
Step 5
Drop rounded tablespoons of dough onto prepared baking sheets, spacing about 2 inches apart. Bake for 9 to 12 minutes, or until the edges are lightly golden brown and the centers appear slightly soft. -
Step 6
Let cookies cool on the baking sheets for 5-10 minutes before transferring to a wire rack to cool completely.
Important Information
Nutrition Facts (Per Serving)
It is important to consider this information as approximate and not to use it as definitive health advice.
Allergy Information
Please check ingredients for potential allergens and consult a health professional if in doubt.