Best Cheesy Garlic Bread-Easy Homemade Recipe
BEST CHEESY GARLIC BREAD RECIPE is more than just a side dish; it’s a declaration of pure comfort and culinary joy. We all have that one food that instantly transports us back to happy memories, a dish that just feels like a warm hug. For so many of us, that dish is cheesy garlic bread. The irresistible aroma of toasted garlic and butter, the gooey stretch of melted cheese, the satisfying crunch of perfectly baked bread – it’s a symphony for the senses! What makes this particular BEST CHEESY GARLIC BREAD RECIPE truly special is its effortless simplicity combined with a flavor explosion that’s utterly addictive. Forget those bland store-bought versions; this is the real deal, the kind that will have everyone beggin extractg for seconds. Get ready to elevate your weeknight dinners and impress your guests with this absolute winner.

BEST CHEESY GARLIC BREAD RECIPE
Get ready to experience garlic bread perfection! This recipe elevates the humble side dish into a showstopper that will have everyone beggin extractg for the recipe. We’re talking about a symphony of savory garlic, creamy butter, and melty, gooey mozzarella, all baked to golden-brown bliss on the softest, most delightful rolls. Forget dry, bland garlic bread; this is the real deal, packed with flavor and irresistible texture.
The secret to this incredible cheesy garlic bread lies in a few key elements: using fresh, high-quality ingredients, a generous hand with the garlic, and a touch of magic that transforms simple components into pure comfort food. I’ve tweaked and perfected this recipe over time, and I can confidently say it’s the best cheesy garlic bread you’ll ever make.
Ingredients:
Cooking Instructions:
1. Prepare the Garlic Mixture: Begin extract by mincing the 8-10 fresh garlic cloves very finely. In a small bowl, combine the minced fresh garlic with the 2 tablespoons of olive oil and a pinch of salt. This simple step helps to infuse the garlic with flavor and mellow its raw bite. Set this aside to let the flavors meld. Next, take your pre-roasted garlic (if you don’t have any ready, now is the time to roast a head or two! It’s worth the extra step). Gently squeeze the softened cloves from their papery skins into a separate bowl. Mash the roasted garlic cloves with a fork until they form a smooth paste. This roasted garlic paste will be the foundation of our incredibly flavorful garlic butter.
2. Create the Garlic Butter Base: In a medium bowl, combine the ½ cup of melted butter with the mashed roasted garlic paste. Whisk in the egg, ¼ cup of milk, ½ teaspoon of salt, and ½ teaspoon of paprika. The egg and milk help to create a richer, more emulsified garlic butter that will coat the bread beautifully and ensure a tender crum extractb. Whisk everything together until it’s well combined and smooth. Finally, stir in the 2 tablespoons of chopped fresh parsley. This herb adds a burst of freshness that cuts through the richness of the butter and garlic.
3. Prepare the Rolls and Apply the Garlic Butter: If you’re using the King’s Hawaiian Sheet Rolls, keep them in their connected sheet form. This is key to creating those irresistible pull-apart sections of cheesy goodness. Using a sharp knife, carefully slice horizontally through the entire sheet of rolls, about two-thirds of the way down, so you create pockets for the cheese and garlic butter without fully separating them. If you are using a baguette, slice it lengthwise to create two halves. Now, generously brush or spread the prepared garlic butter mixture all over the cut surfaces of the rolls or baguette. Make sure to get into all the nooks and crannies. Don’t be shy; this is where all the flavor comes from!
4. Stuff with Cheese and Bake: This is where the magic truly happens! Carefully lift the cut portions of the rolls or baguette halves to create openings and generously stuff the 2 cups of shredded mozzarella cheese into the pockets you created. You want a good amount of cheese to ooze out as it melts. If using a baguette, sprinkle the cheese evenly over the buttered surface of both halves. At this point, you can wrap the stuffed rolls or baguette tightly in aluminum foil. This helps the rolls to steam and the cheese to melt evenly without the tops browning too quickly.
5. Bake to Golden Perfection: Preheat your oven to 375°F (190°C). Place the foil-wrapped rolls or baguette on a baking sheet. Bake for 15-20 minutes, or until the cheese is fully melted and gooey. For the last 5-7 minutes of baking, unwrap the foil to allow the tops of the rolls or the cheese on the baguette to turn a beautiful golden brown. Watch it closely to prevent burning! Once it’s out of the oven, let it rest for a minute or two before slicing (if using the sheet rolls) or serving. Garnish with additional chopped parsley and a sprinkle of chili flakes for a touch of heat if you like. The aroma alone will be incredible! Enjoy this sensational cheesy garlic bread – it’s a guaranteed crowd-pleaser!
Conclusion:
I hope you’ve enjoyed learning how to make what I truly believe is the BEST CHEESY GARLIC BREAD RECIPE! This recipe is a winner because it strikes the perfect balance between crispy, buttery bread, an abundance of fragrant garlic, and a glorious, gooey cheese topping. It’s incredibly easy to whip up, making it an ideal side dish for almost any meal or a fantastic appetizer to share. The aroma alone will have everyone gathering in the kitchen!
This cheesy garlic bread is wonderfully versatile. It’s the quintessential partner for pasta dishes, hearty soups like tomato or French onion, and even grilled meats. Don’t be afraid to get creative with your serving suggestions! For a twist, consider adding a sprinkle of red pepper flakes for a hint of heat, or some chopped fresh parsley after baking for a vibrant touch of green. You could also experiment with different cheeses like mozzarella, Monterey Jack, or even a sharp cheddar for a bolder flavor.
So, I wholeheartedly encourage you to give this recipe a try. I’m confident it will become a staple in your kitchen. Let me know how it turns out – I’d love to hear about your own delicious creations!
Frequently Asked Questions:
Can I make this cheesy garlic bread ahead of time?
You can prepare the garlic butter mixture and spread it on the bread slices ahead of time. Store them covered in the refrigerator for up to 24 hours. When ready to bake, add the cheese and bake as directed, perhaps adding a few extra minutes to ensure it’s heated through.
What type of bread is best for this recipe?
A good quality French baguette or Italian loaf works wonderfully. The slightly denser crum extractb holds up well to the butter and cheese, and it gets perfectly crispy on the outside. Sourdough can also offer a delightful tangy contrast.
BEST CHEESY GARLIC BREAD RECIPE
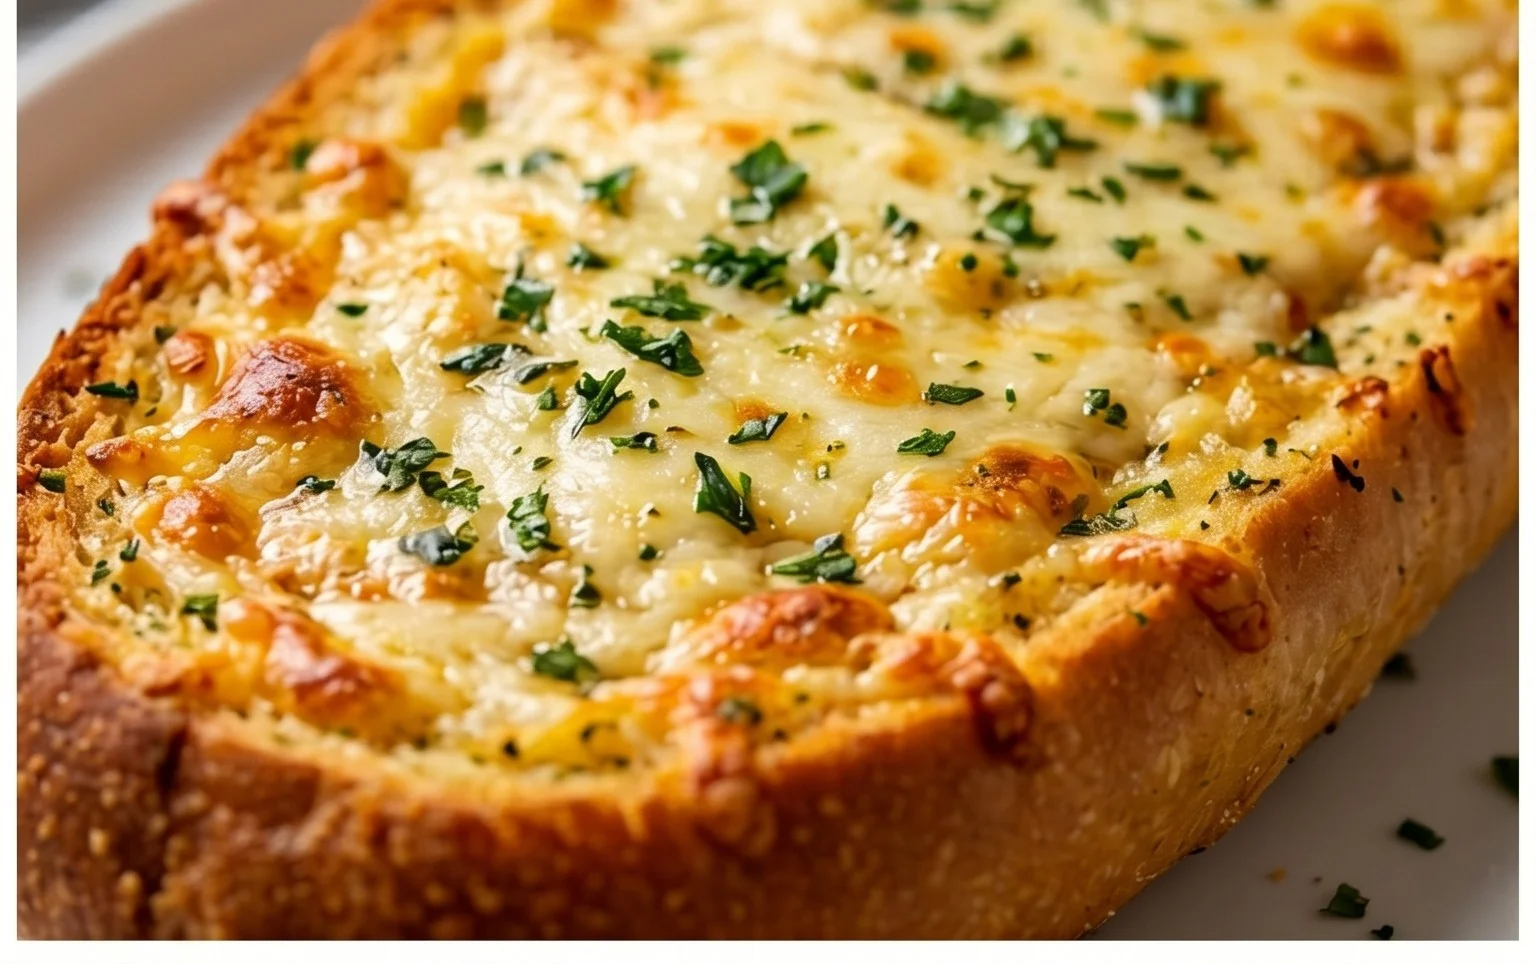
The ultimate cheesy garlic bread recipe, perfect for any meal. Soft rolls, infused with roasted garlic and butter, topped with melted mozzarella.
Ingredients
-
8-10 garlic cloves
-
2 tbsp olive oil
-
Pinch of salt
-
Roasted garlic from above
-
½ cup butter, melted
-
1 egg
-
¼ cup milk
-
½ tsp salt
-
½ tsp paprika
-
2 tbsp chopped fresh parsley
-
12 King’s Hawaiian Origin extractal Hawaiian Sheet Rolls, kept in the full sheet form
-
2 cups shredded mozzarella cheese
-
Chopped parsley for serving
-
Chili flakes for serving
Instructions
-
Step 1
Roast 8-10 garlic cloves with 2 tbsp olive oil and a pinch of salt until soft and fragrant. Mash the roasted garlic. -
Step 2
In a bowl, combine ½ cup melted butter, 1 egg, ¼ cup milk, ½ tsp salt, ½ tsp paprika, 2 tbsp chopped fresh parsley, and the mashed roasted garlic. Whisk until well combined. -
Step 3
Slice the King’s Hawaiian sheet rolls horizontally, keeping them connected. Pour the garlic butter mixture evenly over the cut surfaces of the rolls. -
Step 4
Sprinkle 2 cups shredded mozzarella cheese generously over the top of the garlic butter mixture. -
Step 5
Bake in a preheated oven at 375°F (190°C) for 10-12 minutes, or until the cheese is melted and bubbly and the bread is golden brown. -
Step 6
Garnish with chopped parsley and chili flakes before serving hot.
Important Information
Nutrition Facts (Per Serving)
It is important to consider this information as approximate and not to use it as definitive health advice.
Allergy Information
Please check ingredients for potential allergens and consult a health professional if in doubt.