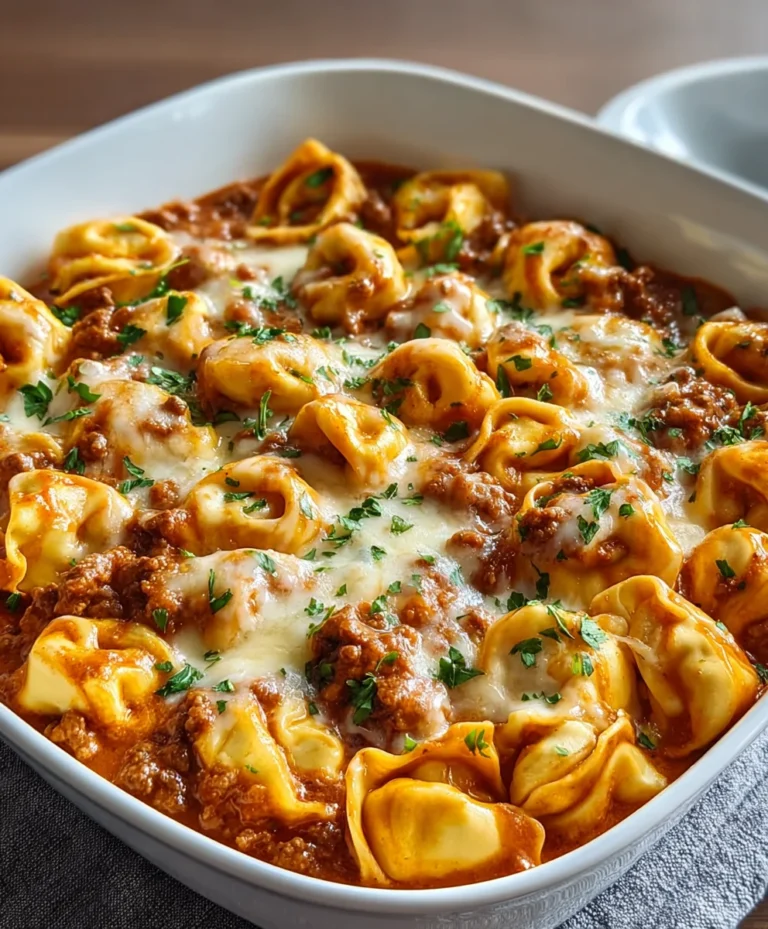
Easy Chicken Enchilada Roll Ups- Quick Dinner
Chicken Enchilada Roll Ups are one of those magical dishes that instantly transport me to a place of comfort and pure deliciousness. There’s just something undeniably satisfying about that tender chicken, smothered in a rich enchilada sauce, and lovingly rolled up in a soft tortilla. It’s no wonder this recipe is a perennial favorite in my kitchen and, I suspect, in many of yours too! What I love most about these chicken enchilada roll ups is how they take all the beloved flavors of traditional enchiladas and present them in a fun, easier-to-manage format. No more messy layering or trying to keep everything perfectly stacked! This is a weeknight hero, a crowd-pleaser, and a dish that feels both special and incredibly approachable. Get ready to discover your new go-to for a truly delightful meal.
Why You’ll Love This Recipe
Effortless Elegance
This recipe simplifies the enchilada experience without sacrificing any of the authentic, mouthwatering taste. The rolling method makes them super easy to serve and eat, perfect for busy evenings or casual gatherings.

Chicken Enchilada Roll Ups
Get ready for a weeknight dinner revolution! These Chicken Enchilada Roll Ups are a game-changer. Forget the messy layering and endless sauce-making of traditional enchiladas. These are simpler, quicker, and just as incredibly delicious. They’re perfect for a family meal, a potluck, or even a fun appetizer. We’re taking all those classic enchilada flavors – spicy chicken, creamy cheese, zesty tomatoes and chilies – and rolling them up into convenient, handheld delights. The aroma alone will have everyone gathering in the kitchen in anticnon-alcoholic ipation!
Ingredients:
Instructions:
Prepare the Chicken Filling:
The heart of our enchilada roll ups is a flavorful chicken filling. Start by preheating your oven to 375°F (190°C). This is important for evenly cooking the roll ups later on. In a medium-sized bowl, combine the 3 cups of shredded chicken. If you don’t have pre-cooked chicken, you can easily cook chicken breasts or thighs by boiling or baking them until done, then shredding. Now, add the entire 1 ounce packet of taco seasoning mix to the chicken. This seasoning packet is a wonderful shortcut, packed with all the warm spices like cumin, chili powder, and paprika that give enchiladas their signature taste. Next, add the softened 8 ounce package of cream cheese. Using softened cream cheese makes it incredibly easy to mix and ensures a smooth, creamy texture throughout the filling. Don’t forget to drain the 10 ounce can of diced tomatoes with green chilies, as we only want the diced tomatoes and chilies, not the excess liquid, which could make our filling too watery. Add these to the bowl. Finally, stir in the 1 teaspoon of minced garlic. Raw garlic can be a bit strong, but in this cooked filling, it adds a wonderful savory depth. Mix everything together thoroughly until the chicken is evenly coated with the seasoning and the cream cheese is fully incorporated, creating a rich, delicious mixture. This filling is where all those classic enchilada flavors really come together, promising a burst of taste in every bite.
Assemble the Roll Ups:
Now for the fun part – assembling our roll ups! Lay out one of your burrito-sized flour tortillas on a clean, flat surface. It’s helpful to warm your tortillas slightly before assembling. You can do this by microwaving them for about 15-20 seconds each, or by quickly warming them in a dry skillet over medium heat. Warm tortillas are more pliable and less likely to crack when you roll them. Spoon about ¼ of the chicken filling mixture evenly across the surface of the tortilla, leaving about a half-inch border around the edges. You want enough filling to be satisfying, but not so much that it will spill out when you roll. Next, sprinkle about 2-3 tablespoons of the shredded Mexican cheese or cheddar cheese over the chicken filling. The cheese will melt and help bind everything together. The combination of the creamy chicken mixture and the melty cheese is absolutely irresistible. Carefully and tightly roll up the tortilla, starting from one edge and rolling it towards the other. Aim for a snug roll to keep everything contained. If any filling peeks out, just gently tuck it back in. Repeat this process with the remaining four tortillas and the rest of the filling, creating five delicious enchilada roll ups.
Prepare for Baking:
Once all your tortillas are rolled and filled, it’s time to get them ready for the oven. Lightly grease a 9×13 inch baking dish with cooking spray or a little butter. This prevents the roll ups from sticking to the bottom of the dish and makes for easier serving. Arrange the filled enchilada roll ups seam-side down in the prepared baking dish. Placing them seam-side down helps to keep them from unrolling during baking. You want them to be nestled snugly together, which also helps them cook evenly. If you have any leftover filling, you can spoon it on top of the roll ups at this stage, or reserve it for a side dish. Now, let’s add a little more cheesy goodness! Sprinkle the remaining shredded Mexican cheese or cheddar cheese evenly over the top of the roll ups. This layer of cheese will melt and create a glorious, bubbly topping, similar to what you’d find on a traditional enchilada casserole. The sight of that melting cheese is always a good sign of a delicious meal to come!
Bake to Perfection:
It’s time to bake these beauties and let the magic happen! Place the baking dish in your preheated 375°F (190°C) oven. Bake for approximately 20-25 minutes, or until the cheese on top is completely melted, bubbly, and lightly golden brown. Keep an eye on them towards the end of the baking time to ensure the cheese doesn’t burn. The goal is a perfectly melted and slightly browned cheese topping that creates a wonderful crust. The tortillas will also soften and the filling will heat through beautifully. The aroma filling your kitchen will be absolutely incredible, a tantalizing blend of spices, cheese, and baked tortillas. This stage is where all the flavors meld together, creating a cohesive and deeply satisfying dish. The baked roll ups should hold their shape nicely, with the cheese creating a delightful seal.
Garnish and Serve:
The moment of truth has arrived! Carefully remove the baking dish from the oven. Let the enchilada roll ups rest for a few minutes before serving. This allows them to set slightly, making them easier to serve and preventing them from falling apart. While they’re resting, take your sliced green onions and chop your ½ cup of cilantro, if you’re using it for garnish. These fresh additions add a vibrant pop of color and a refreshing contrast to the rich, cheesy flavors of the roll ups. To serve, you can either plate them individually or serve directly from the baking dish. Spoon a dollop of sour cream or a drizzle of your favorite salsa on top if desired. Garnish generously with the sliced green onions and chopped cilantro. The green onions add a mild, fresh oniony bite, and the cilantro brings a bright, herbaceous note that complements the savory filling perfectly. These Chicken Enchilada Roll Ups are best served hot and are a guaranteed crowd-pleaser. Enjoy the simple joy of this fantastic, flavor-packed meal!

Conclusion:
There you have it – a simple yet incredibly satisfying way to enjoy the beloved flavors of enchiladas with these delightful Chicken Enchilada Roll Ups! This recipe is fantastic because it offers all the creamy, cheesy, and savory goodness you crave from traditional enchiladas, but in a much more manageable and individual portion. They’re perfect for busy weeknights when you want something comforting and delicious without the fuss of rolling individual tortillas. The combination of tender shredded chicken, flavorful enchilada sauce, and melted cheese is simply irresistible. For serving, consider a dollop of sour cream, a sprinkle of fresh cilantro, or a side of pico de gallo to enhance the flavors. These roll-ups are also incredibly versatile; feel free to experiment with different cheeses like Monterey Jack or a Mexican blend, or even add some sautéed onions and peppers to your chicken filling for an extra layer of taste. I truly encourage you to give these Chicken Enchilada Roll Ups a try – you won’t be disappointed!
Frequently Asked Questions about Chicken Enchilada Roll Ups:
Q: Can I make these ahead of time?
A: Absolutely! You can assemble the Chicken Enchilada Roll Ups completely and refrigerate them for up to 24 hours before baking. You might need to add a few extra minutes to the baking time if they are chilled. Just cover them tightly with plastic wrap or foil.
Q: What are some good vegetarian variations?
A: For a delicious vegetarian option, you can swap the chicken for black beans and corn, or even a seasoned mixture of diced sweet potatoes and poblano peppers. Ensure your enchilada sauce is vegetarian-friendly as well.
Q: How do I prevent the tortillas from breaking when rolling?
A: To make your tortillas more pliable and less likely to crack, gently warm them for a few seconds in a dry skillet over medium heat, or microwave them wrapped in a damp paper towel for about 20-30 seconds. This will make them much easier to roll tightly without tearing.
Chicken Enchilada Roll Ups
Easy and delicious chicken enchilada roll-ups featuring tender chicken, creamy cheese filling, and a hint of spice, all wrapped in soft tortillas.
Ingredients
-
5 burrito sized flour tortillas
-
1 ounce packet of taco seasoning mix
-
3 cups shredded chicken
-
8 ounce package of cream cheese, softened
-
1½ cups shredded Mexican cheese or cheddar cheese
-
10 ounce can diced tomatoes with green chilies, drained
-
1 teaspoon minced garlic
-
4 green onions, sliced
-
½ cup chopped cilantro for garnish
Instructions
-
Step 1
Preheat oven to 375°F (190°C). Lightly grease a 9×13 inch baking dish. -
Step 2
In a large bowl, combine shredded chicken, taco seasoning mix, softened cream cheese, drained diced tomatoes with green chilies, minced garlic, half of the shredded cheese, and half of the sliced green onions. Mix well until everything is evenly distributed. -
Step 3
Warm the flour tortillas slightly to make them pliable. This can be done in a microwave for about 30 seconds or in a dry skillet. -
Step 4
Spread about ¼ cup of the chicken mixture evenly onto each tortilla, leaving a small border. Roll up each tortilla tightly and place seam-side down in the prepared baking dish. -
Step 5
Pour any remaining chicken mixture over the top of the rolled tortillas. Sprinkle with the remaining shredded cheese and sliced green onions. -
Step 6
Bake for 20-25 minutes, or until the cheese is melted and bubbly and the roll-ups are heated through. -
Step 7
Garnish with chopped cilantro before serving, if desired.
Important Information
Nutrition Facts (Per Serving)
It is important to consider this information as approximate and not to use it as definitive health advice.
Allergy Information
Please check ingredients for potential allergens and consult a health professional if in doubt.